


This post may contain affiliate ads at no cost to you. See my disclosures for more information.
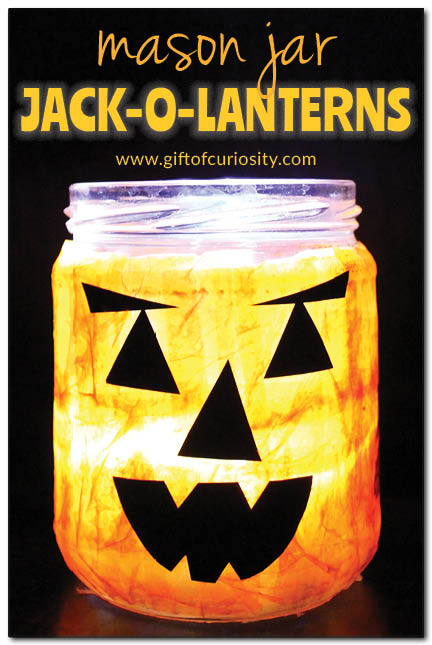
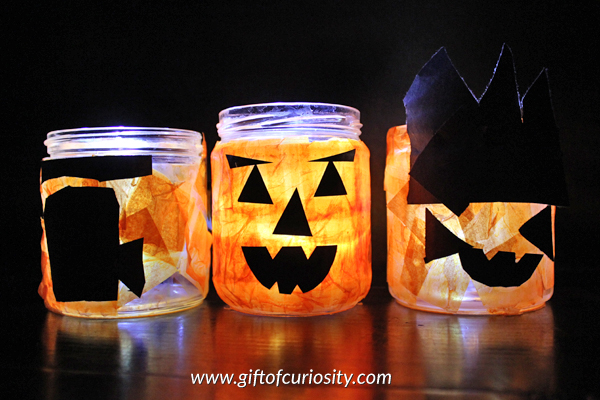
These mason jar jack-o-lanterns were surprisingly easy to create, and they make an awesome Halloween craft for kids and grownups alike.
Our mason jar jack-o-lanterns are currently adorning the table in our entryway, and I expect they’ll make an appearance on our front porch for Halloween. These are going to be a fun Halloween decoration for years to come.
Note: You can find more Halloween activities on my Halloween Activities for Kids page.
To do this project, you’ll need to start with the following materials:
- A jar
- Orange tissue paper (we used these tissue squares
)
- Some watered down glue (I mixed together approximately 2 parts glue with 1 part water)
- A paint brush
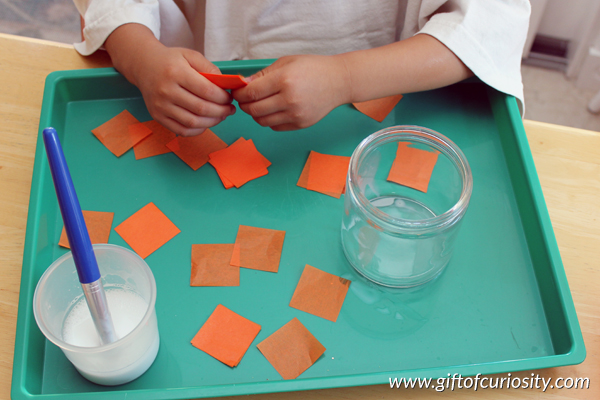
The kids used their brushes and watered down glue to cover their jars with orange tissue paper. The reason we use tissue paper rather than regular orange paper is because tissue paper is translucent and lets the light shine through better. This will give your mason jar jack-o-lantern a better effect once it has a light inside.
My kids used the watered down glue to stick the tissue paper on to their jar. They then added an additional coat of glue on top of the tissue paper with the paint brush.
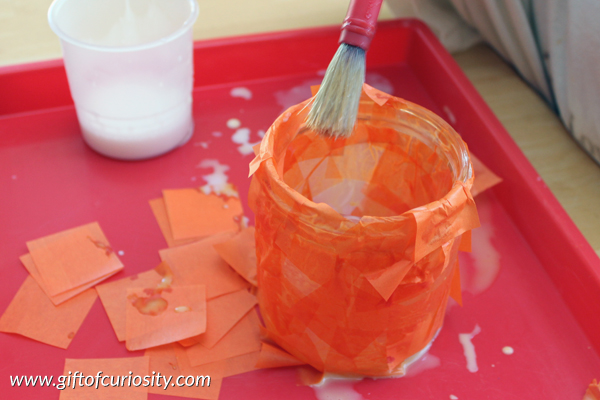
Once the jars were covered in orange tissue paper, we let them dry overnight. The next day when the tissue paper was dry, it was time to add the jack-o-lantern faces.
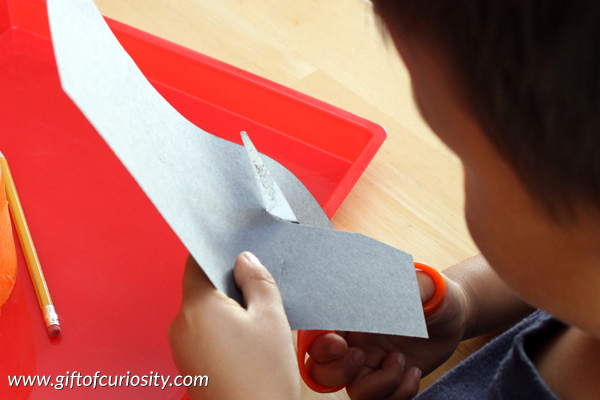
To add the faces, we gathered the following materials:
- Black construction paper
- Kid-friendly scissors
- Glue (no need to water it down for this part)
- Pencil (optional)
The kids and I looked at pictures of Halloween jack-o-lanterns for some inspiration for our own jack-o-lanterns. Once we had settled on what we liked, I handed the kids some black construction paper and a pencil. They used the pencil to draw shapes for their jack-o-lantern faces, and then used scissors to cut the shapes out.
Once the kids had their shapes cut out, they used glue to adhere them to the mason jar jack-o-lanterns.

Finally, I placed a small little battery-powered LED light inside the jars to light them up at night. (The battery-powered LED lights
are much safer than putting an actual burning candle inside, which I would not recommend.)
The jack-o-lanterns look so pretty all lit up.
And best of all, the kids were so proud of their creations. (XGirl’s lantern is on the left, mine is in the middle, and QBoy’s lantern is on the right.)
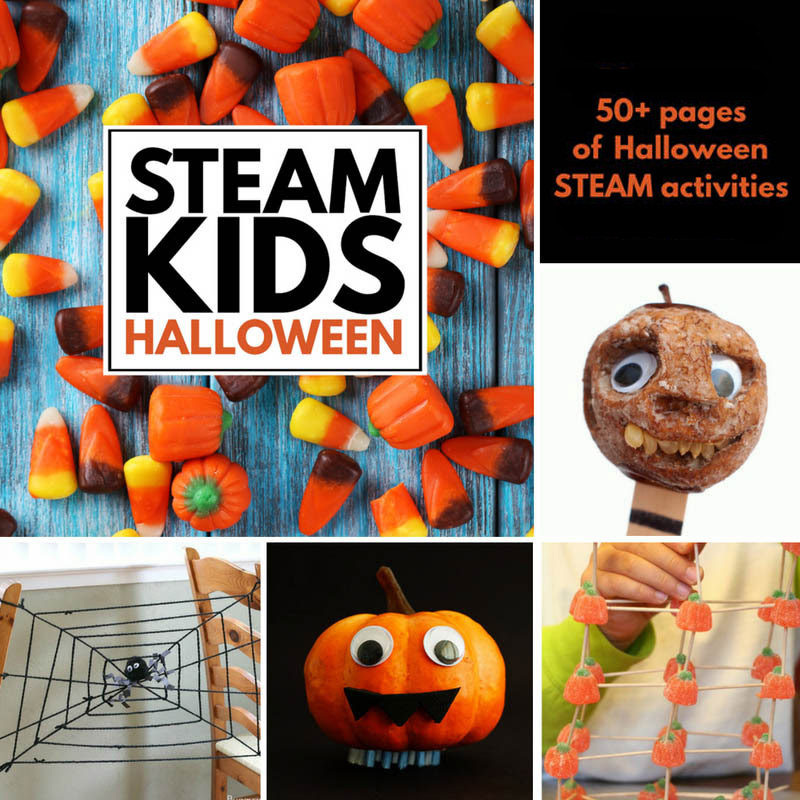
Looking for more Halloween projects that incorporate Science, Technology, Engineering, Art, and Math (STEAM)? Then you’ll love STEAM Kids Halloween.
This e-book includes 50+ pages of spooky fun STEAM activities that will wow the boredom right out of kids!
More Halloween resources
More Halloween posts from Gift of Curiosity:
- Books about Halloween
- Halloween sensory bin
- Candy experiments
- Halloween Montessori activities
- Ghost bubbles
- Toilet paper mummies
- Pumpkin decomposition experiment
- Describe a pumpkin using all five senses
- Drip painted pumpkins
- Halloween Printables Pack
- Jack-o-lantern Printables Pack
- Halloween Bingo
- Halloween do-a-dot printables
- Halloween Sudoku
- Pumpkin outlines
You can find more Halloween activities and printables on my Halloween Activities for Kids page and Halloween Activities for Kids Pinterest board.
Follow Katie @ Gift of Curiosity’s board Halloween Activities for Kids on Pinterest.

Such fun luminaries! Featured you on Mom’s Library this week!
Such a cute project! And easy. Good for 4 year olds.