

This post may contain affiliate ads at no cost to you. See my disclosures for more information.
I never really enjoyed history when I was in school. The subject always felt dry and boring to me.
It wasn’t until I started homeschooling my kids that I realized how fun learning history could be. We read stories, visit museums, and find hands-on ways to bring history to life. Thanks to all this, history is my daughter’s favorite subject right now!
One of the resources we use for learning history is The Story of The World: Ancient Times written by Susan Wise Bauer. The first chapters of the book discuss how we know what we know about ancient times. And a lot of what we know comes from the work of archeologists, or people who study human activity through the recovery and analysis of material culture.
After reading about the work of archeologists, I wanted to give my kids some hands-on experience. (If you’ve followed me for any length of time, you know that I am a HUGE proponent of hands-on education!)
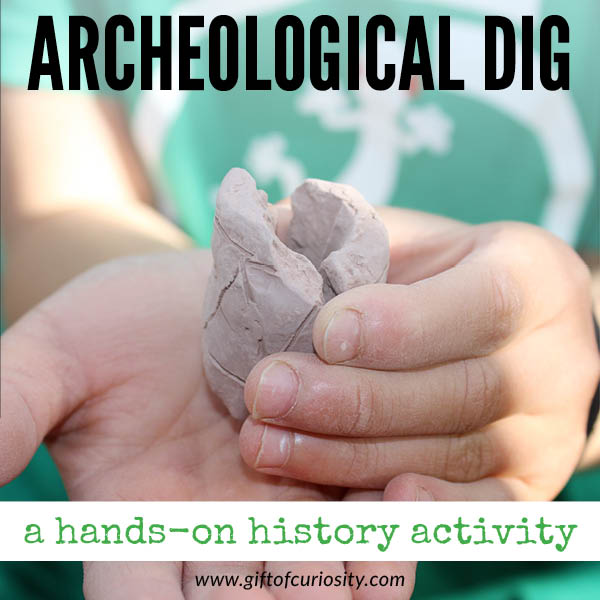
So thanks to an idea I got from reading The Brave Learner: Finding Everyday Magic in Homeschool, Learning, and Life by Julie Bogart, I decided to send my kids on an archeological dig.
This project unfolded over a couple of days.
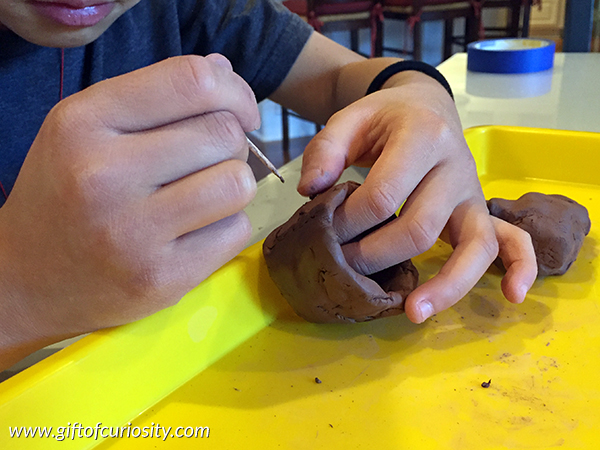
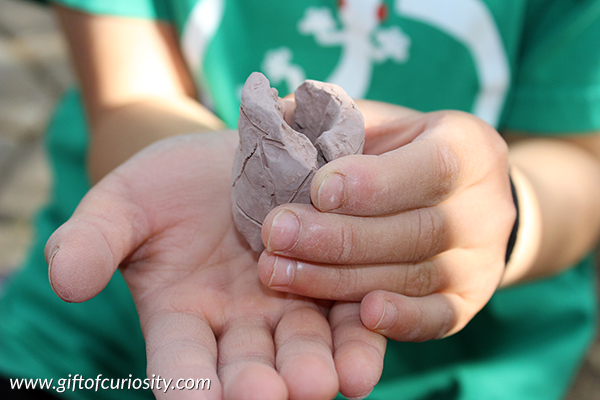
The first step was to have the kids make their own clay pots. We have some air drying clay they used for this. They both enjoyed making their pots.
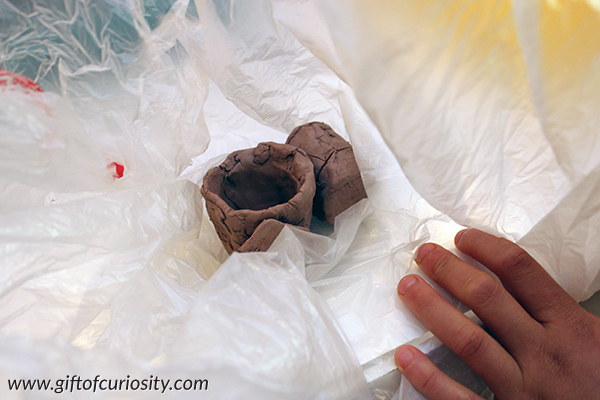
We waited a few days for the pots to dry. Then it was time to smash them.
Now, I got this idea directly from Julie Bogart’s book. She talked of having fond memories of being asked to smash her own pot when she was a child so she could later dig it up.
Well, my daughter was game to smash her pot. (Yay!)
My son was not so happy. (Parenting fail!)
So my advice: If you think this step will upset your child, make or buy a pot yourself rather than smashing your child’s work.
Anyway, we wrapped the pots in plastic before smashing them to help contain the pieces.
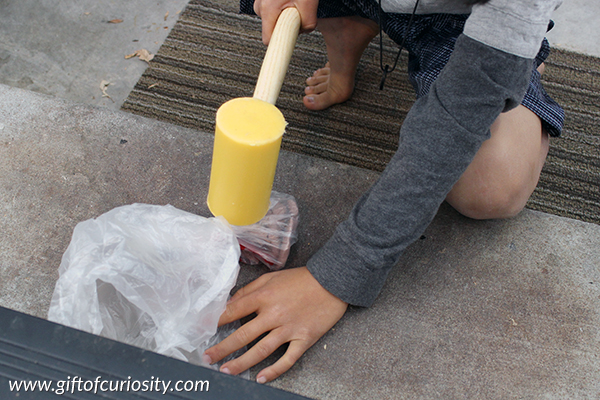
We used a mallet to gently break the pots into pieces.
Your goal is to break the pots into a few large pieces, not millions of tiny pieces. If the pieces are too small it will make the next part of the activity very, very difficult. So smash gently and carefully!
Later while the kids were busy inside, I took the opportunity to hide their pottery pieces in small dirt patches in our backyard.
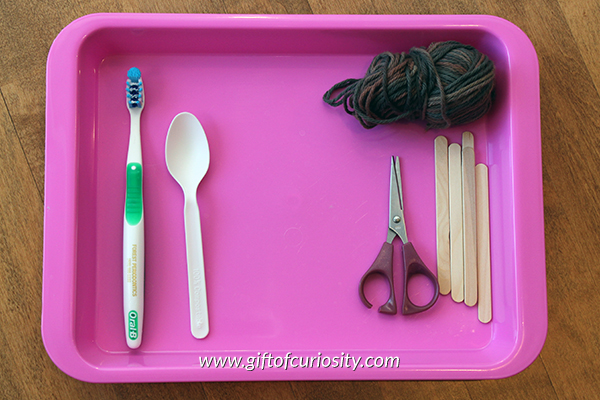
Then I prepared a tray of archeological tools for each child. The tray included a toothbrush, a spoon, string, sticks, and scissors.
I took the kids outside and assigned each of them a work area. (Their work areas corresponded to where I had buried their broken pots.)
I had them use sticks and string to mark off their work area.
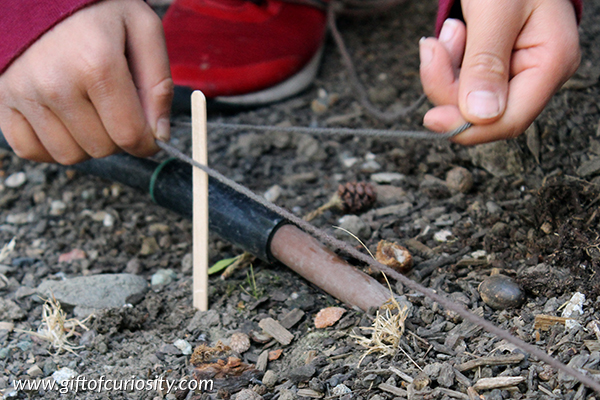
We discussed how real archeologists use string to divide their work areas into sections so they can carefully record exactly where each item they find comes from.
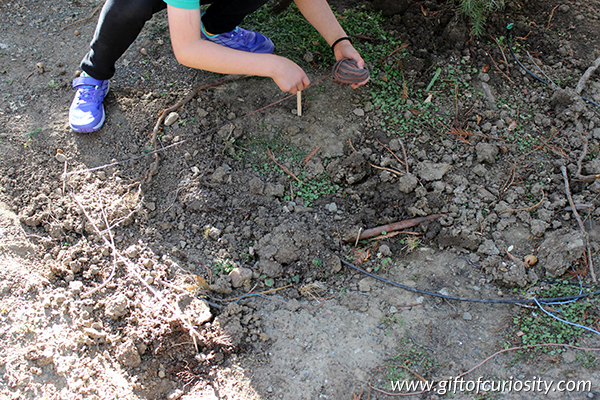
Once their areas were marked off, I encouraged the kids to use their tools to start digging.
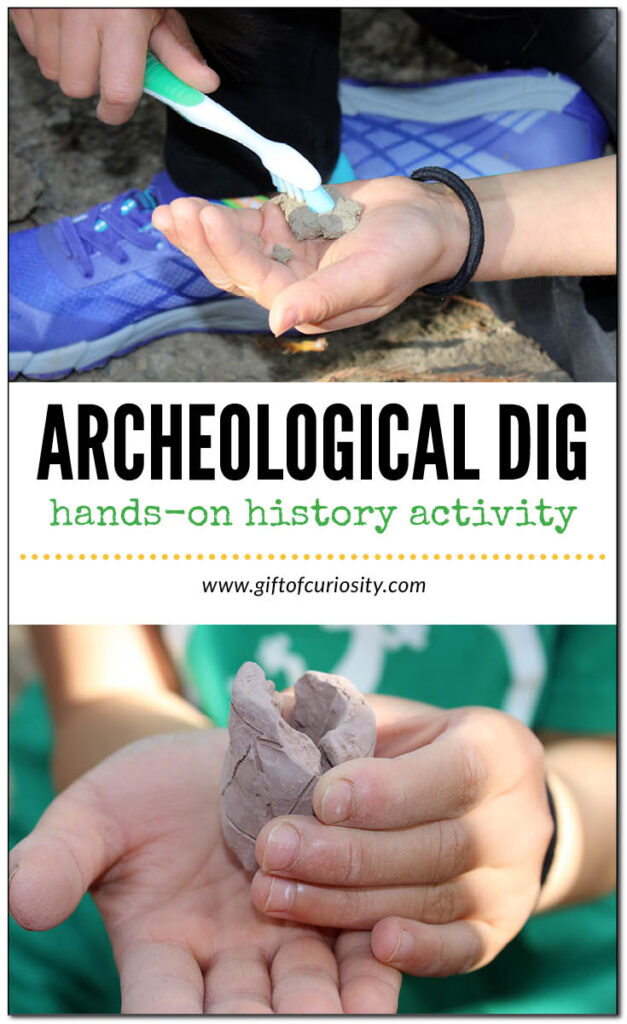
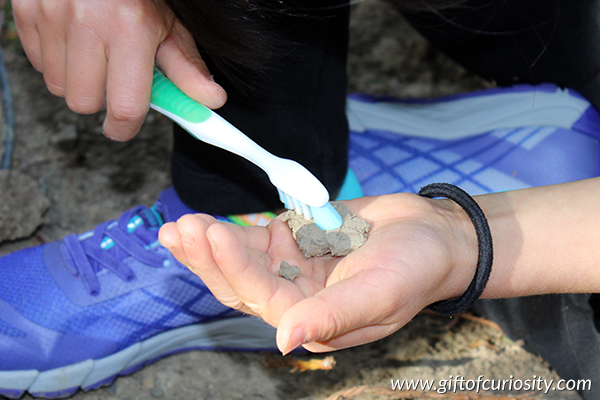
The used spoons to dig bigger pieces of dirt and toothbrushes to gently scrape dirt off potential pieces of pottery.
With a bit of work, my daughter found all the big pieces from her pot and was able to reconstruct it.
The final step, if you choose, is to have your child glue the pieces together.
My kids opted not to do this, but it would be a great opportunity to learn how painstaking archeological work can be!


We just dug in the yard. Found stuff that had been there for years. This was right in front of house. Where we are making an herb garden. Found things and discussed who might have left it. For instance. Broken brown glass. When the house was being built (my guess 1940) basement dug. Guy have a drink. Broke bottle on ground and it was buried. Metal object. Kid thinks gutter holder. Hubby who builds such says part of a weed cutter. More real. May not be 2,000 years ago or our max of earth age 6,000 but still shows how its done completely.