This post may contain affiliate ads at no cost to you. See my disclosures for more information.
I was recently browsing through a holiday catalog when I saw some snow globes for sale. But instead of wanting to buy them, I thought “Hey, I could make these with the kids!”
When it comes to Christmas activities for kids, these DIY Christmas snow globes were more complicated than a lot of crafts we have done. But the extra effort was well worth the reward. 🙂
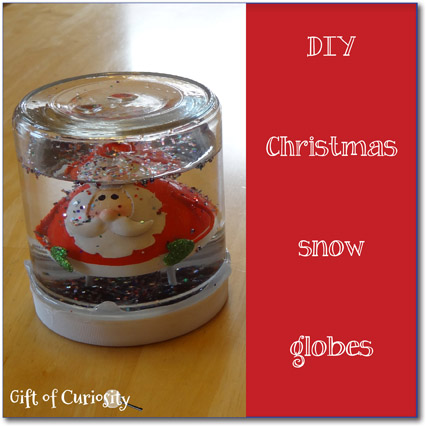
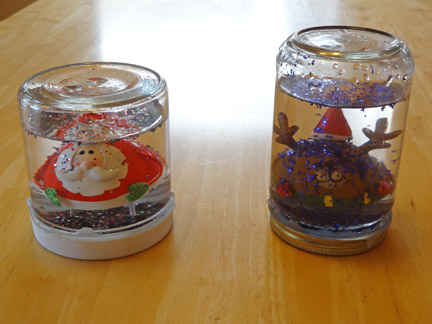
All you need to make these DIY Christmas snow globes is an empty wide-mouthed jar, a figurine to go inside, glitter, hot glue, and water.
Fortunately, I had saved some old jars that were just the right size for this project. I already had glitter and a glue gun on hand, and we picked up two figurines at the dollar store. So we were set to go!
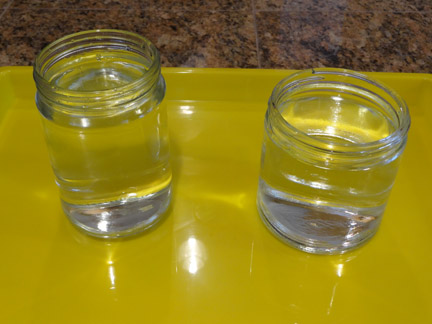
First, we filled the jars with water to just below the threads. (If you fill the jar to the top, the water will spill when you put the figurine inside.)
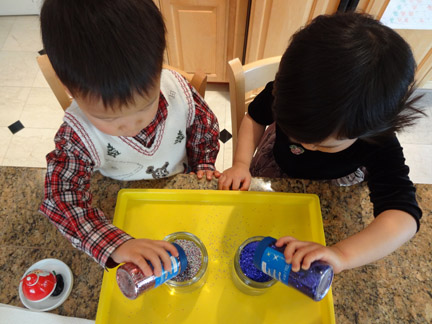
Then the kids added glitter to their jars. Lots and lots of glitter. 🙂
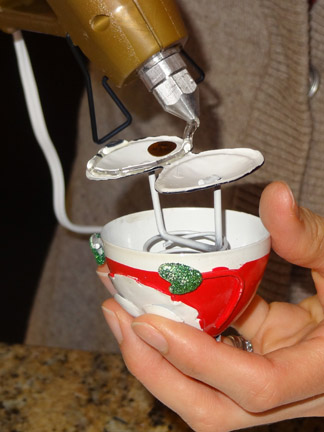
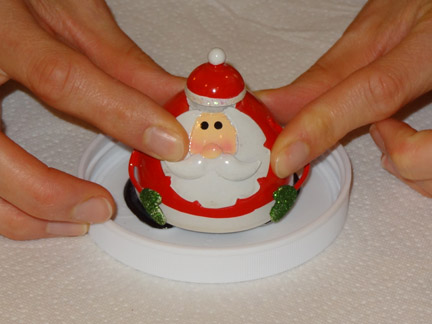
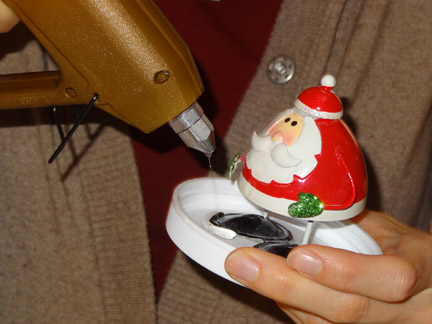
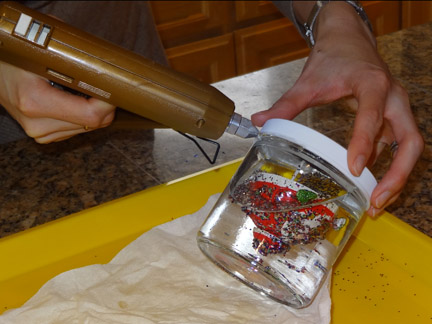
Then I put hot glue on the bottom of our figurines while my kids watched. (This is definitely an adult-only step!)
I carefully pressed the figurine into the center of the jar lid.
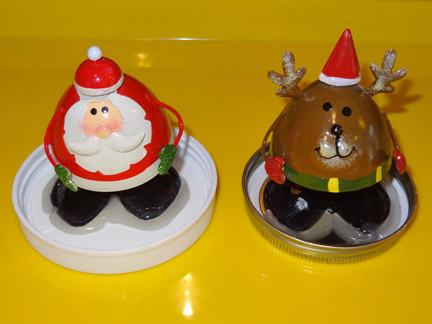
Then I added even more hot glue around the base of the figurine just to make sure it was securely stuck to the lid.
Repeat for the second figurine, and voila!
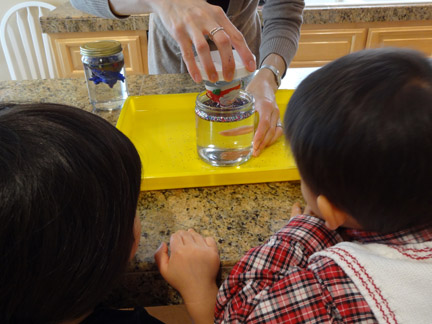
Next, I inserted the figurine into the water and screwed the lid on the jar.
Then, just to be safe, I added an extra layer of hot glue around the lid to prevent leaks. (Although they seem to hold the water well, I would not leave these any place where they would cause a huge mess if they were to leak.)
Once the glue dried, they were done!
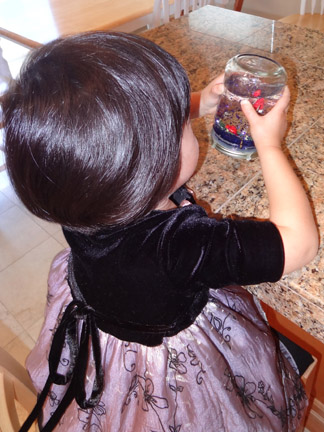
The kids had a blast turning and shaking them and watching the glitter swirl around.
More Christmas resources
More Christmas crafts from Gift of Curiosity:
- Q-tip painted Christmas tree
- Craft stick reindeer
- Paper plate reindeer craft
- Christmas tree ribbon craft
- Cinnamon Christmas ornaments
- Sand-filled Christmas ornaments
- Fine motor Christmas craft
- Gingerbread man craft
For more Christmas activities your kids will love, see my Christmas Activities for Kids page and my Christmas Activities for Kids Pinterest board.

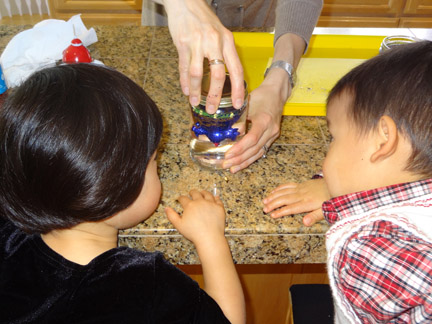
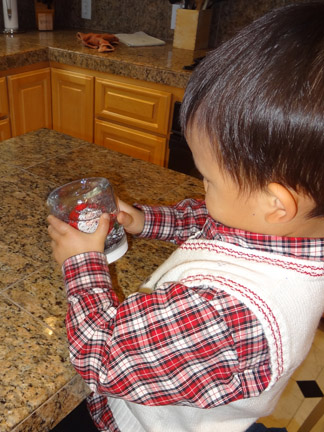


Very cute! And your kids look mesmerized by their new snow globes 🙂
Yeah, they were pretty bummed when it was nap time and they needed to put them down. 🙂
OOh! I love snow globes!!! These are so cute! 🙂
Cute! My little ones love snow globes! I’ve been wanting to make some now for a while, but the figures I buy keep getting taken by little ones!
I love this idea!! I just started a new Saturday linky called Share It Saturday and would love to have you come share your ideas each week. Thanks!!
http://teachbesideme.com
I just linked up some of my projects this week. Thanks for the invitation!
Thanks for sharing your sweet snow globes with us at Eco-Kids Tuesday!
Fun idea, bet the kids loved it!
Thanks for sharing at the Adorned From Above Blog Hop.
Adorned From Above,
Debi.
The Busy Bee’s,
Myrna and Joye.
I remember making these as a kid! What fun! Thanks for sharing on Eco Kids. I’m featuring this this week!
These are lovely! I was wondering about water leaking out, but adding the glue should work well.
Just FYI, I found that even with the glue one of our snow globes started to leak after a few days. So be sure to place your globe on a water proof surface!
I’ve always wanted to make one of these – ever since I started seeing them pop up on pinterest! What a super fun activity that would lead to so much more fun after it’s made! They came out SO cute!
I wanted to let you know I featured this at TGIF this week.
Thanks for linking up & have a GREAT weekend!
Beth =-)
Oh, how easy. We will have to try this. Yours came out so lovely! Thank you for sharing at Sharing Saturday!!
I actually made this this week, too! We did it with baby oil. It was really a fun project. Thanks so much for linking up at Share It Sat. I hope to see you again tomorrow!
Thank you for sharing your wonderful ideas!,