This post may contain affiliate ads at no cost to you. See my disclosures for more information.
When my children were preschool and kindergarten age, we did a lot of botany activities. In fact, we did an entire unit focused on seeds.
But now that my kids are older, I thought it was time to revisit the subject of botany so they could learn some key concepts from a more mature point of view.
I also wanted to incorporate some scientific method into our botany activities by having my children set up an experiment, make predictions, record observations, and expand their knowledge based on the results of the experiment.
And that is how we ended up doing this radish seed sprouting experiment.
Note: For more botany activities your kids will love, see my Botany Unit Study page.
The science of seeds
Seeds are small parts produced by plants for the purpose of growing a new plant of the same species. Seeds are an important component of plant reproduction.
A seed’s goal is to sprout or grow into a new plant. But for a seed to sprout, conditions must be optimal. This ensures the plant has the best chance of survival. Typically, seeds will sprout when three distinct needs have been met:
- they have sufficient water
- temperatures are sufficiently warm
- they are in a good location (such as quality soil)
When conditions are right, roots pop out of the seed and push down into the soil to anchor the new plant to the ground. Further, the shoot (stem) grows upwards toward light.
One interesting fact about seeds is that they carry a food supply within them to feed the sprouting plant during the early stages of growth, until the plant becomes capable of making its own food through photosynthesis. (Photosynthesis is the process by which green plants take energy from the sun to turn carbon dioxide and water into a carbohydrate food source for the plant.)
Books about seeds and plants
Along with doing this seed sprouting experiment, I recommend reading one or more books related to seeds and plants. Reading books is a great way to provide your children or students with background information so they can make good hypotheses and draw sensible conclusions about their findings.
Here are a few good books you might want to try, along with recommended ages.
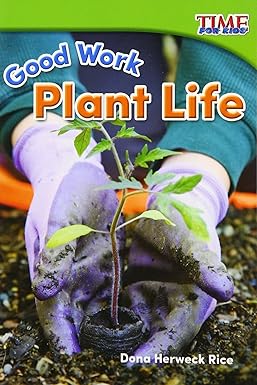
Good Work: Plant Life by Dona Herweck Rice. Ages 3-6.
Seed to Plant by Kristin Baird Rattini. Ages 4-6.

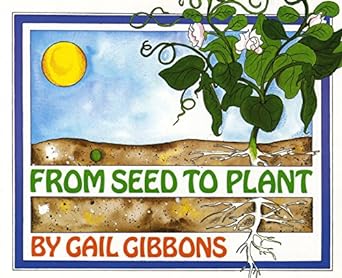
From Seed to Plant by Gail Gibbons. Ages 4 to 8.
How a Seed Grows by Helene J. Jordan. Ages 4 to 8.

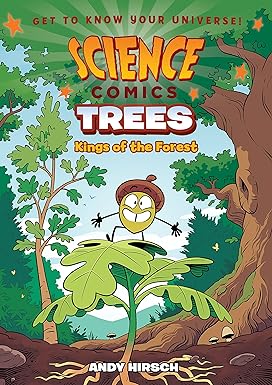
Science Comics: Trees: Kings of the Forest by Andy Hirsch. Ages 9 and up.
Trees, Leaves, Flowers and Seeds: A Visual Encyclopedia of the Plant Kingdom by DK. Ages 9 and up.

Seed sprouting experiment, part 1
To do this seed sprouting experiment, you will need the following materials:
- Radish seeds
- 2 small, shallow containers
- Paper towels
- Water
- Paper bag or box to block light
- Light and Dark labels
- Seed Sprouting Experiment, part 1 and Seed Sprouting Experiment, part 2 student worksheets (2 pages each)
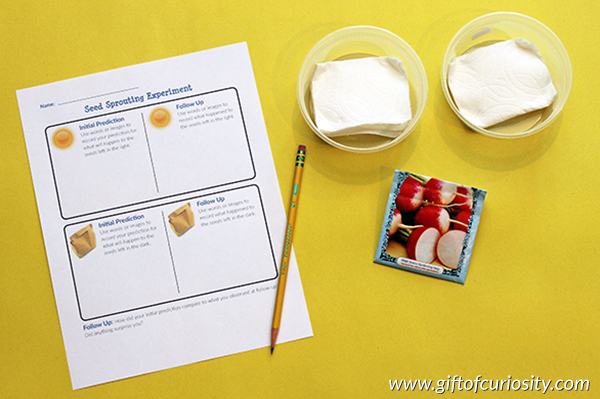
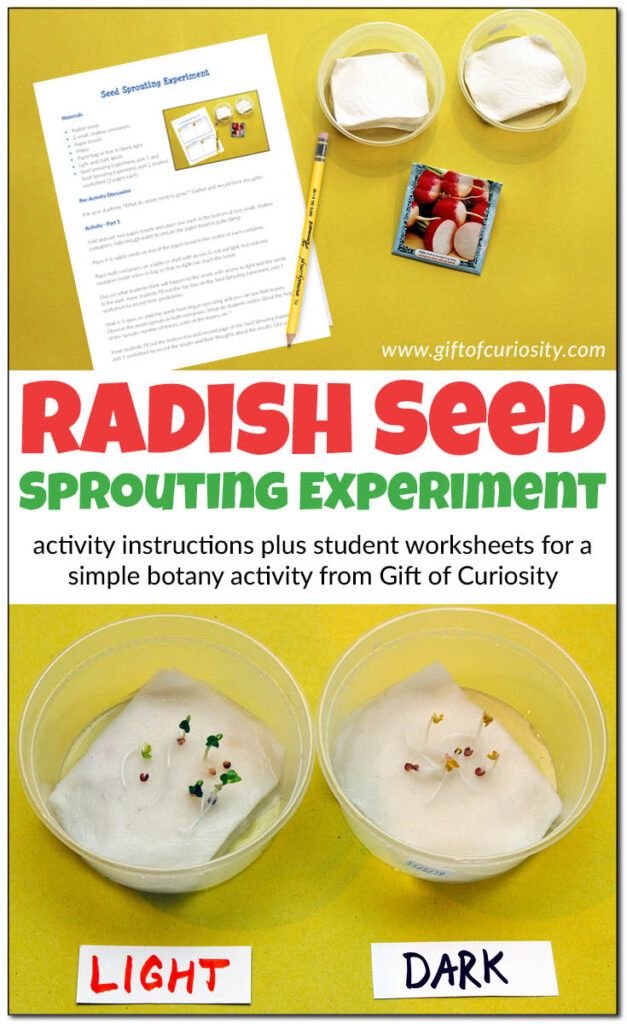
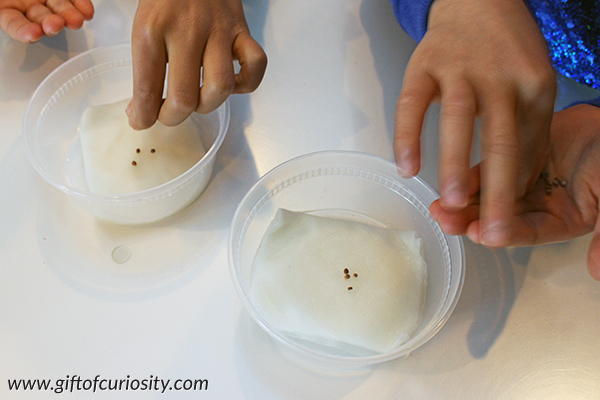
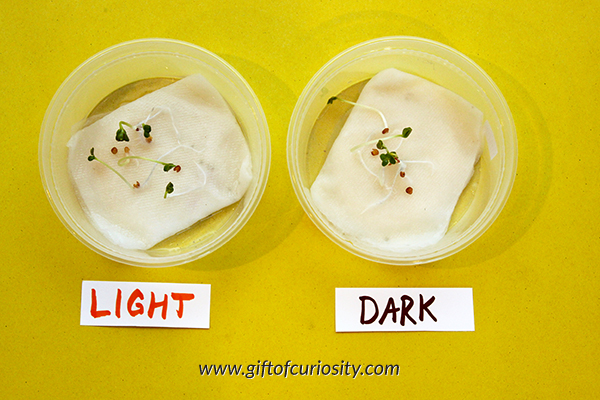
Fold and wet two paper towels and place one each in the bottom of two small, shallow containers. Add enough water to ensure the paper towels are quite damp.
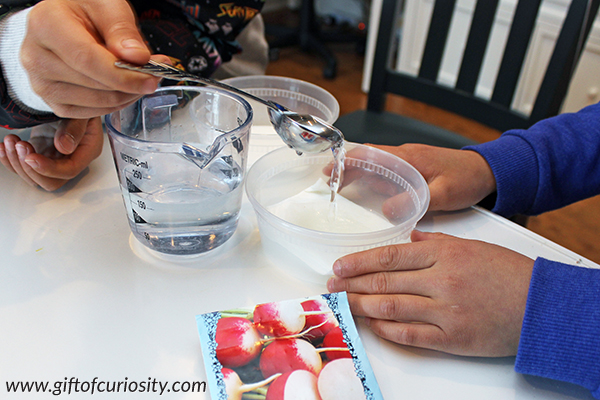
Grab some seeds. I recommend radish seeds due to how quickly they begin to germinate.
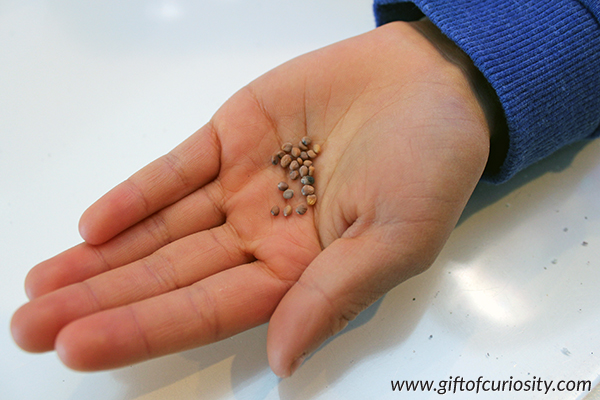
Place 4-6 radish seeds on top of the paper towel in the center of each container.
Label one container “light” and one container “dark.”
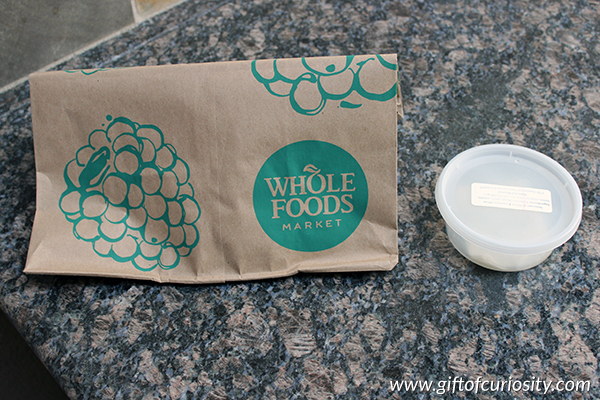
Place both containers on a table or shelf with access to natural light, but seal the dark container inside a box or bag so that no light can reach the seeds.
Discuss what your children think will happen to the seeds in the light and dark containers.
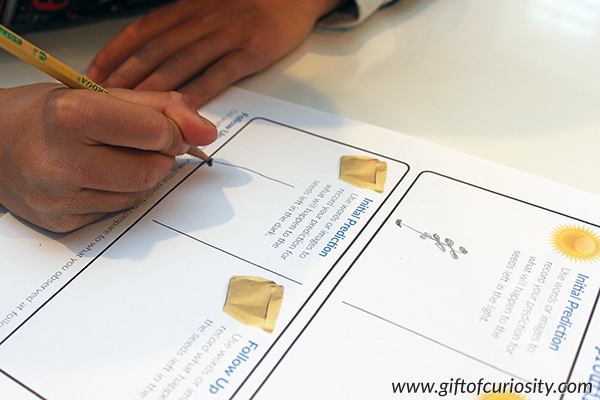
If you like, have your children record their predictions on the Seed Sprouting Experiment, part 1 worksheet.
Wait 4-5 days, or until the seeds have begun sprouting and you can see little leaves.
Observe the seeds/sprouts in both containers. What do students notice about the height of the sprouts, number of leaves, color of the leaves, etc.?

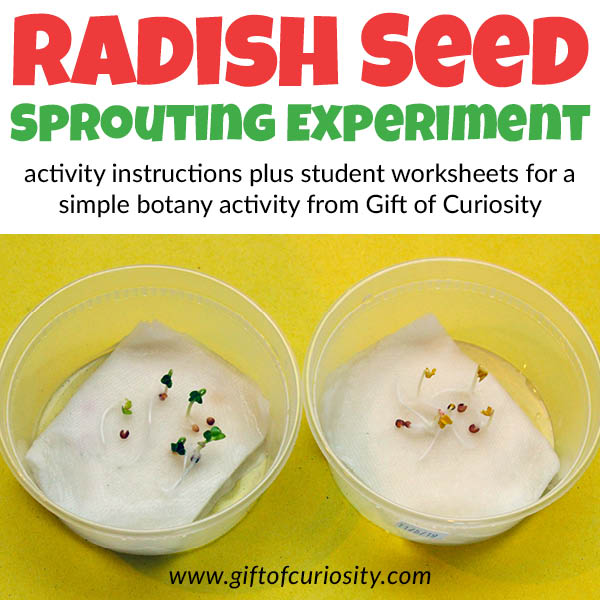
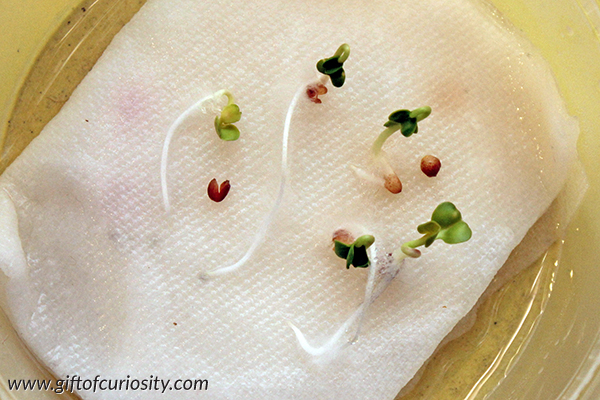
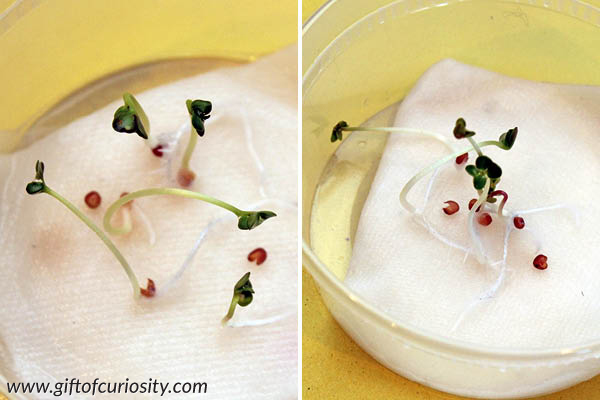
We noticed that the leaves in the light container were green.
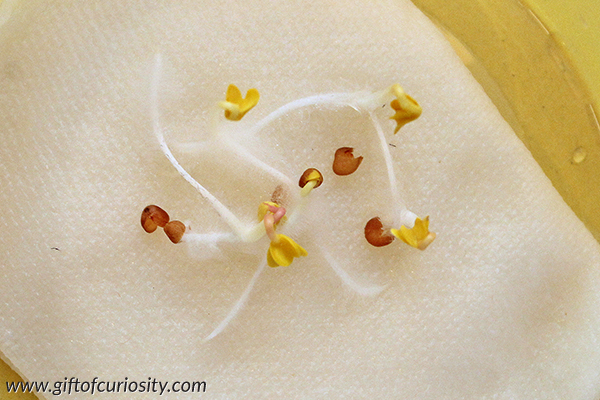
But the leaves in the dark container were yellow.
Here is a side-by-side comparison of the seeds in the light and dark containers.
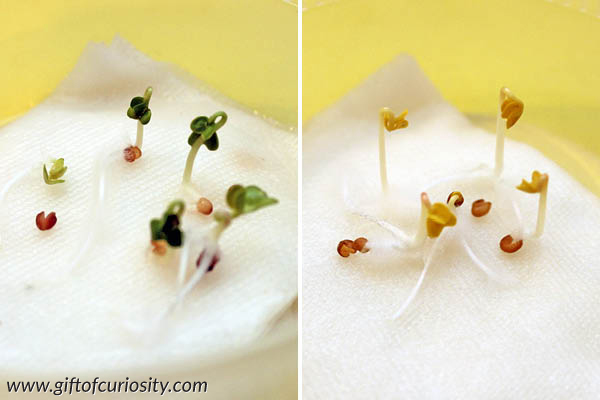
Ask your children why they think the leaves in the two containers look so different.
Hint: It has to do with a special compound in leaves called chlorophyll that give leaves their green color.
Chlorophyll is essential for plant photosynthesis, as it allows plants to absorb energy from light to create their own food. Chlorophyll absorbs most colors of light energy during photosynthesis, except for the color green. Because the green light is reflected back more than other colors, leaves appear green.
However, when a plant does not receive enough light, it is not able to produce new chlorophyll. Without chlorophyll, a plant will lose its green color. It will also eventually die due to its inability to produce food to sustain itself.
At this time, you may wish to have students complete the rest of the the Seed Sprouting Experiment, part 1 worksheet.
Seed sprouting experiment, part 2
To show just how important light is for a plant, consider extending the activity by an extra day. This time, leave both containers where they have access to light.
If you wish, have your children make predictions about what will happen on the Seed Sprouting Experiment, part 2 worksheet.
Wait 24 hours. Then observe the seeds/sprouts in both containers. What do your children notice now? In particular, what changes have occurred in the seeds/sprouts in the dark container that finally had access to light?
We were surprised at how quickly the leaves on the sprouts from the dark container turned green. They were nearly indistinguishable from the leaves from the light container after just 24 hours.
At this time, you may wish to have students complete the rest of the the Seed Sprouting Experiment, part 2 worksheet.
Want a copy of my Seed Sprouting Experiment printable?
Add this product to your cart by clicking the button below!
More resources for learning about seeds
More posts about seeds from Gift of Curiosity:
- Books about seeds
- Exploring seeds from packets
- Exploring seeds from nature
- Seed medallions craft
- Experiment: Do seeds need light to grow?
- Experiment: What temperature do seeds like?
- Experiment: Do seeds need air?
- Experiment: Do seeds need their seed coat?
- Experiment: What liquids do seeds like?
