This post may contain affiliate ads at no cost to you. See my disclosures for more information.
I’m a Montessori newbie. I love the theory and the goals behind Montessori and I’m learning more every day. But some days my knowledge still feels really inadequate. I would *love* to be a fly on the wall in the homes of some homeschooling moms who use a Montessori approach. But since I’m not in people’s homes, I get lots of ideas from others’ blogs showing what activities they are doing with their kids.
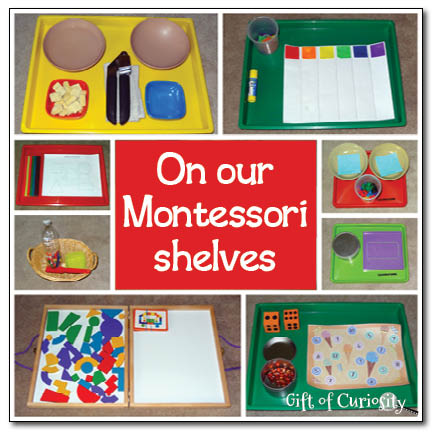
If you read this blog regularly, you know that we just recently installed some Montessori shelves in our office. And since I enjoy peeking in on others’ activities, I thought I’d share what is on our shelves at this moment.
Aside from a few typical Montessori materials such as the pink tower, small numerical rods
and knobless cylinders
, I have created several other trays with activities for the kids. And in no particular order, here they are!
Ice cream dice game
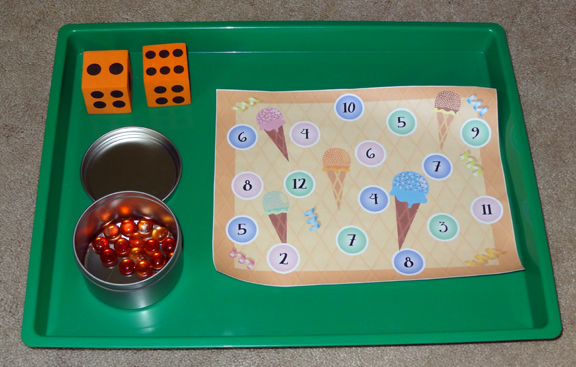
I printed out the ice cream dice game and paired it with two jumbo foam dice and a tin filled with glass stones. QBoy plays by rolling the dice, adding up the total, and placing a glass stone on the number that matches the total. XGirl doesn’t yet recognize her numbers, but she enjoys rolling the dice, counting the dots, and then placing that many glass stones on the board.
Garlic press activity
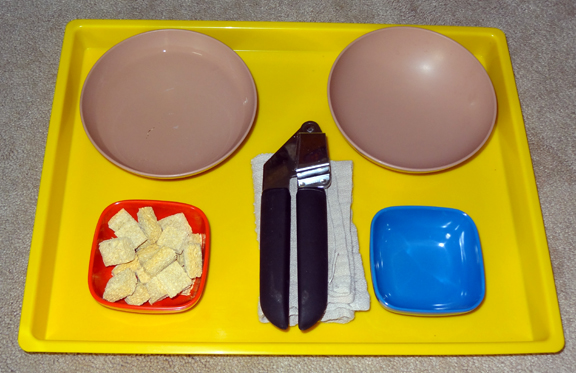
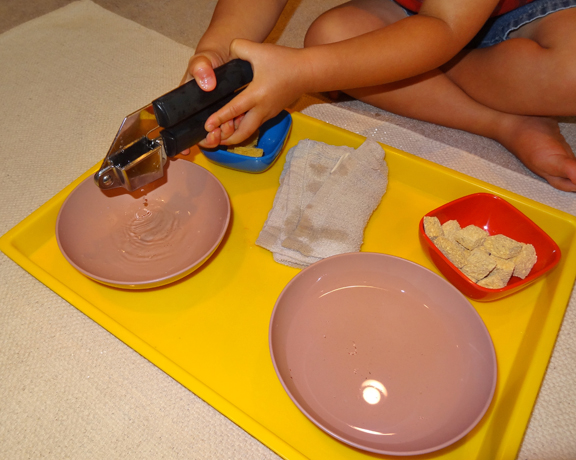
For this activity, the kids dip a small sponge into the bowl filled with water on the left. They then place the sponge into the garlic press and squeeze the water out of the sponge into the bowl on the right. The used sponge goes into the small blue container. I’ve included a rag to clean up any spills.
The garlic press activity was one of the first activities the kids were drawn to when I put the new trays out on the shelves. It provides great fine motor practice and is a wonderful practical life activity.
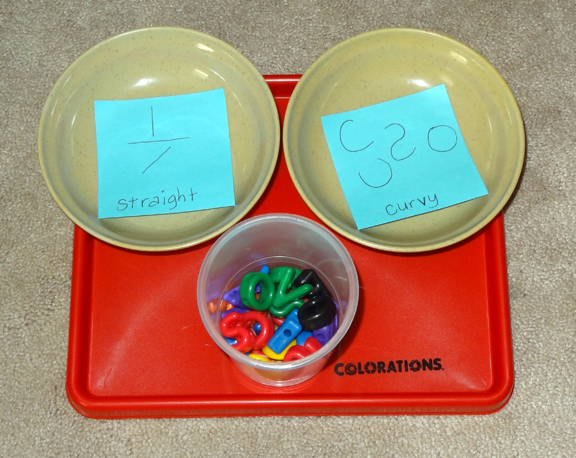
Straight or curvy
This tray was designed with XGirl in mind. Using our letter beads, I found letters that had only straight lines (e.g., M, V, X) or only curvy lines (e.g., O, C, S) and I put them into a cup. XGirl (and QBoy if he wants) will sort the letters into separate bowls depending on whether they have straight or curvy lines.
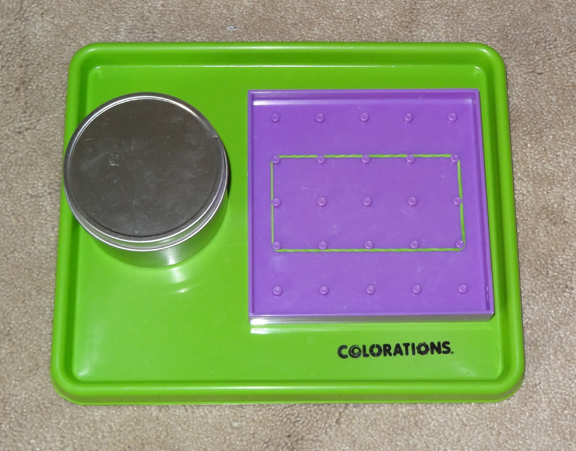
Geoboards
On this tray I set out one of our double-sided geoboards and a tin full of rubber bands. The kids can use the rubber bands to make shapes on the geoboards. Since this is the first time I have set out the geoboards, I am going to just let the kids explore them. I might then later introduce some control cards with images the kids can try to reproduce on the geoboards.
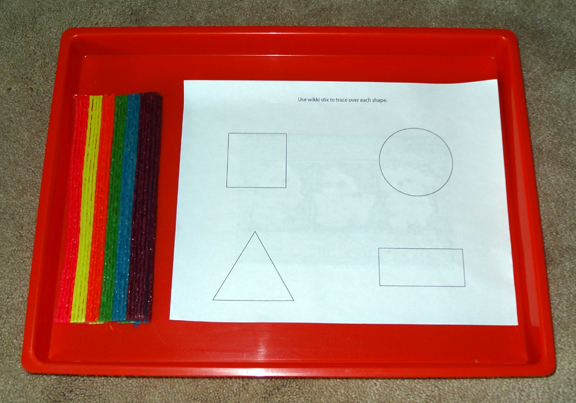
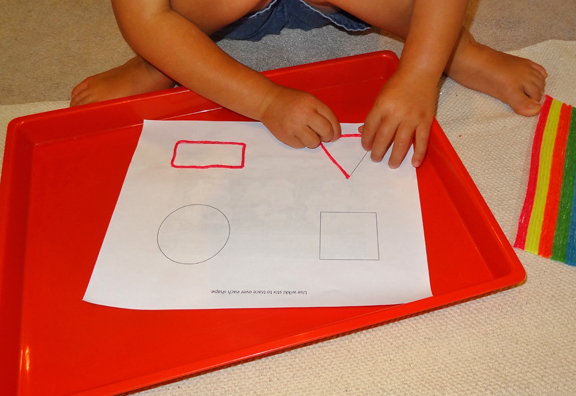
Making shapes with Wikki Stix
For this tray I printed out a shapes tracing worksheet designed to be used with our 8″ Wikki Stix.
QBoy has been fascinated with Wikki Stix lately, ever since we went to a restaurant that was handing out Wikki Stix to all the kids. So I wasn’t surprised when he gravitated toward this activity and began to trace the shapes. He knows the names of these basic shapes already, but it was a good opportunity to reinforce their names and also for him to practice some challenging fine motor skills.
Color graph
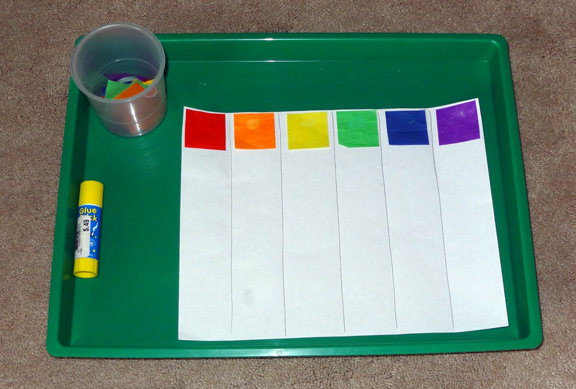
For this tray I made a chart by gluing six colors of tissue paper squares across the top of a sheet of paper. I placed additional tissue paper squares
in the cup along with a glue stick so that XGirl can glue matching colored squares onto the graph.
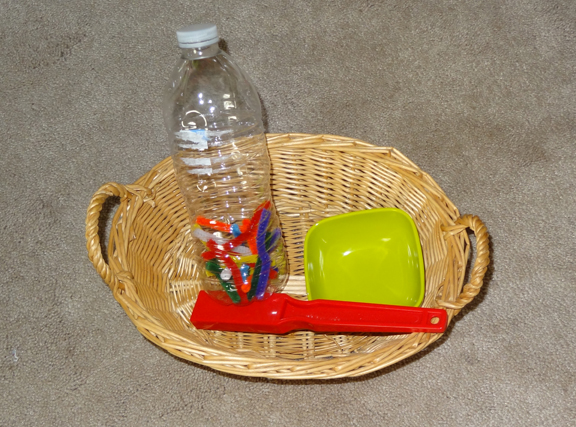
Use a magnet to get the pipe cleaners out of the bottle
I set this tray out to reinforce a prior lesson on magnets. The kids have to remove the pipe cleaners from the bottle using the magnetic wand from our Fun with Magnets kit. They will then place the pipe cleaners into the green container.
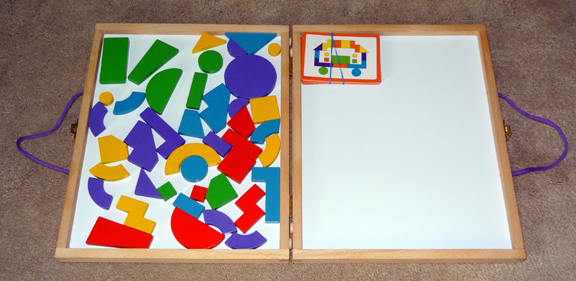
Copy the image using Imaginets
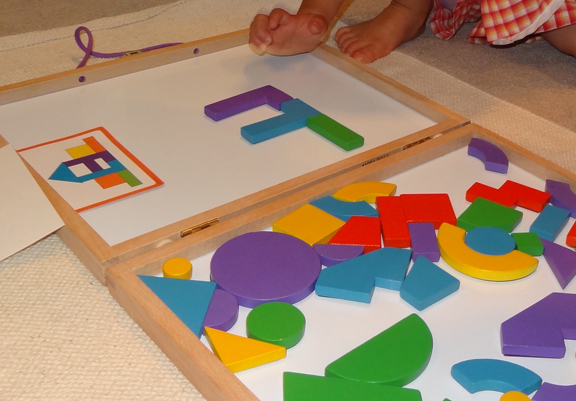
This wasn’t a tray per se. Instead, I placed our Imaginets set on the shelves for the kids to pull down and play with. On one side are all the magnetic shapes. On the other side, they can select one of the cards and then use the shapes to copy the image on the card.
XGirl worked diligently to create this house. She was so proud of herself when she finally finished putting it together!
And that’s a glimpse of what’s on our shelves right now!
More Montessori resources
More Montessori posts from Gift of Curiosity:
- Apple Montessori activities
- Ocean Montessori activities
- Farm Montessori activities
- Winter Montessori activities
- Valentine Montessori activities
- Christmas Montessori activities
- Montessori caves unit
- Practical life activities using food
- Montessori continents activities
- Montessori sandpaper letters
- Montessori printables
Foe more Montessori ideas, see my Montessori activities page and my Montessori Pinterest board.
Follow Gift of Curiosity’s board Montessori on Pinterest.
Products mentioned in this post:


Love it! My son did the garlic press activity so often that he got over it in just over a week! talk about repetition! 🙂 New subscriber and fellow Montessori-ish mama.
I’m still struggling to find the sweet spot to have activities that will keep my kids engaged day after day. Of course, my son is four so maybe it’s normal that he doesn’t engage with practical life activities time and time again? I’m definitely still learning. . . 🙂
Wow! I love these ideas! I am very interested in learning more about Montessori. My daughter would love these activities. We are working on numbers right now, so I am especially excited about trying the ice cream cone activity.
I’m definitely still learning! I just signed up for a year-long online training course on Montessori. Can’t wait to learn more! Hope your daughter enjoys the ice cream cone activity!
Teaching Montessori in the Home: Preschool Is a great useable book full of ideas for true Montessorian senatorial, etc. exercises. Even templates for things to make at home. Also we use chop sticks and those big perler beads or transfer beads etc. Neinhuis catalog is great. Alison’s Montessori. Just a great way to get AMI ideas.
These trays are so creative. I love the letter sort tray and the garlic press tray. My toddler ALWAYS loves it when he gets a water tray for tot school, but I usually have to monitor that tray very carefully so he doesn’t get water every where. 😉 I can’t wait to see more trays that you are doing because your ideas are amazing.
Too funny about your toddler and water trays. So far my kids have been very cautious. I think they know they would lose the privilege if they made a big mess with them. But of course, my kids are past the toddler stage, and toddlers are notoriously difficult!! 🙂
I’m truly amazed at all the cool stuff you are doing with them 🙂
I love the curve vs. straight line activity you’ve shown on this post! It’s always fun to stop by and see what you’ve been up to.
Thanks so much! I’ve gotten so many great ideas from your blog as well!
I just started following your blog and I love it! I am sure if I searched long enough I could find this information, but I think asking will be quicker. Where did you get all of your trays? They are bright and it seems just the right size.
Thanks for following along Jen! I got my trays from two different sources.
The large trays I got at Lakeshore Learning: http://goo.gl/zNjQWt
The small trays I got from Discount School Supply: http://goo.gl/mJscLd
🙂
Oh, some great activities. I never saw the magnet and pipe cleaner one, but love it and will have to try it. Thank you for sharing at Sharing Saturday!!