


This post may contain affiliate ads at no cost to you. See my disclosures for more information.
When the kids and I were in the middle of our pirate unit, we discussed how pirates often used telescopes to help them see far into the distance. We decided to build our own fully functioning telescope so we could be just like pirates! Read on to learn how to make a telescope that your kids can use and enjoy.
Note: For more kid-friendly science activities, see my Science Activities for Kids page.
I purchased a build-your-own-telescope kit from RAFT, which is a great organization that upcycles discarded materials into educational activities. (If you can’t find a telescope kit from RAFT, you can check out this one available on Amazon.)
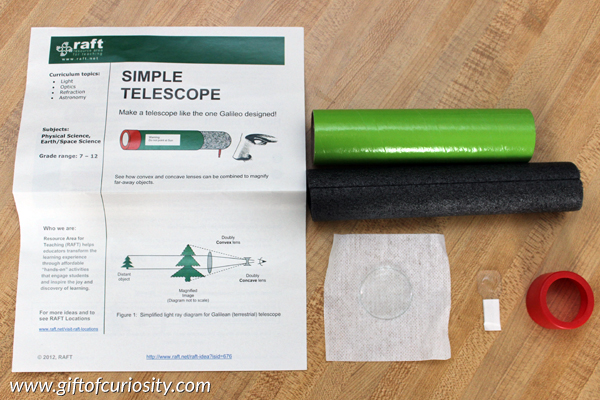
This picture shows the contents of our kit, which included:
- an outer tube (the green one)
- an inner tube (the black one)
- A convex lens
- A concave lens
- A red lens cap to hold the convex lens in place
- A cloth to clean the lenses
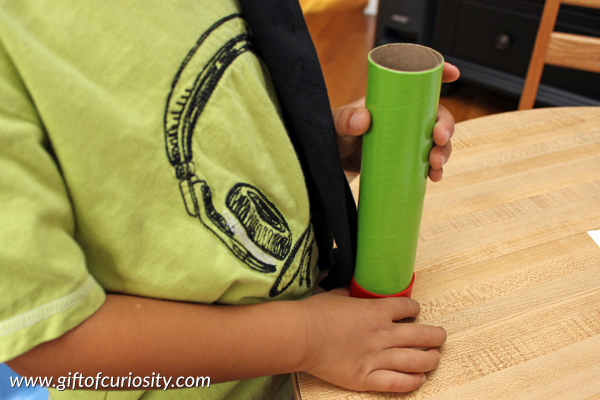
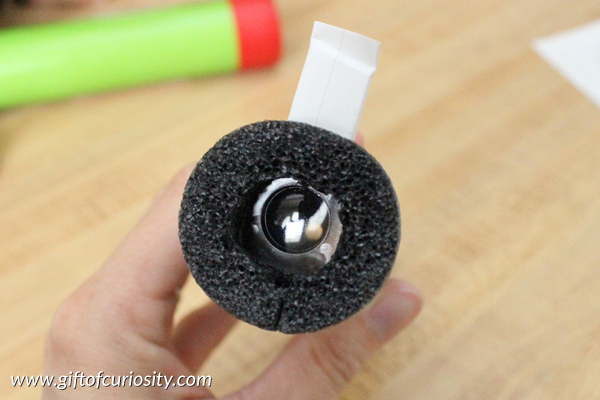
My son helped me to assemble the kit by placing the large, convex lens in the green tube. He secured it in place with the red lens cap.
Then I let him experiment a bit to see what the convex lens did. He noticed that things looked a bit larger when viewing them through the convex lens.
Then we inserted the concave lens into the end of the black tube.
Again, I let my son play a bit. He observed that things looked a bit smaller when viewing them through the concave lens.
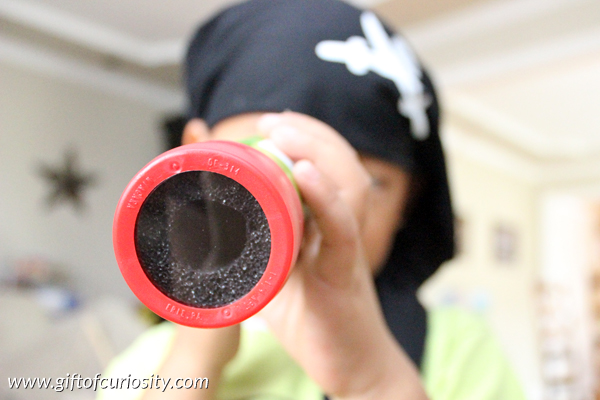
We then assembled our telescope by inserting the black tube with the concave lens into the green tube with the convex lens.
At this point, I asked my son what he thought would happen when we combined the two lenses together. He made a very reasonable prediction that things would look medium (since one lens made things look bigger and one lens made things look smaller).
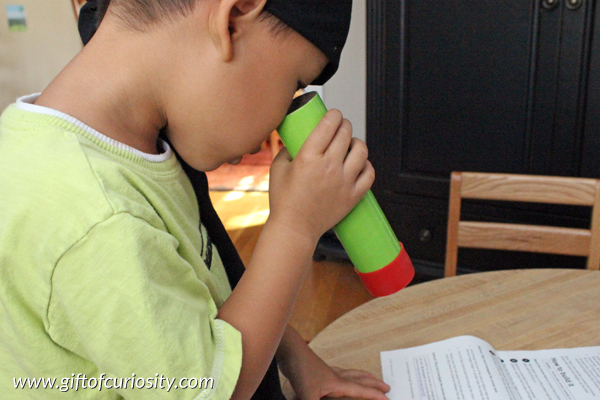
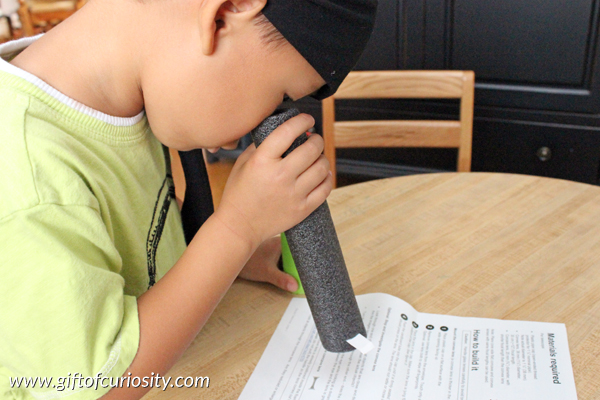
At this point, I handed him the telescope and let him adjust it so he could focus on a distant target. Somewhat to his surprise, things did not look medium. Instead, using the telescope made things look much bigger!
I left the telescope on our shelves for a few weeks, as the kids would often pick it up and wander around the house looking at things with it. It was great practice for them to have to adjust the telescope to look at objects at varying distances.
Plus, we learned that the key to making a telescope is to combine a concave with a convex lens in order to magnify what we are seeing. Science lesson learned!
More science activities for kids
More science activities from Gift of Curiosity:


Have you done other RAFT kits? The colors of light looks interesting but there’s very little info on the site about what results we can expect from the simple kits. Love the idea of RAFT! Never heard of it before. The telescope looks cool, too. I can see my kids liking these types of activities!
RAFT is local to me and I’ve toured their facility so I understand their philosophy. Their prices are really reasonable because they take items from local companies that would otherwise go to the dump (things like CD cases, plastic caps, foam pieces, beads, straws, etc.) and find ways to package them so teachers can buy inexpensive, ready-made kits with re-purposed items. It’s a win-win for all!
I have purchased and used several of their kids, including the Roller Racer kit (the kids I did that one with LOVED it) and another one where we made harmonicas out of craft sticks and rubber bands and another one where we made kaleidoscopes. I have a few more kits at home that I plan to use in the next few months.
Do you feel this is simple enough to do with a group of 1st – 3rd graders? We would have 15ish children and 2-3 adults.
I was working one on one with my kids. It would be a challenge with that age group if you don’t have a good adult-to-child ratio.
This looks like so much fun! Do you think a group of 10-15 3rd-5th graders could do the project with 2 adults?
I would expect so, especially if they can read the instructions and follow them.