This post may contain affiliate ads at no cost to you. See my disclosures for more information.
Over the years, my kids and I have learned a great deal about the animals that live in the Arctic region of the planet. More recently, I wanted to spend some time learning about the Inuit people who live in the Arctic region. I showed my kids a fascinating video of an Inuit boy learning to build an igloo for the first time.
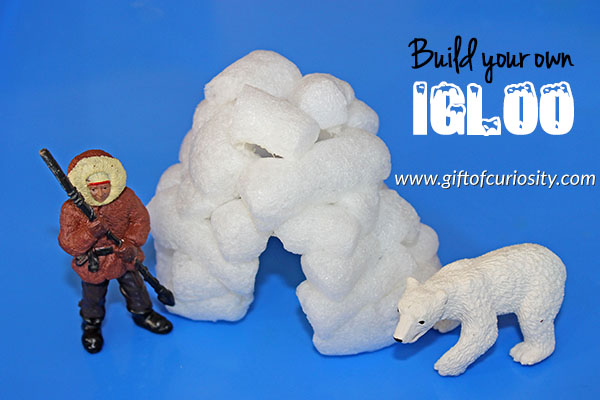
After watching that video, we were inspired to make our own igloos. Living well below the Arctic region, we did not have access to any snow for building an igloo. Instead, we created this simple igloo craft using cornstarch beads.
Note: For more Arctic activities, see my Polar Animals and Lands Unit Study page or grab my Arctic Unit Study.

For this cornstarch bead igloo craft, I set up a tray for each of my children with the following materials:
- a container of cornstarch beads (aka, biodegradable packing peanuts)
- a small container with a piece of damp sponge
- a small piece of cardboard as the base upon which to build the igloo
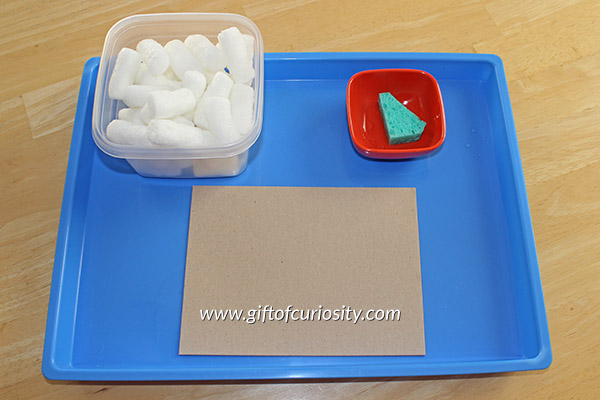
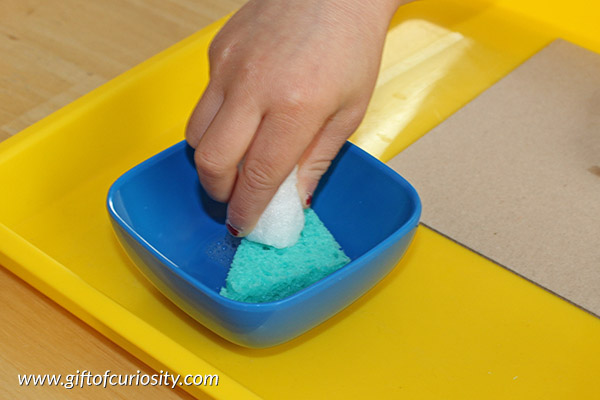
Cornstarch beads are awesome because they are totally non-sticking when dry, but become quite sticky when damp. My kids simply had to touch one side of the cornstarch beads to their damp sponge and then stick them together. Within seconds the beads adhered to each other quite well and with very little mess.
Note that you only want to get the cornstarch beads damp, not wet. That is why it is best to touch them to a damp sponge rather than dip them into a bowl of water. If the cornstarch becomes too wet, it will quickly dissolve, leaving you with nothing more than a gooey mess.
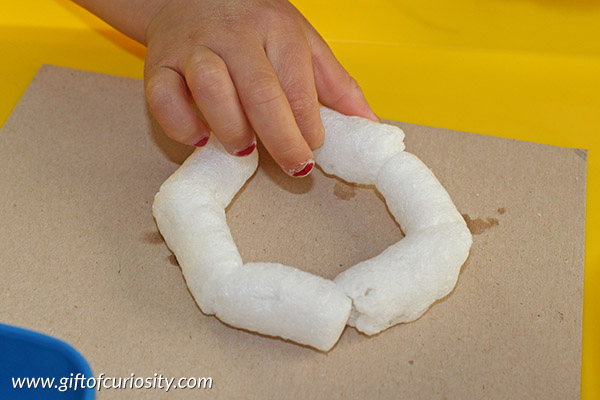
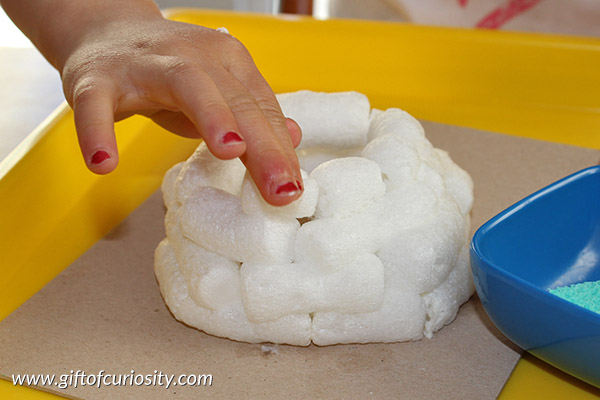
To create our igloos, I encouraged my kids to begin by forming their cornstarch beads into a circle in order to make a base.
Once they had their base, they added a second layer of cornstarch beads on top. As they started building their igloos up, I worked with them to ensure they made each new circle a bit smaller than the one before so that it would eventually form a dome.
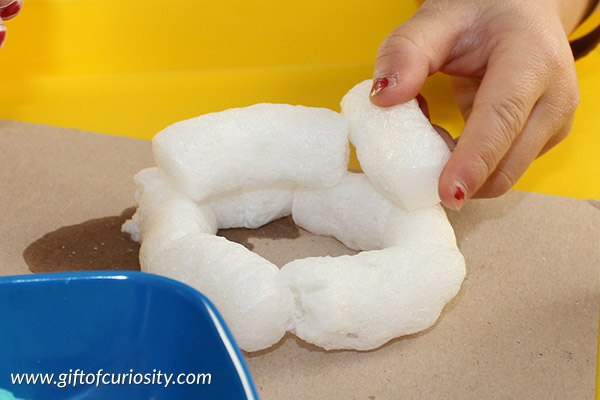
The number of layers required to close the dome will depend on how big your first circle is and how much you angle each subsequent layer inwards. As you can see in this image below, it only took my daughter a few layers to finish her dome.
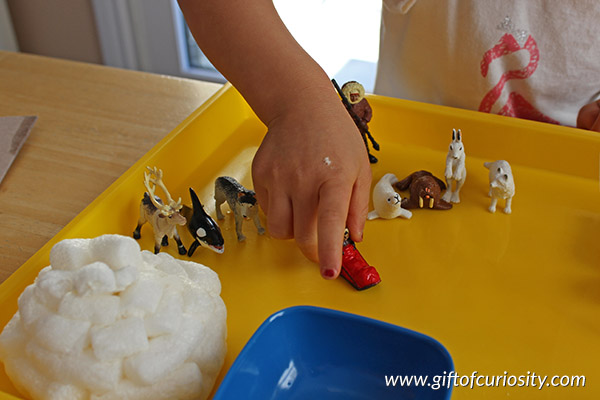
Once my daughter finished her dome, it was time to bring out the figurines from our Safari Ltd Arctic TOOB for some dramatic play. 🙂
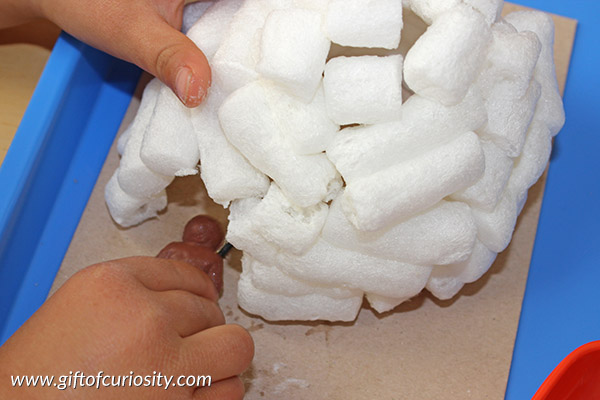
In the image below of my son’s igloo, you can see that his igloo has a door.
This is something you can do after the igloo has been created. It is very easy to do with scissors or simply by getting the cornstarch beads wet enough to dissolve them.
P.S. I was lucky enough to receive our cornstarch beads in a package I got in the mail. However, you can also order them at Amazon or look for them from your local mailing supply store.
More Arctic learning resources
More Arctic animals posts from Gift of Curiosity:
- 9 Arctic animals learning activities
- Books about Arctic animals
- Arctic animal videos
- Arctic Animals Printables Pack
- Arctic animals camouflage activity
- Where Arctic animals live activity and printable
- Arctic ice sensory play
- Blubber experiment to show how animals stay warm
- Arctic animals do-a-dot printables
- Arctic animals Bingo



This is really neat! I will have to give this a try. I am sure my son would love it!