


This post may contain affiliate ads at no cost to you. See my disclosures for more information.
When doing art with my kids, I love to explore new media.
While we have used chalk to draw on our sidewalk. . .
and we’ve used sandpaper to make wood smooth. . .
we had never used chalk and sandpaper together to create art.
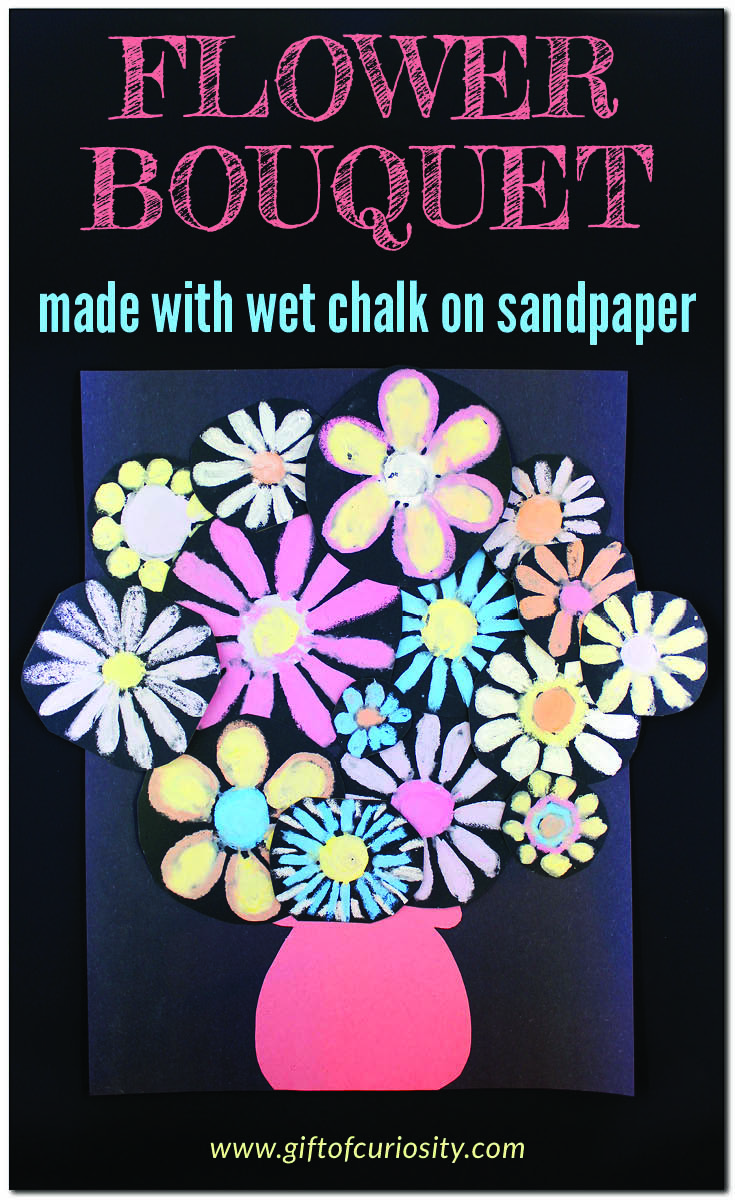
Fortunately, this flower bouquet project gave us the opportunity to make beautiful art with wet chalk and sandpaper.
Wet chalk gives a thicker, more intense color than dry chalk. And using sandpaper as our “canvas” not only provided a nice sensory aspect to the activity, it also caused the chalk to lay down its vibrant colors more thickly.
Note: For more art projects your kids will enjoy, see my Arts and Crafts for Kids page.
To make this flower bouquet using wet chalk and sandpaper, you will need the following materials:
- Colored chalk
- Black, fine grit sandpaper cut into small squares or circles
- Small container of water
- Scissors
- Black construction paper
- Colored construction paper
- Glue or double sided tape
- Optional: Tray to contain any mess
To prepare the activity, I cut the larger sheets of sandpaper into smaller squares. I cut squares of a variety of sizes to encourage my kids to draw both big and little flowers. (If I were to do this activity again, I would cut the sheets into circles at this stage rather than squares.)

Once we sat down to work, I showed my kids how to dip the chalk into the water and then use it to draw on the sandpaper.
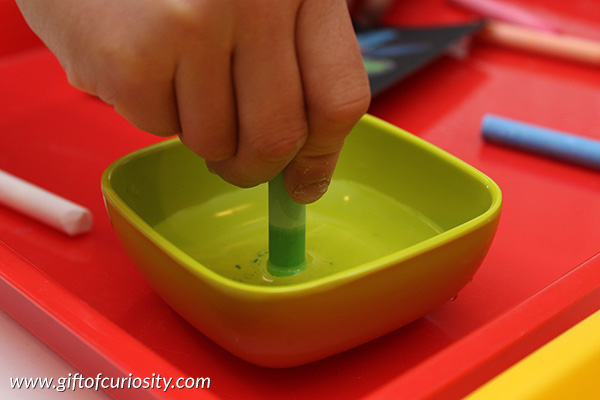
Then we got to work making flowers. We all liked the texture of the sandpaper and the way the wet chalk left such a vibrant color on the black sandpaper.
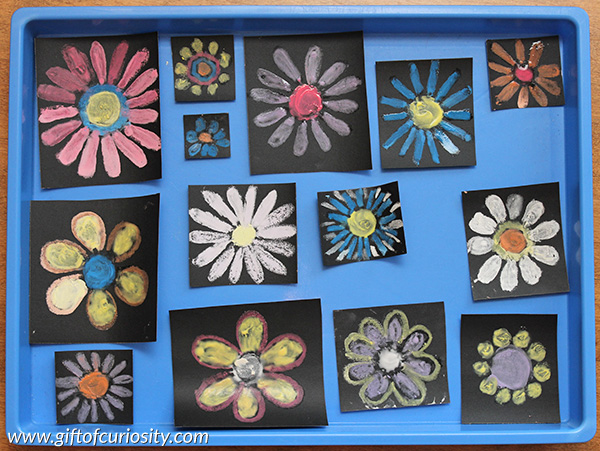
For the most part, my kids drew their flowers by making a circle in the middle and then adding petals around the circle.

Each of us made a number of flowers, then we let them dry for a couple of hours on a tray.
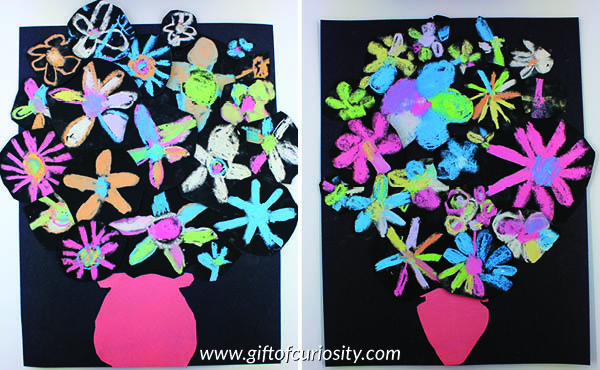
Once our flowers were dry, we cut the corners off the squares in order to better follow the circular shape of the flowers. (You could also just cut your sandpaper into circles rather than squares from the beginning.)
We then selected a colored sheet of construction paper for the flower vase. My kids cut out a vase and glued it to the bottom of a sheet of black construction paper.
Then we glued the flowers into a pretty bouquet on top of the vase. We purposely let some of the flowers extend pass the edge of the background paper to make it look like the bouquet was truly bursting with flowers.
More arts and crafts ideas
More arts and crafts posts from Gift of Curiosity:
- 20 ways to use liquid watercolors
- Constellation craft
- Crystallized snowflakes
- Painting with strings
- Recycled crayon craft
- Leaf collages
- Easy seed medallion craft
- Coffee filter chromatography
For more fun art projects, see my Arts and Crafts for Kids page and my Arts and Crafts Pinterest board.


I am very much fascinated about DIYs. But this one is just amazing. Really loved the flowers. Looks so adorable.