

This post may contain affiliate ads at no cost to you. See my disclosures for more information.
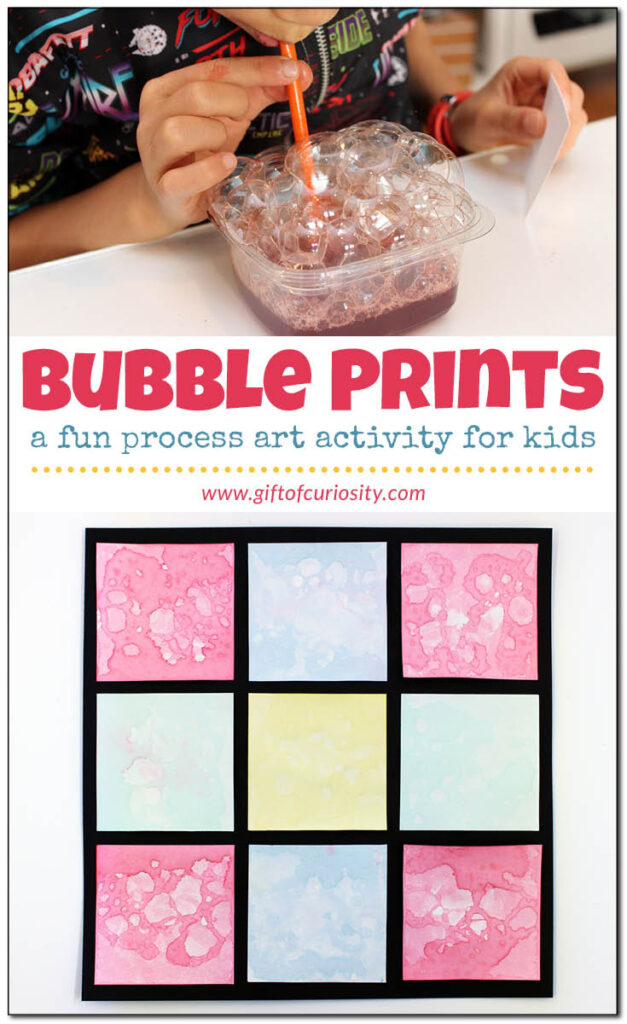
Recently my kids and I engaged in a lovely process art experience to make bubble prints.
When I say that making bubble prints is a process art experience, I mean that the value of the experience was in the opportunity to explore the materials and techniques. With process art, there is no one right way to create; instead, engaging in process art encourages creativity and flexibility.
As such, with process art there is less emphasis on the final result of the artwork. If the final product is something you can feel proud to hang on your wall, it’s considered an extra bonus rather than the main goal.
Note: For more AWESOME art activities, see my Arts and Crafts for Kids page.
To make bubble prints, you will need the following materials:
- Bubble solution (buy pre-made solution or make your own using soap and water)
- Liquid watercolor paints or food dyes
- Small containers – one for each color you plan to use
- Straws
- Paper (the thicker the better)
- Tape or glue
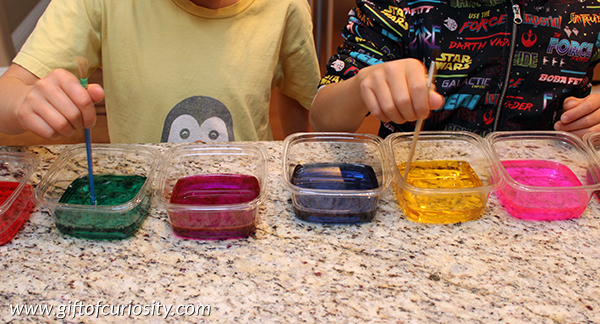
The first step is to make your colored bubble solutions. We mixed water with a bit of Castille soap to create a bubble solution, then added liquid watercolor paints for color.
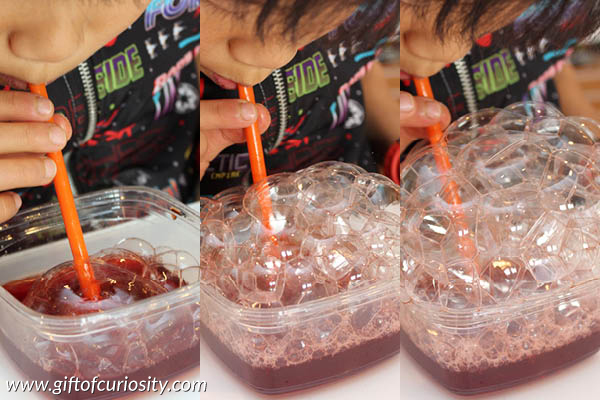
A note of caution: Before allowing children to do this next step you must be sure they will only blow, not suck, on their straws. You do not want your child to drink or swallow colored bubble solution. As such, I do not recommend doing this activity with young children who may accidentally suck liquid up their straws.
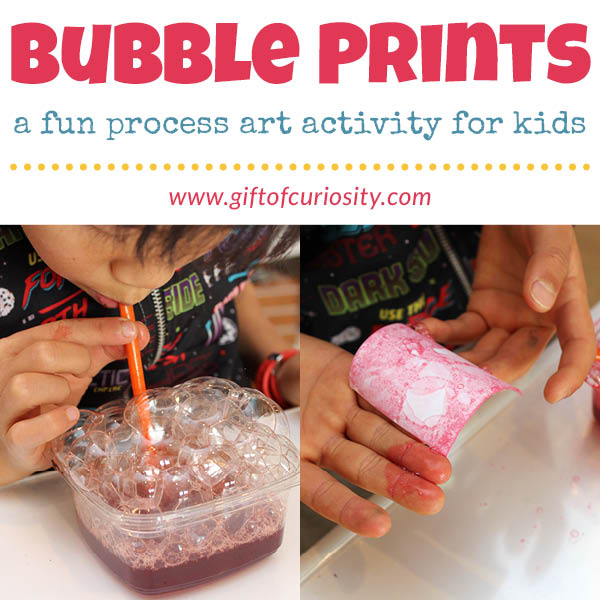
Next, my kids used straws to blow bubbles into the colored solution.
Place a piece of paper on top of the bubbles. We used small squares that fit easily in the containers we were using.
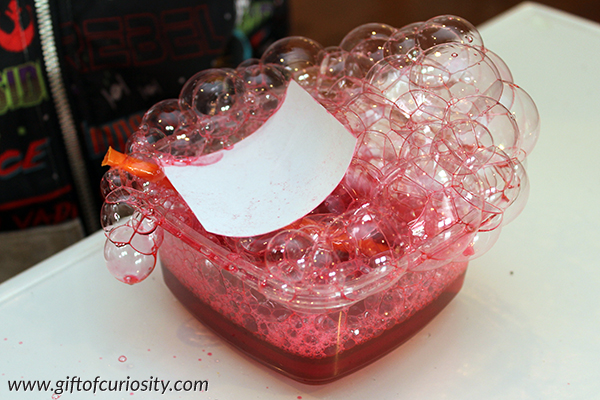
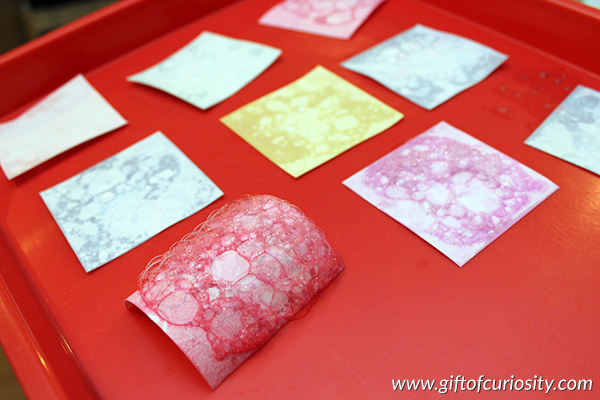
Admire the bubble prints that get made.
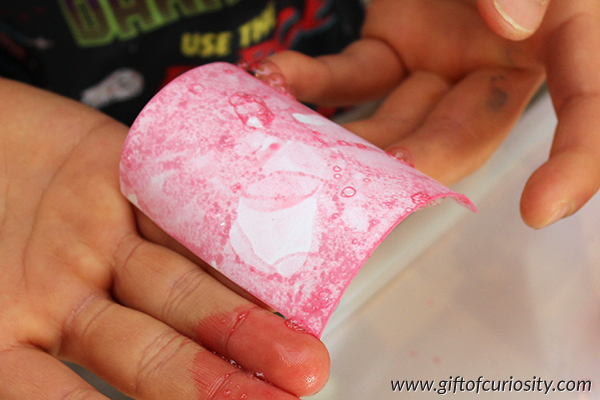
Allow your bubble prints to dry. As the bubbles pop, they will leave lots of painted circles on the paper.
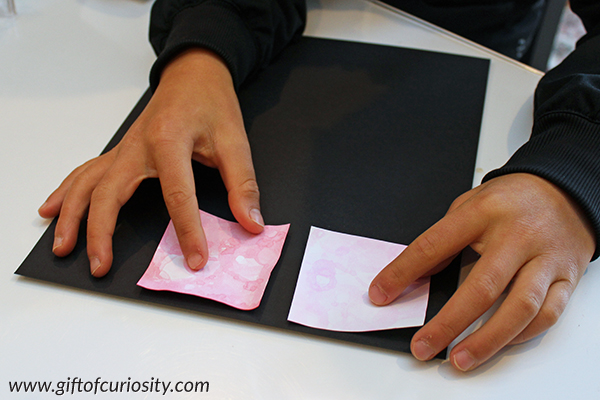
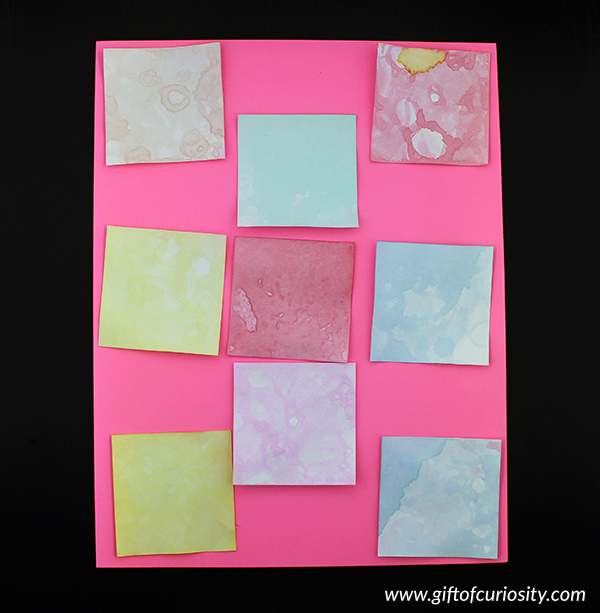
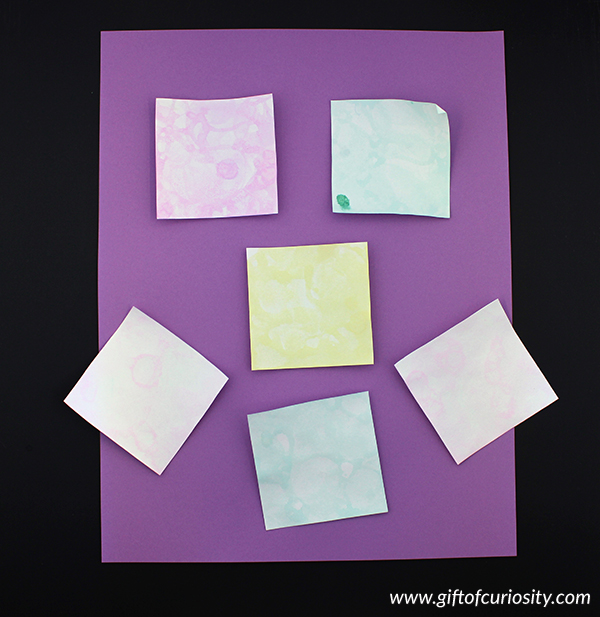
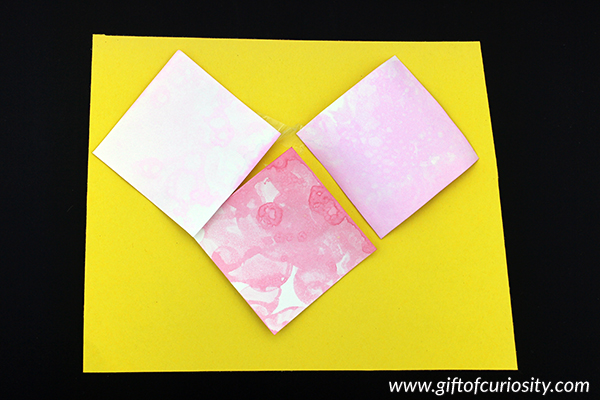
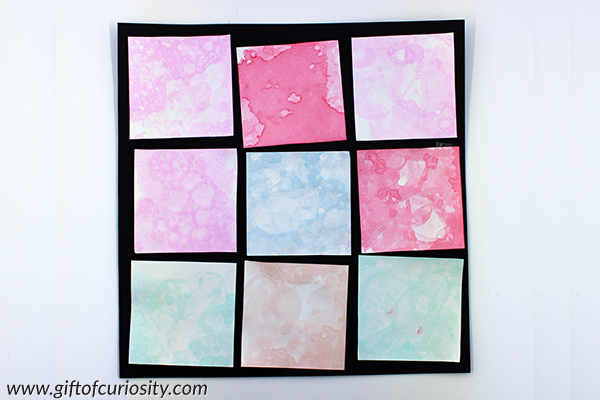
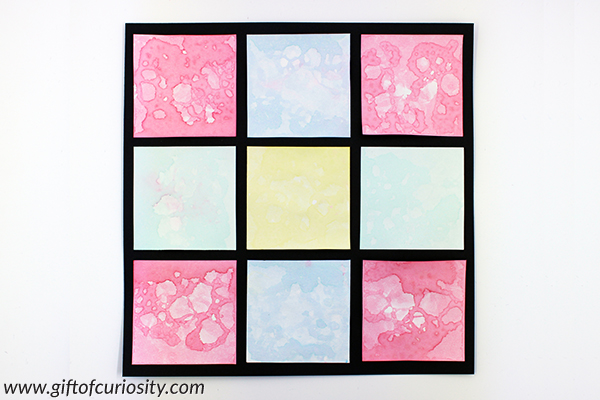
If you’ve made small prints like we did, once your prints are dry, consider mounting them onto a contrasting background color using tape or glue.
My son liked a black background for some of his bubble prints.
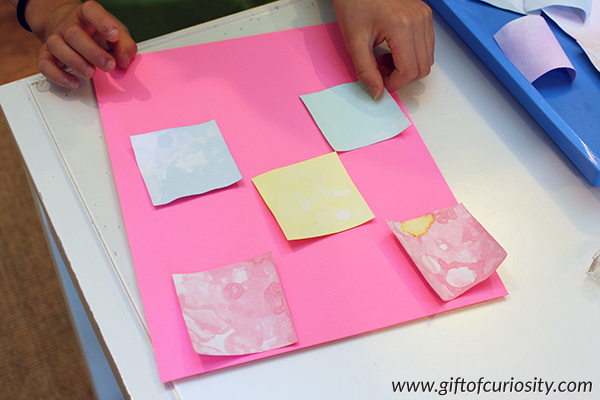
My daughter thought pink looked good for this set of bubble prints.
Here’s a video showing the start-to-finish process of making bubble prints:
And here’s another look at some of the final art pieces we put together with these fun bubble prints.
More arts and crafts resources
Popular arts and crafts activities from Gift of Curiosity:
- Blow art monsters
- Watercolor painting on paper towels
- Aluminum foil paintings
- Painting with strings
- Cut up art
- Leaf collages
- Tape resist watercolor painting


You can cut a small hole at the top of the straw so they can’t suck up the solution.
Thanks for the tip!