This post may contain affiliate ads at no cost to you. See my disclosures for more information.
If you read my blog regularly, you know that I love doing science activities with my kids. I truly believe that all kids are scientists at heart, since kids show such tremendous curiosity and desire to understand the world around them.
Well, given my love for science I was excited to try this apple rotting experiment with them so they could observe what would happen to an apple under various conditions.
Be sure to read to the bottom to see the printable observation worksheets you can use as a tool for your students to record what they notice both before and after the experiment. Using the recording worksheets along with this activity adds a higher level of critical thinking and scientific observation that supports students’ developing scientific skills.
Note: This activity and many others are included in my Apple Unit Study.
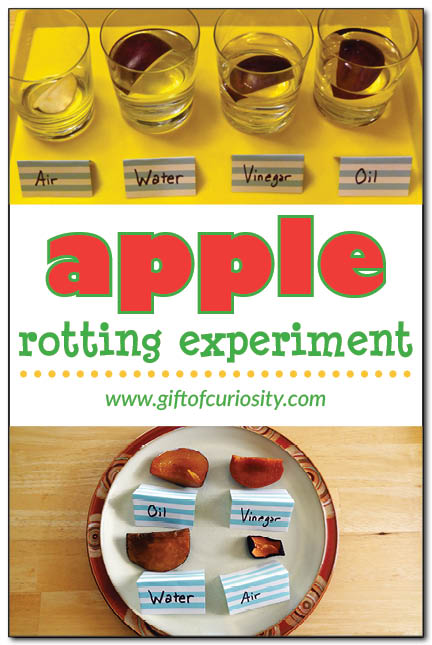
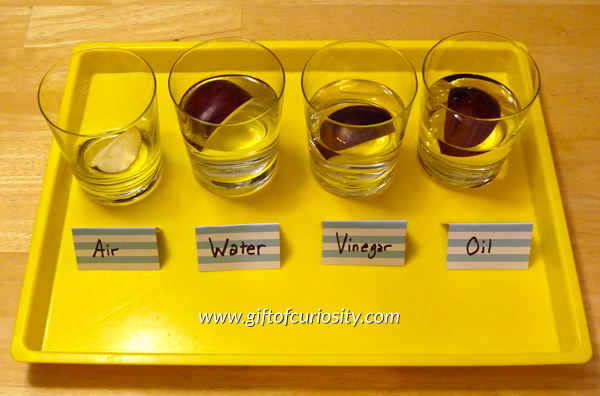
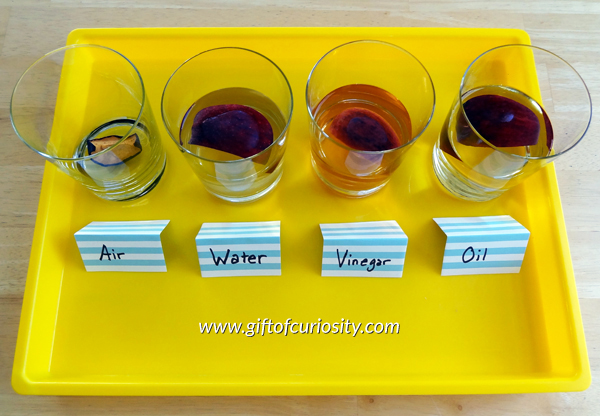
For this experiment, I sliced and cored an apple into four quarters. I then placed one quarter into each of four glasses.
One glass was empty (except for air, of course).
One glass was filled with water.
One glass was filled with vinegar.
And one glass was filled with oil.
After three days, this is what the apples looked like. As you can see, the apple in the air glass had started to shrivel. The apples in the other three glasses looked relatively unchanged, although the glass filled with vinegar had taken on a pinkish tint.
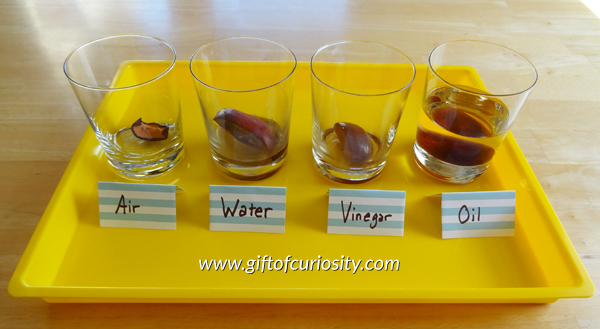
At the end of a week, there were additional changes. Notably, the water and vinegar levels in the glasses had gone way down, exposing more of the apple to air. The oil, on the other had, had not evaporated like the other liquids.
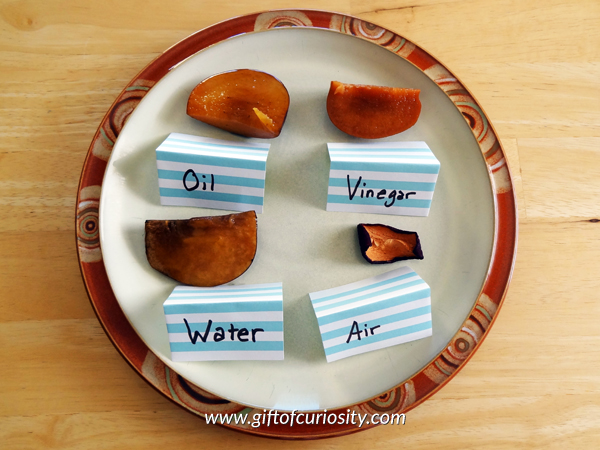
We took the four slices of apple out of the glasses in order to examine them more closely. The apple in air was obviously the most shriveled, and had gotten somewhat hard. The other apples had all darkened in color.
I’ll admit to being a bit surprised by the results for the apple that had been left in air. I had expected it to start molding, but instead it just got dry and shriveled up.
Did any of these results surprise you? How would you modify this experiment to try with your kids?
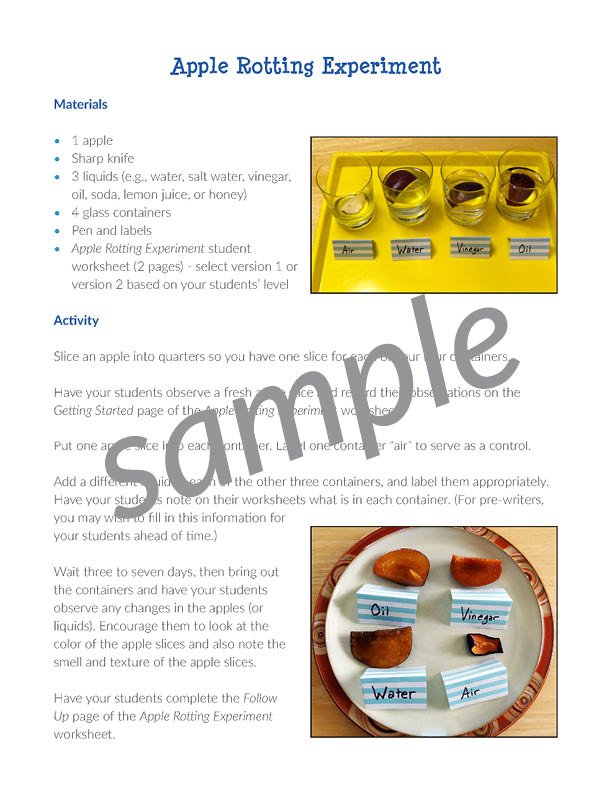
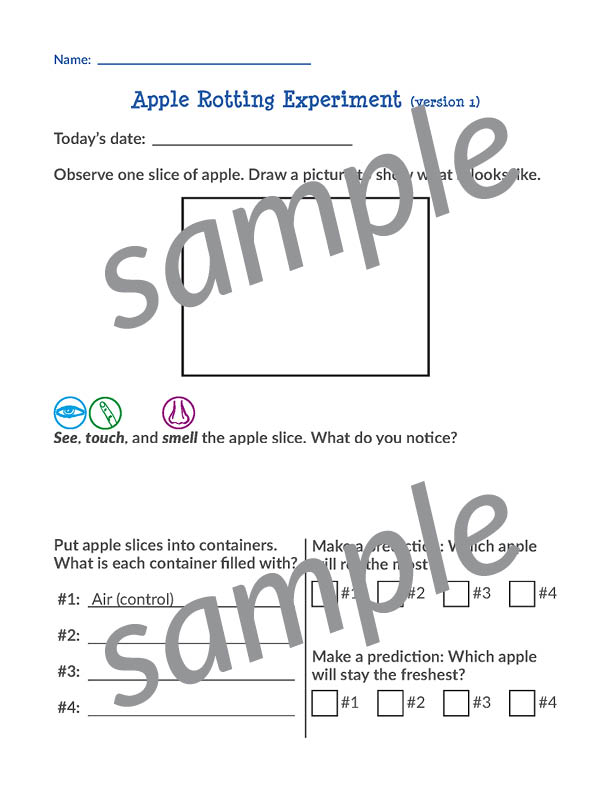
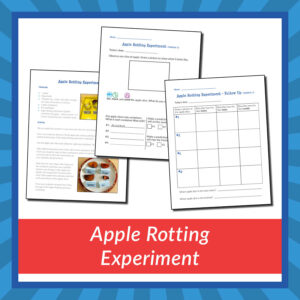
Update: I’ve created an Apple Rotting Experiment printable to go along with this activity. The Apple Rotting Experiment document includes directions for the teacher as well as two different versions of student worksheets (based on students’ levels) to record pre- and post-observations of the apple rotting experiment.
Using the recording worksheets along with this activity supports young students (kindergarten through grade 2) to develop a higher level of critical thinking and scientific observation skills.

Want a copy of my Apple Rotting Experiment?
Get it as part of the Apple Unit Study:
Or get it by clicking the button below:
More apple resources
More apple posts from Gift of Curiosity:
- Apple Unit Study
- Apple Printables Pack
- Apple Do-a-Dot Printables
- Apple taste testing
- Dissecting an apple
- Apple sensory bin
- Apple Montessori activities
For more kid-friendly apple activities and apple printables, see my Apple Unit Study page and my Apples Pinterest board.


I like these simple science activities you can do with every day household items. My kiddos are old enough to take it one step further and research why each liquid and the air had a different effect on the apple.
Yes, my kids were too young to really understand WHY each liquid had a different effect, but as kids get older this is an activity you can easily expand on to have them explore that question. 🙂
Great idea and easy setup. Two thumbs up 👍👍.
This is a great experiment! Thanks for linking up at the Thoughtful Spot Weekly Blog Hop! I’ll be featuring this post on Monday! We hope you stop by and link up again next week!
Oh, how interesting!! Thank you for sharing at Sharing Saturday!
Hmmm….. I might have tried a soda to see how it reacts to the apple. If you wanted to add in powders, I’ve seen some really interesting attempts at mummification using salt or baking soda.
Thanks for linking up to Science Sunday!
Interesting ideas! We never have soda in the house, but I agree it would have been interesting to try and I could buy a can of soda just for the experiment. And I love the idea of trying to mummify an apple!
Hi I found you through Pintrest and love this idea. We are currently doing the letter A with My Father’s World and will be doing this experiment. I will add orange juice, a white soda (like Sprite), and a dark soda (like Coke). Thanks for this, my kids are going to love it!
Adding soda is a great idea! I’d love to know what happens! And orange juice is so acidic, that will be interesting as well.
this is a good experiment i might do it for my science fair project!
Thanks for sharing this great science experiment! Totally loving it.