

This post may contain affiliate ads at no cost to you. See my disclosures for more information.
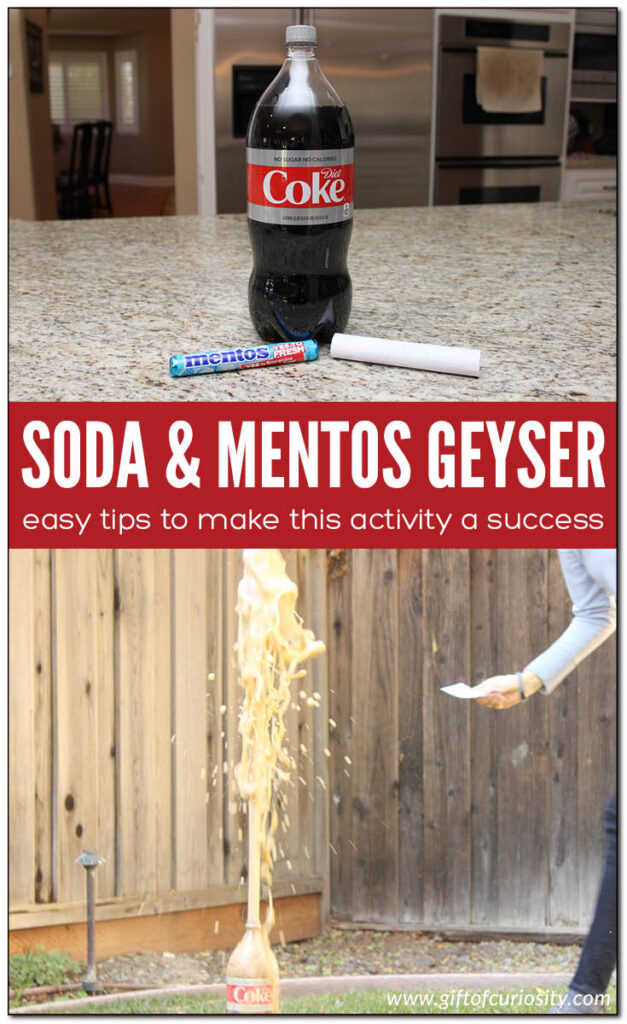
Have you ever made a Soda and Mentos Geyser?
It’s a fun activity with a big “wow” factor, but you have to be able to move fast or you’ll shower yourself in soda!
This is a great activity to spark a discussion about chemical reactions.
Note: Find more science experiments on my Science Activities for Kids page!
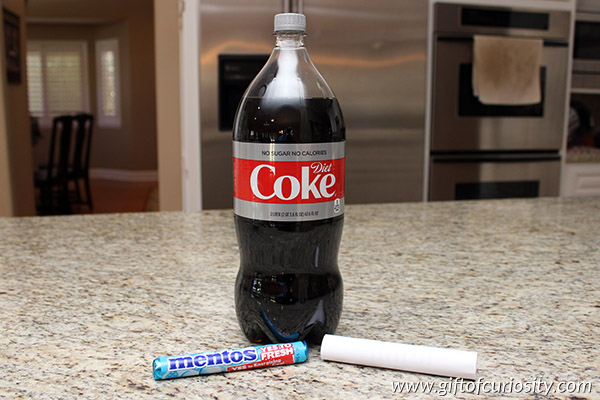
To make a soda and Mentos geyser, you will need the following materials:
- 2 liter bottle of Diet Coke
- Pack of Mentos (we used mint, but any flavor should work)
- Tube to hold the Mentos
- Index card
Note that other soda brands will not work as well as Coke. We first tried this experiment with orange soda and the results were lackluster.
As for diet vs. regular Coke, the main benefit to using diet Coke is that it is easier to clean up as it does not have any sugar like regular soda. Diet soda uses artificial sweeteners instead of sugar, and therefore is not sticky.
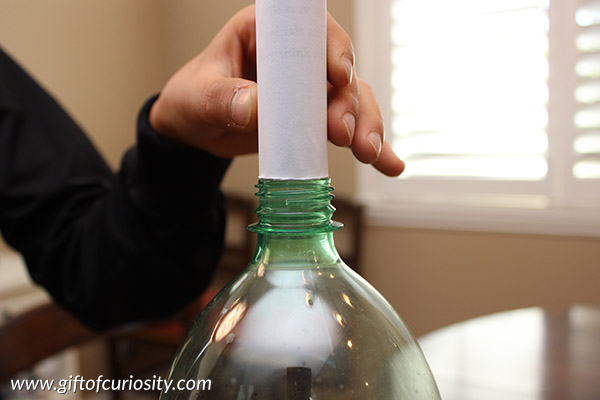
One of the trickiest parts of making a successful soda and Mentos geyser is getting the tube right so that all of your Mentos will fall into the soda at the same time. You need to be sure your tube is tall enough and wide enough to fit the entire roll of Mentos. But at the same time, it should not be any wider than the mouth of your 2 L bottle.
You can make your tube out of any materials you have on hand.
For our tube, I simply folded a sheet of paper in half (“hamburger style”) and then rolled it into a tube. We checked that it was exactly the size of the opening of a 2 L bottle. Then we taped the tube together. I then checked that the Mentos fit comfortable inside.
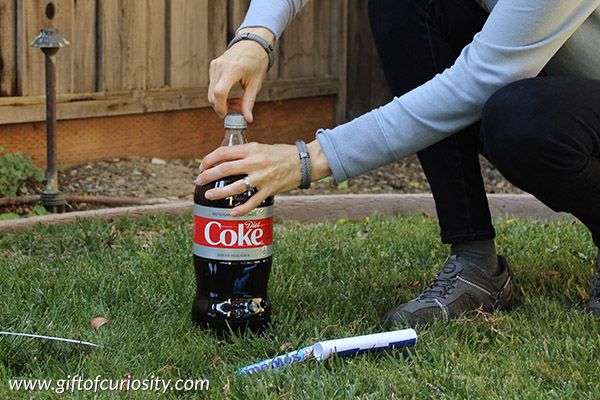
Now, this is an experiment best done outdoors because it gets messy.
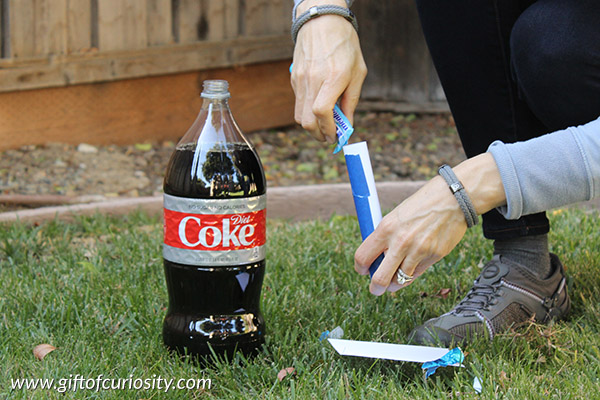
We took our supplies to the back yard and I removed the cap to the soda bottle.
I then put the Mentos into our homemade tube. I placed a finger at the bottom of the tube to ensure the Mentos wouldn’t just fall out the bottom.
Now, for the biggest eruption you want all the Mentos to fall into the soda bottle at the same time. That is why we use the tube and index card. By loading the tube with your Mentos and using the index card to time the release of the Mentos into the bottle, you can ensure you get a very tall geyser.
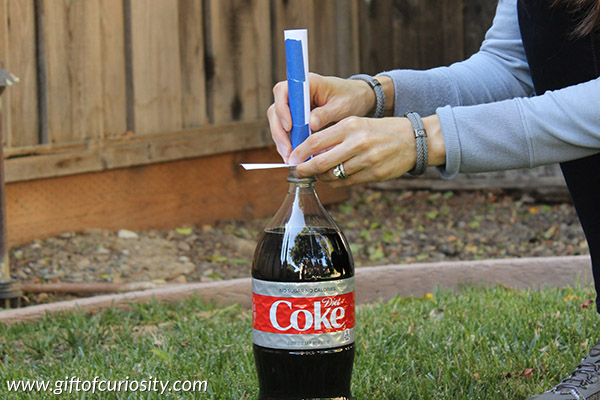
So I placed the index card over the top of the bottle, and set the tube on top.
I carefully lined the tube up with the opening of the bottle.
Then it was time.
I made sure the kids were back at least 10 feet.
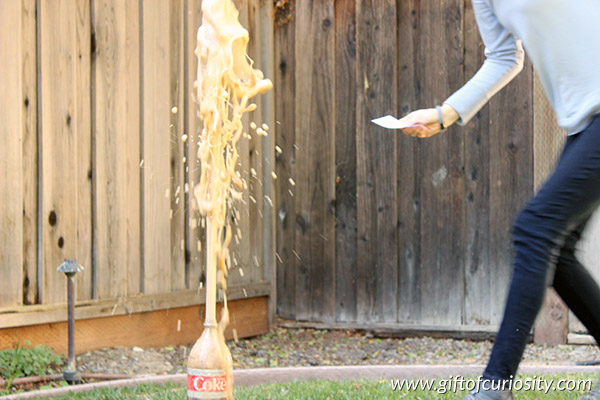
Then holding the tube in place, I pulled the index card out, allowing the Mentos to quickly drop into the bottle.
And I ran!
Seriously, the eruption happened so fast. Make sure you are prepared to move quickly if you don’t want to get drenched in soda!
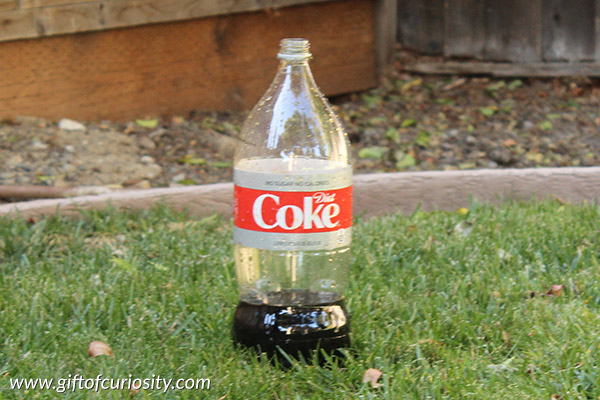
Once the geyser stopped flowing, we checked out the bottle. As you can see, the majority of the soda was used up during the geyser eruption.
Watch this quick video to see our Soda and Mentos Geyser in action!
The science behind the activity
Soda is made of water, a sweetener (sugar or an artificial sweetener), flavoring, preservatives, and a lot of carbon dioxide (CO2) gas. It is the carbon dioxide that makes soda bubbly. The bottling factory uses high pressure to pump carbon dioxide into the bottles in such a way that it dissolves into the liquid. If you shake the bottle, some of the carbon dioxide comes out of the solution and the bubbles cling to the inside walls of the container. And when you open the bottle, the bubbles quickly rise to the top, pushing the liquid out of the way. This is what creates the “whoosh” sound when you open a bottle of soda.
As you may have experienced if you ever left an open bottle of soda sitting in the fridge for too long, carbon dioxide will continue to escape from the bottle over time, eventually leaving you with “flat” soda.
But we can speed up the rate at this the soda escapes the bottle by putting objects into the liquid soda. If you were to drop an object (like a raisin or a bean) into the soda, you’ll quickly notice bubbles forming on the surface of the object. These are carbon dioxide bubbles that leave the soda and attach themselves to the object. This bubbling process is called “nucleation.” And the places where bubbles form – such as on the surface of a raisin or bean – are called nucleation sites.
Well it turns out that Mentos have thousands of tiny pits on their surface, creating thousands of potential nucleation sites for carbon dioxide bubbles to form. As soon as Mentos enter the soda, bubbles form all over the surface of the candy and then quickly rise to the top of the bottle.
The fact that Mentos are heavy and quickly sink to the bottom of the bottle aids in the reaction. Since the Mentos are at the bottom, carbon dioxide bubbles are largely forming at the bottom of the bottle, and they push all of the liquid up and out of the bottle as they rise to the surface.
Pretty cool, right?
More science activities for kids
More science posts from Gift of Curiosity:
- Dancing raisins
- Candy experiments
- Jumping colors science activity
- Make your own glycerin soap
- Crystallized snowflakes
- Dissecting an apple
- Make your own telescope
- Magic inflating balloons
Find more great science activities on my Science Activities for Kids page and my Science Activities Pinterest board.
