

This post may contain affiliate ads at no cost to you. See my disclosures for more information.
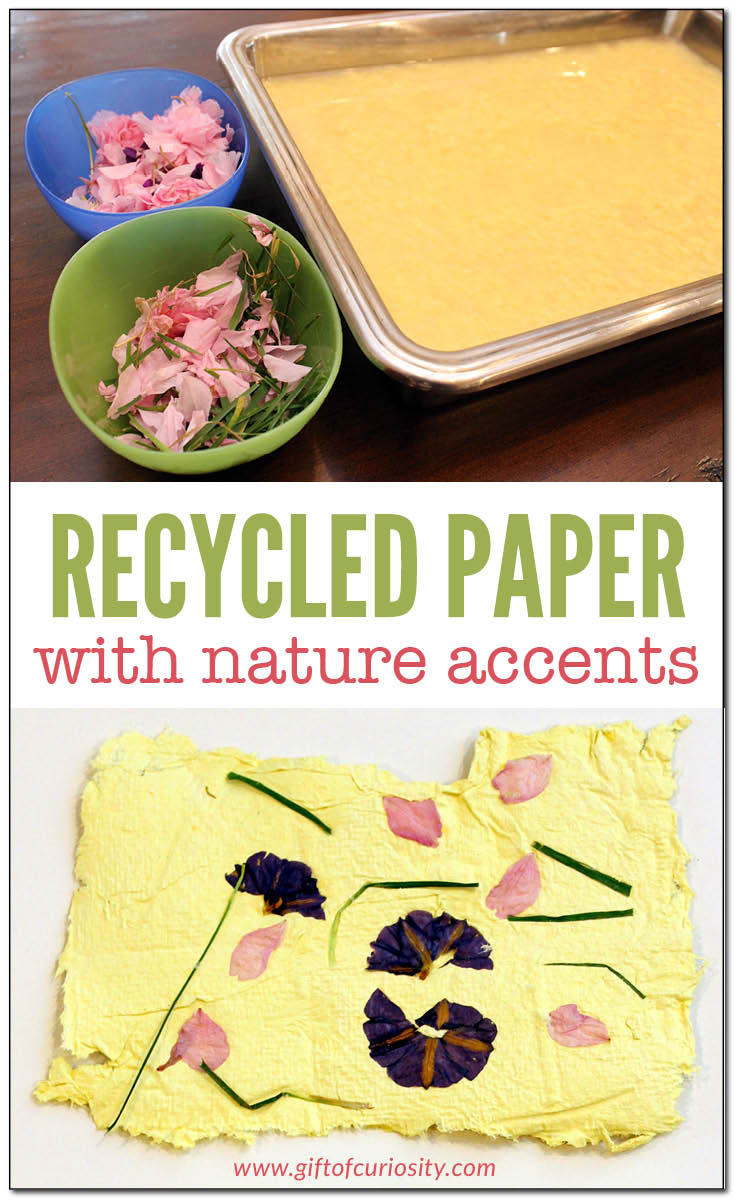
I only recently learned to make recycled paper, and it is so much easier than I had imagined. After making one batch of recycled paper, we decided to do another batch decorated with natural materials such as flower petals and leaves.
Read on to see just how easy – and beautiful – it can be to make recycled paper with nature accents.
This post is part of the 28 Days of STEAM Blog Hop, where you can find hands-on science, technology, engineering, art, and math projects for kids.
To make recycled paper with nature accents, we gathered the following materials:
- Our Vitamix blender
- Scraps of paper
- Water
- A 9″x13″ baking pan
- Green tray with large holes (from our 4M Paper Recycling kit)
- 2 fine mesh screens (from our 4M Paper Recycling kit)
- A sponge
- Several towels
- Flower petals, leaves, grass, and other natural materials from our yard
- Our Excalibur dehydrator (optional, but speeds drying time)
We started by gathering scraps of paper from other projects. The kids tore them into smaller pieces and put them into our Vitamix blender.
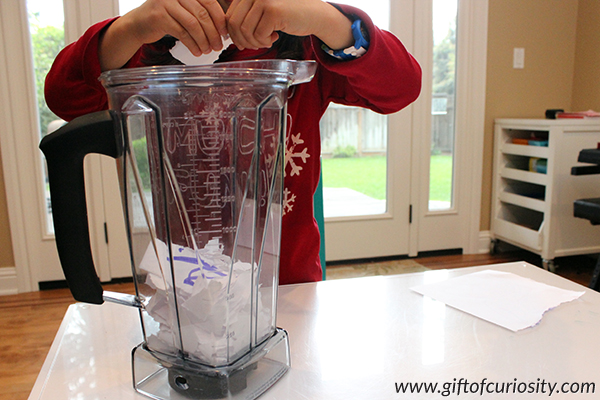
By the time we finished putting paper scraps in, our Vitamix blender was nearly full. I added water to cover the paper scraps.
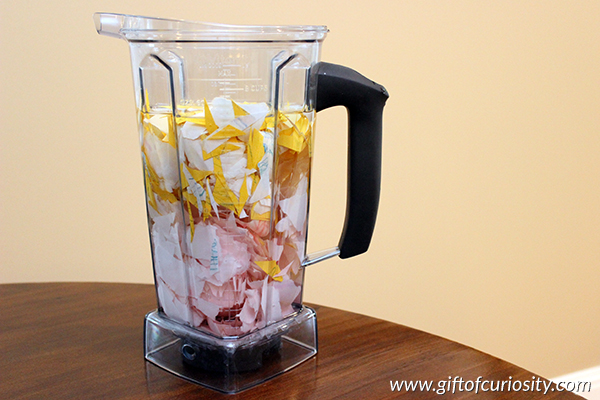
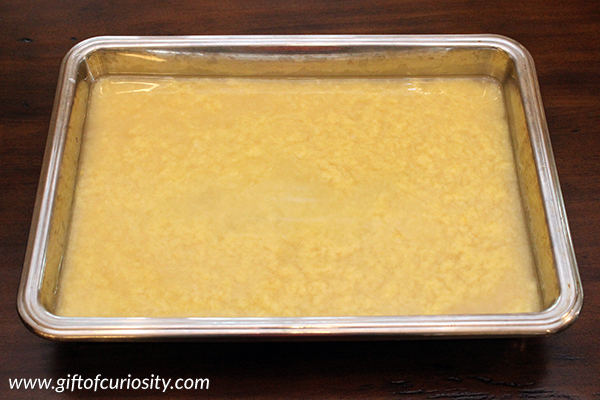
After letting the water and paper soak for about 15 minutes, I blended the mixture on high until it formed a nice pulp. It had a pretty yellow color due to the yellow construction paper we had added to our paper scrap pile.
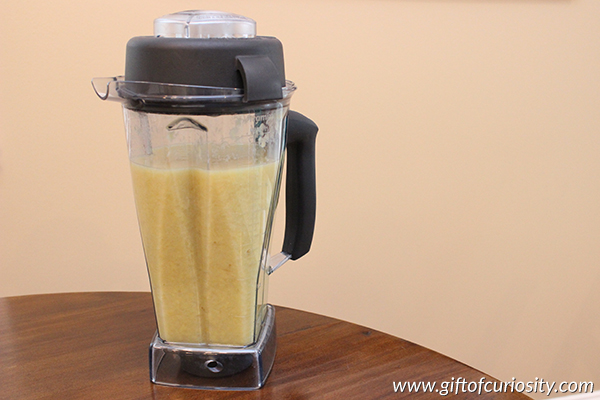
I poured the watery pulp into a 9″x13″ baking pan and set it on the table.
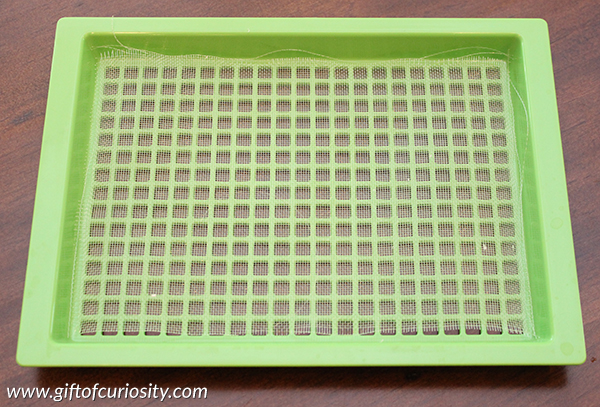
Then we gathered a green tray with large holes and two fine mesh screens from our 4M Paper Recycling kit.
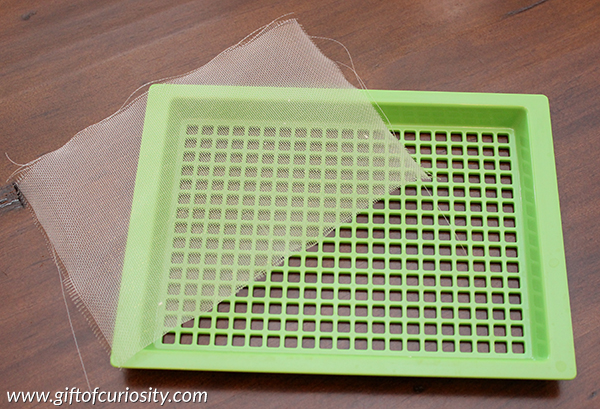
We started by placing one of the fine mesh screens onto the green tray.
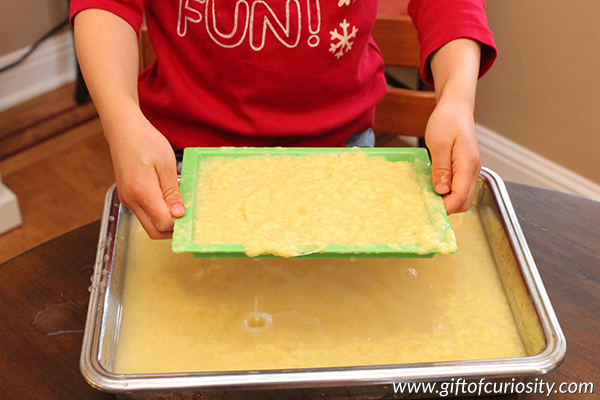
We dipped the tray and mesh into the pulp in order to completely cover the mesh with pulp.
After removing the tray from the pulp, we placed another mesh screen on top, and then placed the whole “pulp sandwich” on a towel. We pressed a sponge all over the top of the “pulp sandwich” to squeeze out as much moisture as we could.
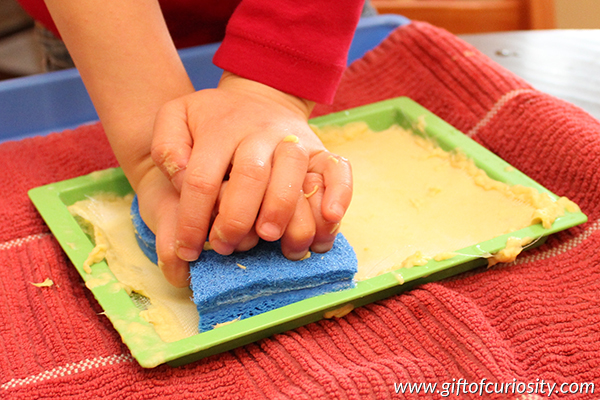
We then flipped the “pulp sandwich” over and removed the green tray, leaving just the pulp between the two mesh screens. We continued to press on the back side of the “pulp sandwich” with the sponge.
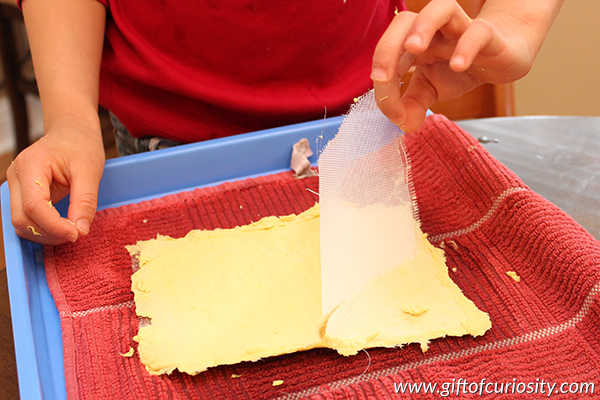
Once we felt that we had removed as much water as we could with the sponge, we peeled the mesh screens away from the pulp. Because so much water had been removed, the pulp held together like a thick piece of paper.
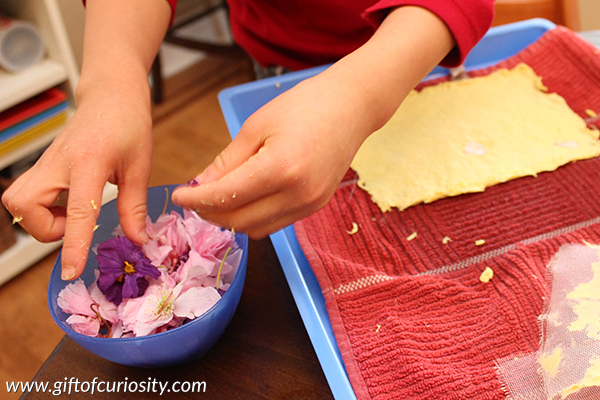
The kids then started adding flower petals, leaves, and blades of grass to decorate their recycled paper.
Once they had finished adding their nature accents, I put the recycled paper into our dehydrator to speed up the drying process. (The paper was dry in less than half an hour.) However, a dehydrator is not necessary; you can leave the paper to dry in the sun or open air as well, but it may take several hours to several days to dry.

The end result was beautiful.
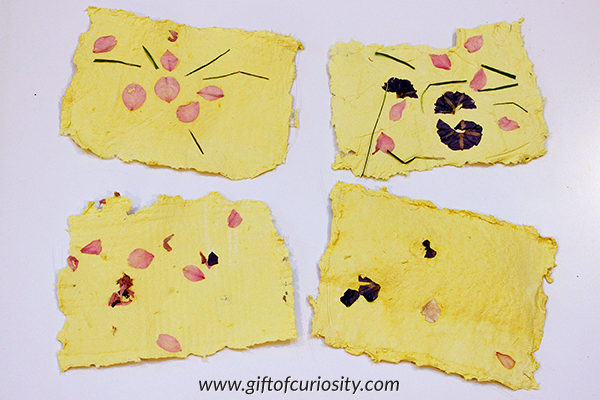
Our recycled paper was thicker than most paper we use on today, but most paper doesn’t have the unique character of our recycled paper with nature accents.
The kids wrote notes on the back and gave their paper away to some special people in their lives.
More arts and crafts resources
Popular arts and crafts activities from Gift of Curiosity:
- Cut up art
- Painting with strings
- Leaf collages
- Tape resist watercolor painting
- Crystallized snowflakes
- Seed medallions
- Trace the shapes art project
- Corn husk dolls
Note: For more kid-friendly craft projects, see my Arts and Crafts for Kids page and my Arts and Crafts Pinterest board.
Love this paper! So beautiful. And so much easier than I thought it would be!
This is lovely! It reminds me of papyrus — I’ll have to do this with my daughter this summers, she loves flowers (maybe we can use our lilacs).