This post may contain affiliate ads at no cost to you. See my disclosures for more information.
This color mixing science activity is a more advanced version of a color theory activity I did with my kids when they were younger. This activity requires a great degree of fine motor control to get just the right color proportions.
But the end results are worth the work. 🙂
Note: For more activities that teach colors, see my Teaching Colors to Kids page.
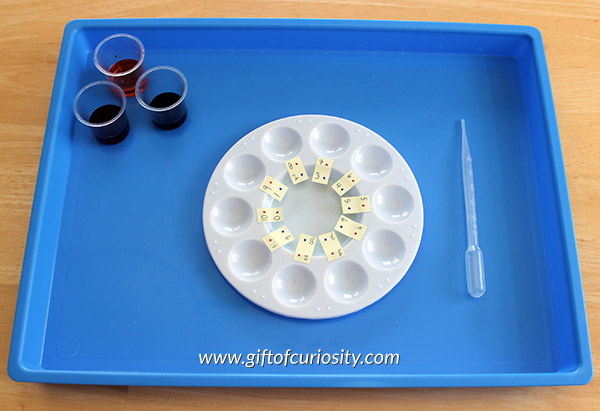
For this activity, I gathered the following materials:
- Plastic painting pallette
- Plastic dropper
- Red, yellow, and blue liquid watercolors in separate plastic cups
- Paper towels (not pictured)
- Tray to contain any mess
Magenta, yellow, and cyan (often referred to as red, yellow, and blue) are the three primary colors that can be combined to create all other colors in nature. By mixing red and yellow, for example, we can make the secondary color orange. Similarly, yellow and blue combine to make the secondary color green, and red and blue combine to make the secondary color purple.
The idea behind this color mixing science activity is to combine various proportions of two primary colors to show the range of secondary colors that result.
Every well in the paint pallette was to be filled with 10 drops of liquid watercolor paint. I made labels for each of the 10 wells indicating how many drops of each color should go into the well. For example:
- 10 red, 0 blue
- 9 red, 1 blue
- 8 red, 2 blue
- 7 red, 3 blue
- 6 red, 4 blue
- 5 red, 5 blue
- and so on. . .
The kids used a plastic dropper to put the correct number of drops into each well.
This required a great deal of fine motor control, which means they made mistakes along the way. When they added too much, I simply used a paper towel to dry out the well and allowed them to try again.
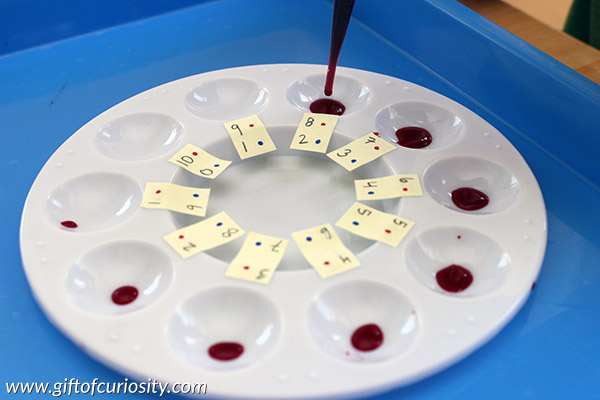
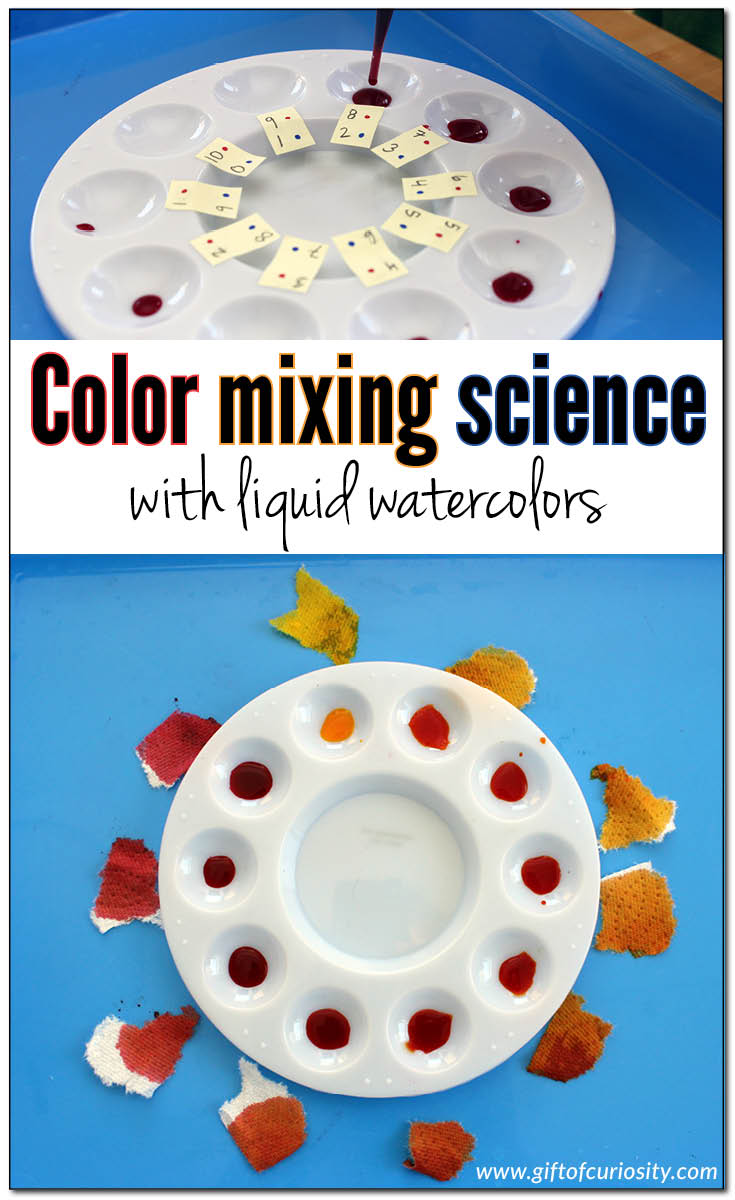
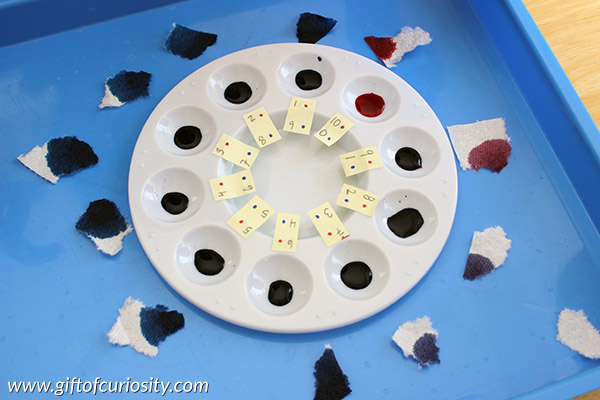
These are the 10 colors that resulted when we combined blue and red in varying proportions. To get a better view of each color, we ended up dipping a piece of paper towel into each color and laying the pieces around the pallette to see the change in color as the proportions changed. One thing we learned is that the blue liquid watercolor is very strong and tends to overpower other colors very easily.
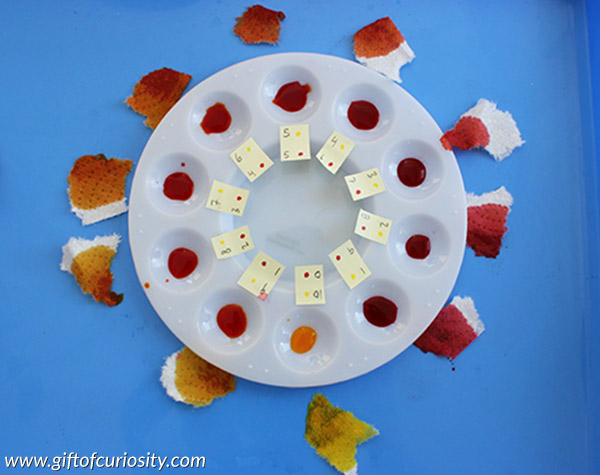
This was the result we got when we combined red and yellow. This picture shows quite clearly the change from just yellow (the well at the bottom) to orange to red as we go around the pallette in a clockwise direction.
More resources for teaching colors
More color mixing posts from Gift of Curiosity:

