This post may contain affiliate ads at no cost to you. See my disclosures for more information.
When we decided to make some fall leaf art using black glue and watercolors, I had no idea how stunning the final products would be.
This was definitely what I call a “wall-worthy” project. Indeed, these beautiful fall leaves graced the walls of our homeschool room for many months.
Note: For more AWESOME art activities, see my Arts and Crafts for Kids page.

To make these gorgeous fall leaf art projects, you will need the following materials:
- Black glue
- Red, orange, and yellow liquid watercolors
- Good quality paper
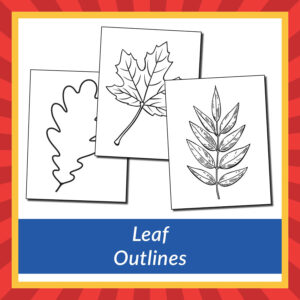
- Optional: Printable leaf outlines
We started by printing outlines of our favorite leaves.

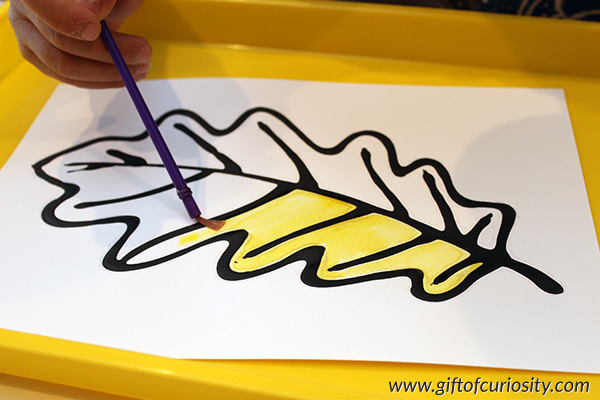
Then we used black glue to trace all the lines on the paper.
I’ll admit that the black glue we used was tough to squeeze out and I had to help my kids with this part as their little hands got tired.
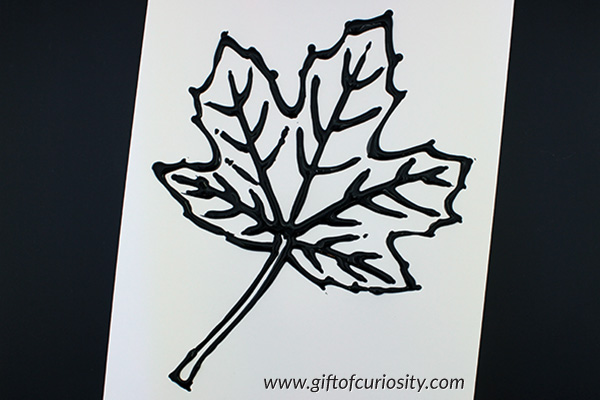
The black glue was nice and thick and created a wonderful raised surface on the paper when applied.
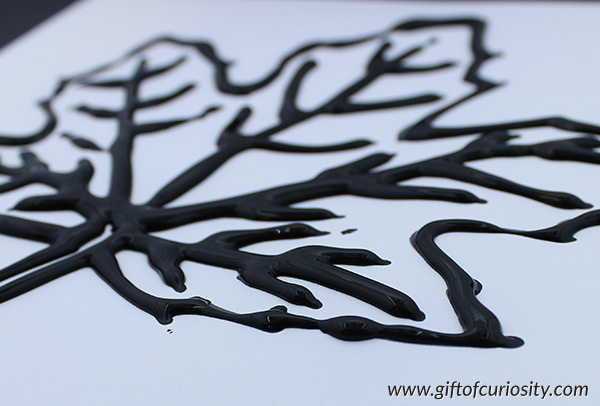
We waited a day for the glue to dry, and then came the really fun part – adding colors!
I offered my kids red, orange, and yellow liquid watercolor paints and encouraged them to fill in their leaf outlines.
If you plan to layer or blend the colors, it is best to add the lightest color (yellow) first, followed by darker colors (orange and red).
The end results were stunning! The contrast between the bright colors and the black glue was remarkable. The mixture of colors was gorgeous.
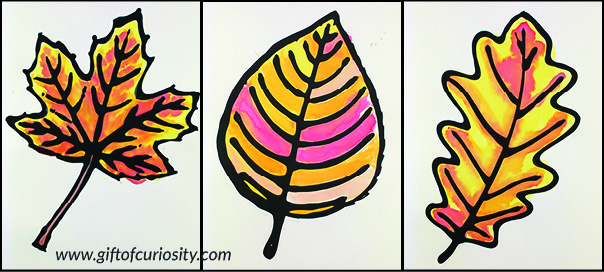
These went right up on our wall when they were dry.
Want a copy of my Leaf Outlines?
Add this free product to your cart by clicking the button below!
More arts and crafts resources
Popular arts and crafts activities from Gift of Curiosity:
- Fall leaves mixed media artwork
- Leaf collages
- Seed medallions
- Watercolor on paper towels
- Blow art monsters
- Flower bouquet made with wet chalk and sandpaper
Note: For more kid-friendly craft projects, see my Arts and Crafts for Kids page and my Arts and Crafts Pinterest board.