
This post may contain affiliate ads at no cost to you. See my disclosures for more information.
Just over a year ago we moved into a new home.
At our old home, our small living room served as living room, play room, and homeschool room. I dreamed of having a dedicated space for our homeschool activities. I was fortunate to be able to create just such a dedicated space in our new home. Indeed, I recognize that I am so, so, so lucky to have the beautiful homeschool room that I have.
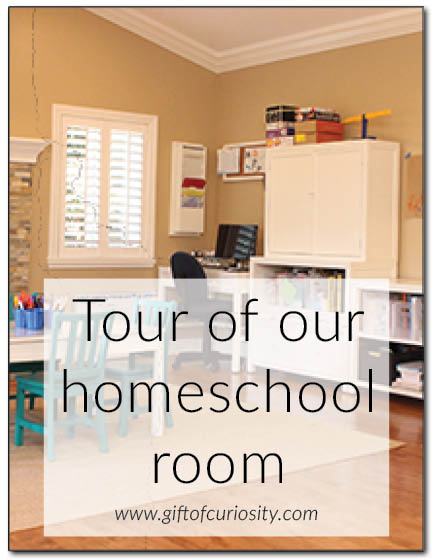
In this post I’ll take you, my readers, on a virtual tour of our homeschool room so you can see how we have set everything up and what resources we have available to us.
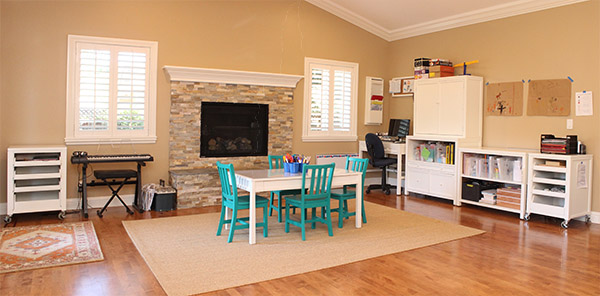
Below is a panorama shot of our homeschool room. I guess it isn’t technically a “room,” but part of a larger space connected to our kitchen.
I love that the homeschool room is right off the kitchen in the heart of the house rather than tucked away somewhere. This makes it so easy to incorporate learning activities into our daily life. Aside from our morning “school time,” the kids will often practice piano, use the computer to play DreamBox Math, or simply grab the art supplies to make their latest creation while I am in the kitchen getting a meal ready.
But now let me take you on a detailed tour of each area, starting on the left side of our room and moving clockwise.
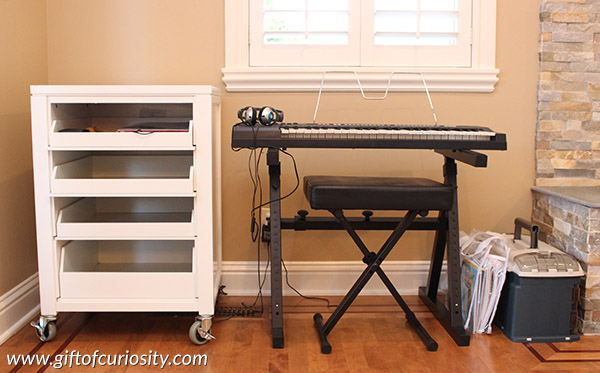
On the far left we have a rolling shelf cart. The shelves pull out like trays, and the cart is on wheels so I can easily move it around if needed. We use the top shelf to store some of our music books. We use the other shelves to store temporary projects, like artwork that is drying or projects in progress that we need to clear off the table.
Next to the moveable shelf cart is our keyboard. This is where the kids practice their piano lessons.
Just to the right of the keyboard is a bag with my kids’ music books and our Zome tools kit.
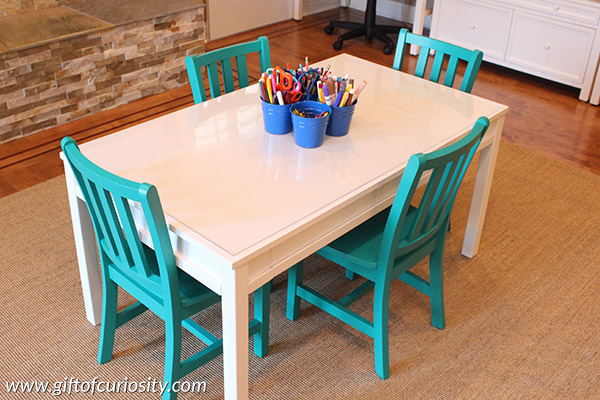
In the middle of the room is our work table and chairs. The table is adjustable, because the legs can be swapped out for taller ones as my kids grow. And I love the pop of color provided by the “spruce” colored chairs!
I keep a container with crayons, pencils, markers, and scissors on the table for my kids to have access to. When we are doing “school time,” I usually sit on one of the long sides while my kids sit at either end. This way they both have plenty of space for their work and I am able to help both of them when needed.
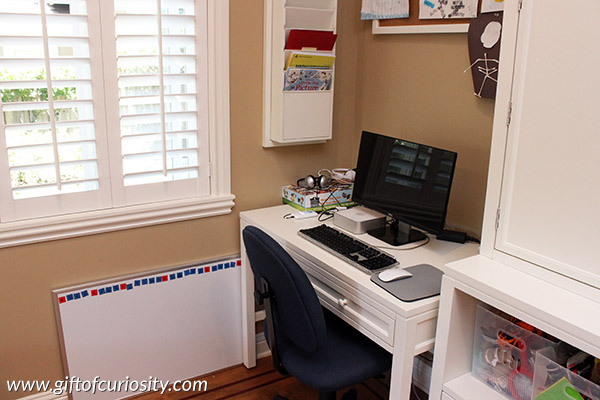
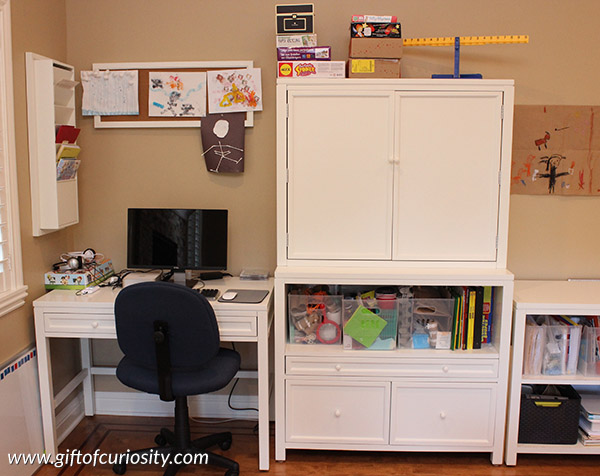
To the right of our homeschool table is the computer nook. Tucked into the corner is the white board we use for our All About Spelling lessons. You may notice the red and blue letter tiles at the top.
In the corner is our computer desk. When my husband needed to upgrade his old computer, I asked him to reformat it for the kids to use downstairs. It is slow and has very little software on it, but it connects to the Internet so they can play DreamBox Math. As they get older, I anticipate they will use the computer for more things as well. (At that time we may need to upgrade to a newer computer though.)
On the wall to the left of the computer I have some file holders where I put various materials that I need to access from time to time. Above the computer is a cork board where I display some of the kids’ artwork.
To the right of the computer desk is a cabinet that is our main storage supply. On top I’ve got boxes that include subscription services, games, art kits, some Montessori language materials, and our math number balance.
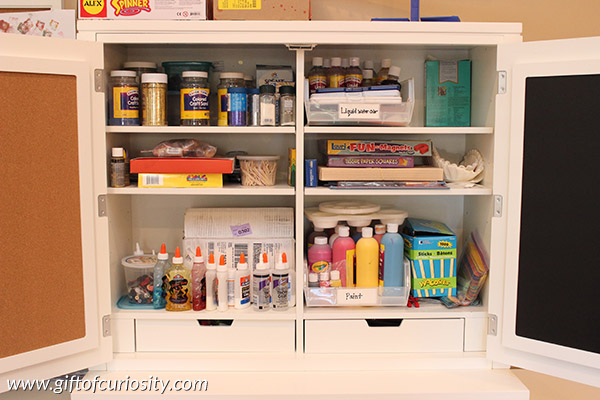
Here’s a peak at what’s inside our supply cabinet. I’ve got all our craft supplies, including craft sand, dot markers, glitter glue, tempera paints, liquid watercolors, craft sticks, and much, much more.
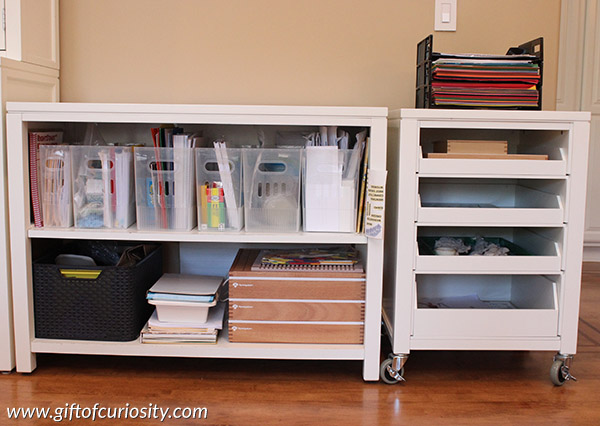
Finally, on the far right I have a set of shelves where I store all of my homeschool curriculum. On the top shelf, I keep materials for each subject in a plastic bin so I can simply pull one out and, for example, have access to everything I need to teach a RightStart math lesson or a language arts lesson.
On the bottom shelf I have a black basket for additional language arts materials on the left and our Spielgaben set on the right.
To the right of our curriculum shelves I have another rolling shelf cart. I keep some of our language arts materials on the top shelf, including our Montessori moveable alphabet and our Montessori wooden grammar symbols. The other shelves hold some work that the kids have started by not yet completed. And on top I have some trays that hold different types of paper the kids use for schoolwork as well as for arts and crafts. I also have a pencil sharpener tucked in behind.
And that concludes the tour of our homeschool room. Leave me a comment if you have any questions!
More homeschooling resources
More homeschooling posts from Gift of Curiosity:
- Why we initially decided to homeschool
- 13 reasons why homeschooling works for our family
- Our homeschool curriculum choices (for a 1st and 2nd grader)

What a pinterest worthy homeschool room! What a blessing it is to have such a wonderful space to teach and learn in. I was wondering where the rolling shelf cart and the file folder holder are from. Hope you have a great start to your school year!!! Thanks for sharing all your amazing educational resources with us! 🙂
The rolling shelf cart is part of the Martha Stewart collection of furniture, and I purchased it at Home Decorators Club, but I can’t find the shelf listed on their website anymore.
I love to see how people organize their spaces. I feel like I can’t teach or accomplish anything until i’ve got it organized. Seeing how other people do it, helps me have some good ideas on how i want to do it. But I really want to know, do your kids ever go around the room and dump it all out when you’re not looking? That’s my biggest challenge right now.
No, I’m fortunate they don’t do that. They do take out art supplies to do projects and frequently fail to clean up after themselves, but they do not trash the room at all. (And they are good about cleaning up after themselves when I remind them.)