This post may contain affiliate ads at no cost to you. See my disclosures for more information.
As much as I enjoy carving pumpkins, I also get a big kick out of finding other creative ways to decorate pumpkins for Halloween.
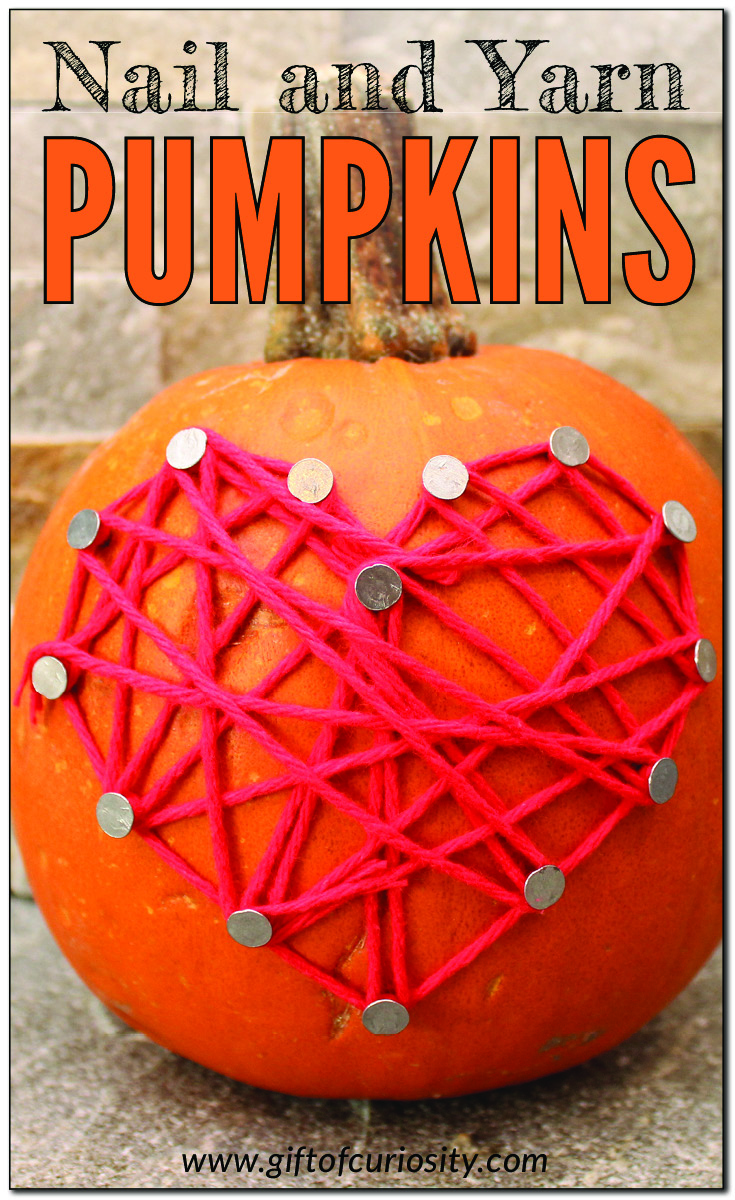
This year we decided to try making nail and yarn decorated pumpkins to create fun and colorful designs.
Note: For more pumpkin decorating ideas, see my Halloween activities for Kids page.
CAUTION! As with any activity, you will need to determine if this activity is safe for your child given his or her developmental level, fine motor skills, and ability to use the materials safely. Provide appropriate safety gear and adult supervision at all times when doing this activity.
To make nail and yarn pumpkins, you will need to gather the following materials:
- A pumpkin
- Nails with large heads
- Hammer
- Safety goggles
- Yarn
- Marker
To begin, make sure everyone is wearing appropriate eye protection.
Begin by drawing a design on your pumpkin using a marker.
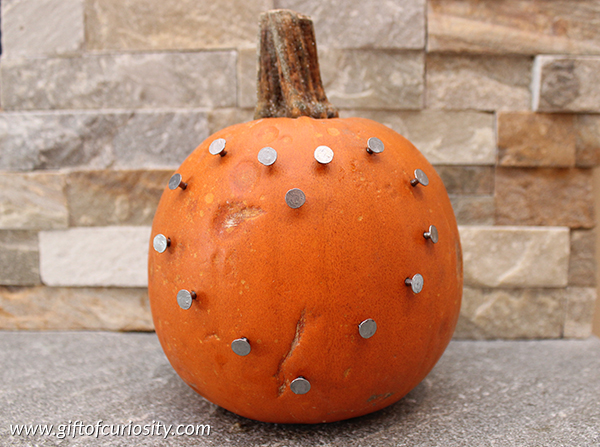
Then use the hammer to add nails around the design you’ve have drawn.
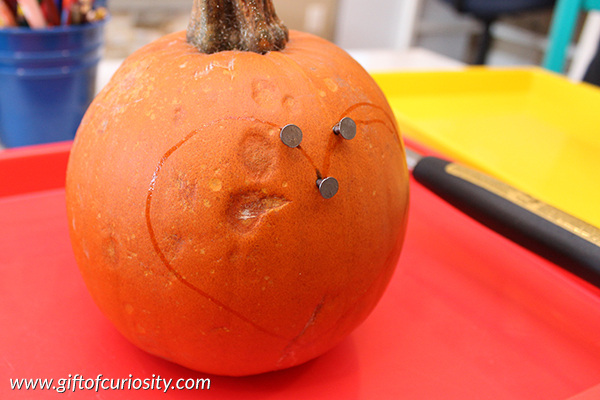
The nails should be spaced about 1″ to 1.5″ apart around the design.
Be sure to leave the head of the nail sticking out just a bit beyond the flesh of the pumpkin so you will have room to wrap the yarn.
Once your nails have been hammered in, wrap the yarn around one nail to anchor it. Then begin weaving the yarn back and forth between the nails until you’ve filled in your design.

The end result is a no-carve pumpkin with a unique design.

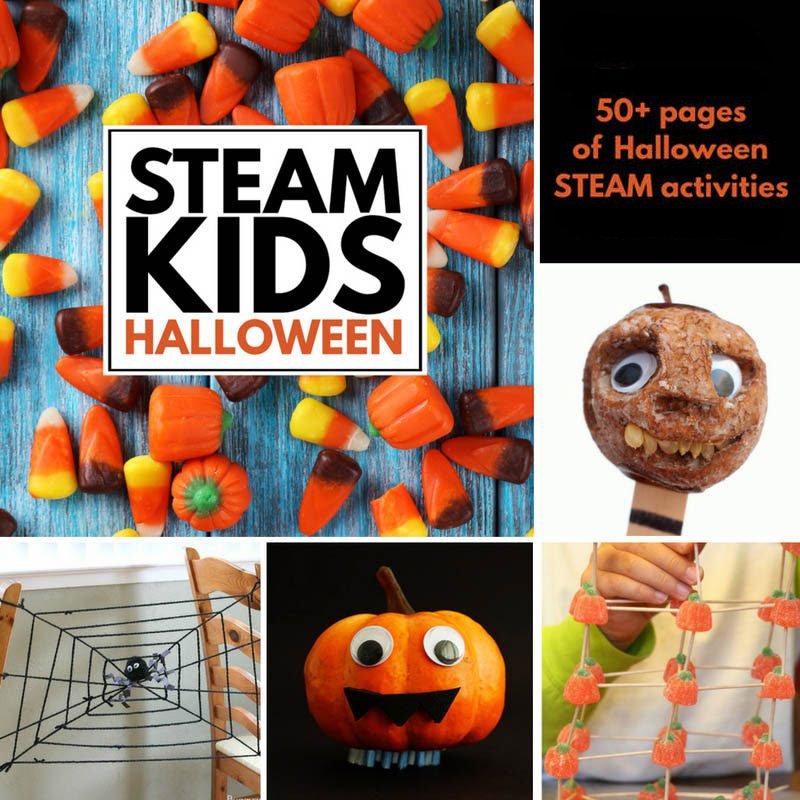
Looking for more Halloween projects that incorporate Science, Technology, Engineering, Art, and Math (STEAM)?
Then you’ll love STEAM Kids Halloween.
This e-book includes 50+ pages of spooky fun STEAM activities that will wow the boredom right out of kids!
More Halloween resources
More pumpkin decorating ideas from Gift of Curiosity:
- Tissue paper pumpkins
- Drip painted pumpkins
- Hardware decorated pumpkins
- Sequin decorated pumpkins
- Melted crayon decorated pumpkins
You can find more Halloween printables on my Halloween Activities for Kids page and Halloween Activities for Kids Pinterest board.