This post may contain affiliate ads at no cost to you. See my disclosures for more information.
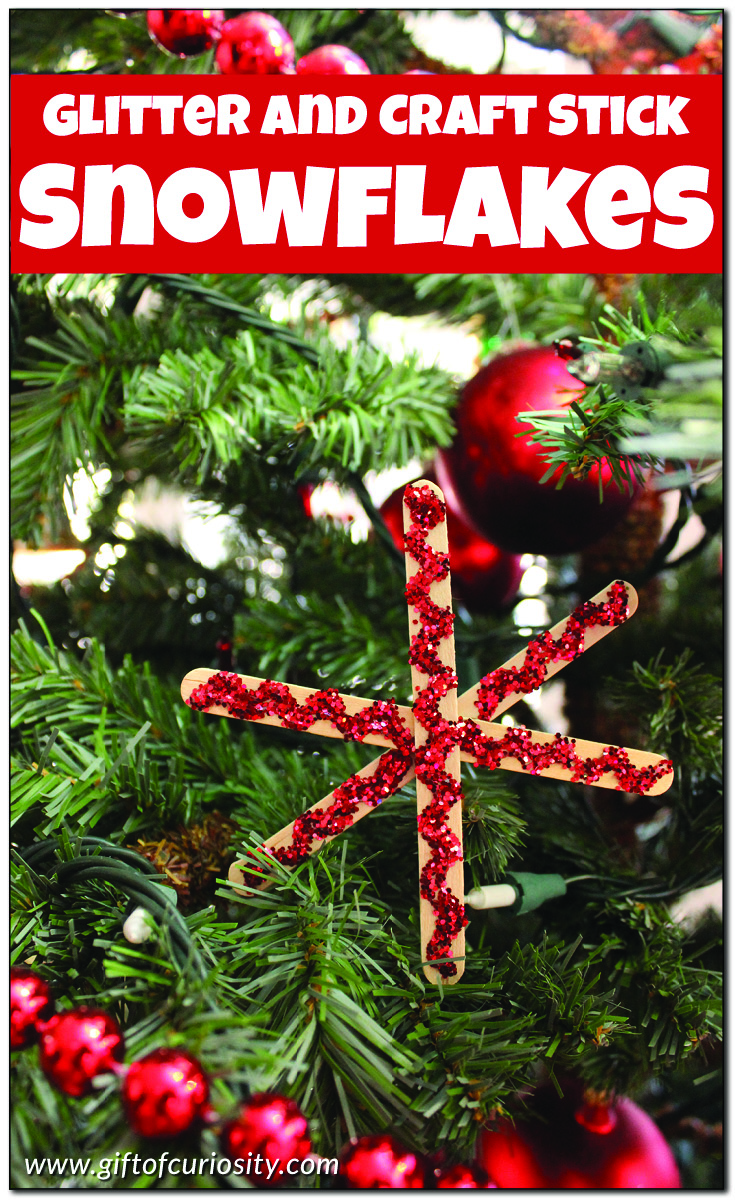
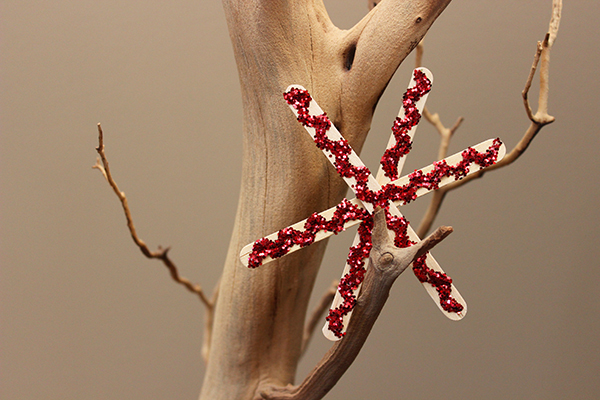
This post is all about making glitter and craft stick snowflakes.
I feel like this is a classic winter or Christmas-time craft. It’s a bit crazy I haven’t shared this idea until now!
With just a few simple materials your kids can make beautiful winter snowflakes.
You can use this craft as an opportunity to discuss the fact that snowflakes have six sides, and the sides are symmetrical.
Note: For more fun and educational winter activities, see my Winter Activities for Kids page.
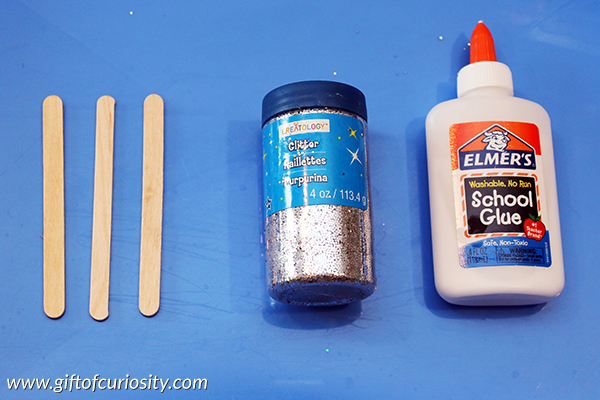
To make these glitter and craft stick snowflakes, you’ll need to gather the following materials:
- Craft sticks
- Glitter
- Glue
Yup, that’s it!
Depending on the ages of the children you are working with, you can choose to have them assemble their own craft stick snowflake or you may wish to assemble the snowflakes yourself ahead of time.
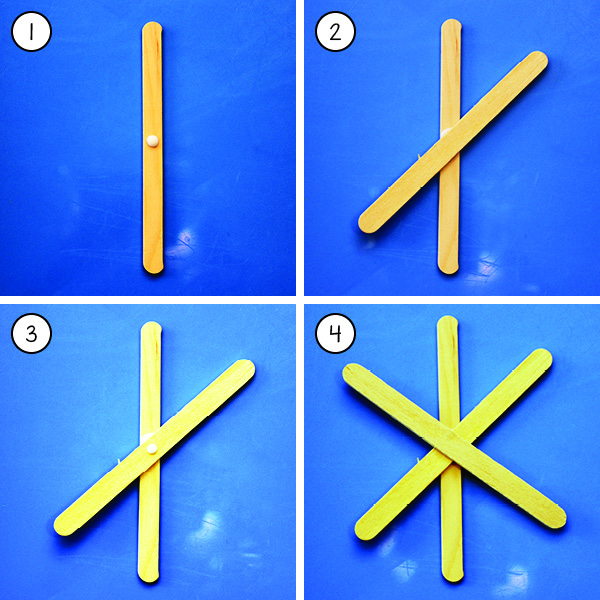
See the image below for directions:
1. Begin by placing a dot of glue in the center of one craft stick.
2. Then lay a second craft stick on top at a 60 degree angle.
3. Add another dot of glue in the center of the second craft stick.
4. Then place a third craft stick on top at a 120 degree angle.
Allow the glue to dry, and then you are ready to decorate.
The next step is where the real fun begins!
Have your children put glue on the craft sticks.
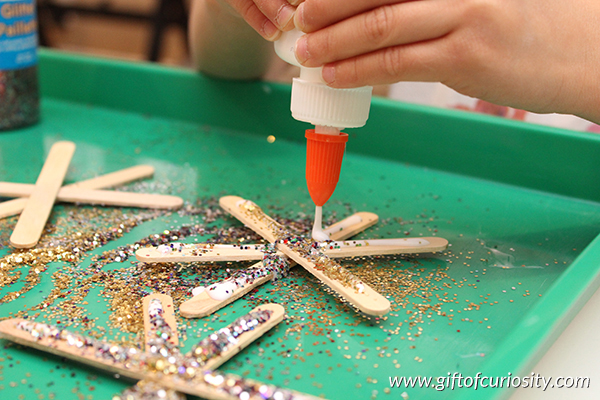
While the glue is still wet, have them sprinkle glitter onto the glue to decorate their snowflakes.
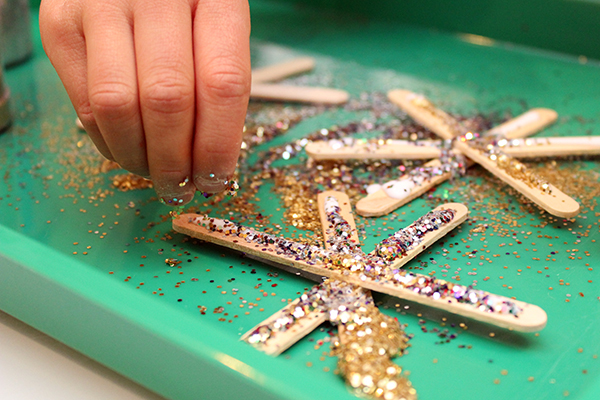
They can create designs with the glue and use different colors to come up with some very creative and beautiful snowflakes.
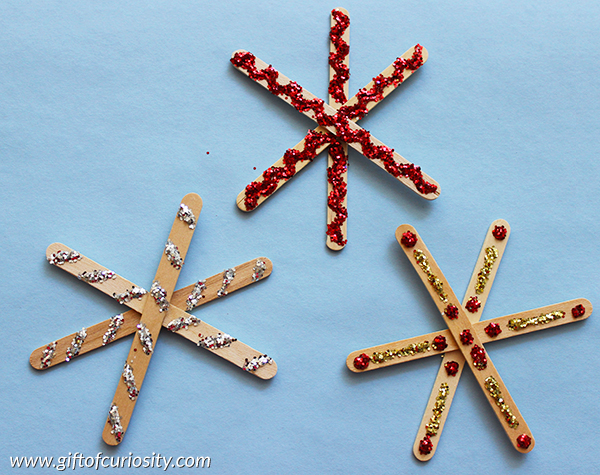
Once the snowflakes dry, your next task is to find places to display these pretty works of art!
More snowflake resources
More posts about snowflakes from Gift of Curiosity:
For more winter crafts your kids will love, see my Winter Activities for Kids page and my Winter Activities Pinterest Board.

