


This post may contain affiliate ads at no cost to you. See my disclosures for more information.
While I love the warmth and ease of summer, I adore fall for the beautiful colors it brings out. Reds, oranges, yellows, and golds. . . I love them all!
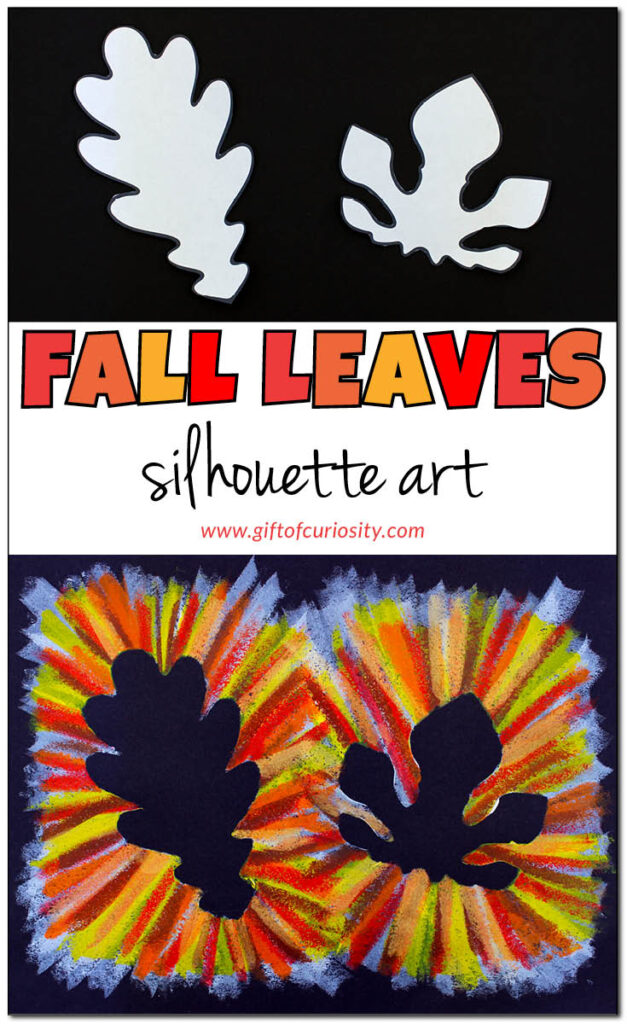
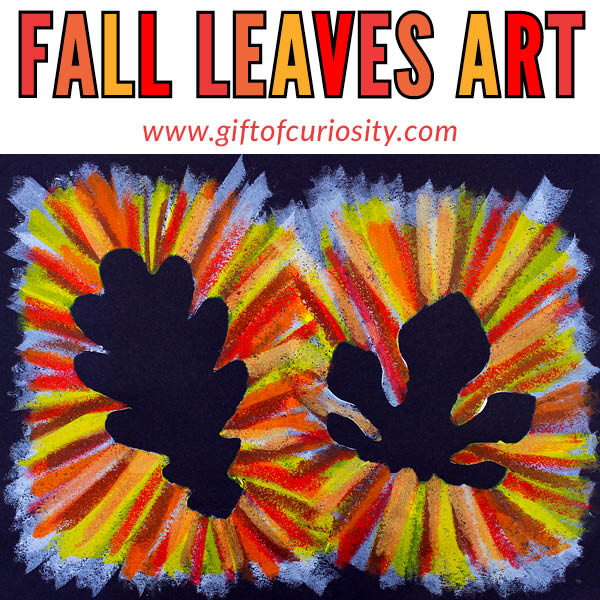
And this fall leaves silhouette artwork highlights the colors of fall with a striking project set on black paper to really emphasize the beautiful colors.
These fall leaf silhouettes make use of negative space (which is the space around and between the focal subject of the artwork). So while the leaves are the focal point of the project, we only see them in silhouette while we fill in the space around them with beautiful fall colors.
Note: For more AWESOME art activities, see my Arts and Crafts for Kids page.
To make these gorgeous fall leaf art silhouettes, you will need the following materials:
- Black construction paper
- Tempera paint sticks (or oil pastels)
- Printer paper or cardstock
- Scissors
- Optional: painter’s tape
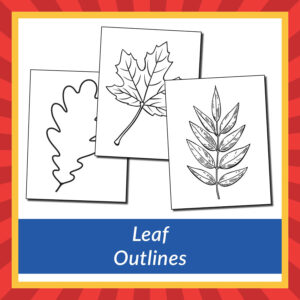
- Optional: Printable leaf outlines
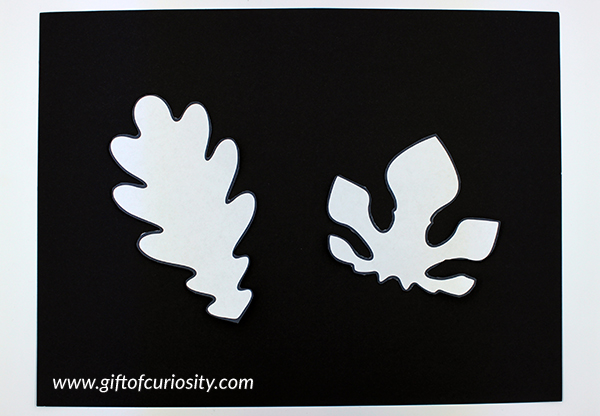
Start by selecting the leaf or leaves you wish you to use in your artwork. My shop includes a selection of leaf outlines you can download for free to help you get started.
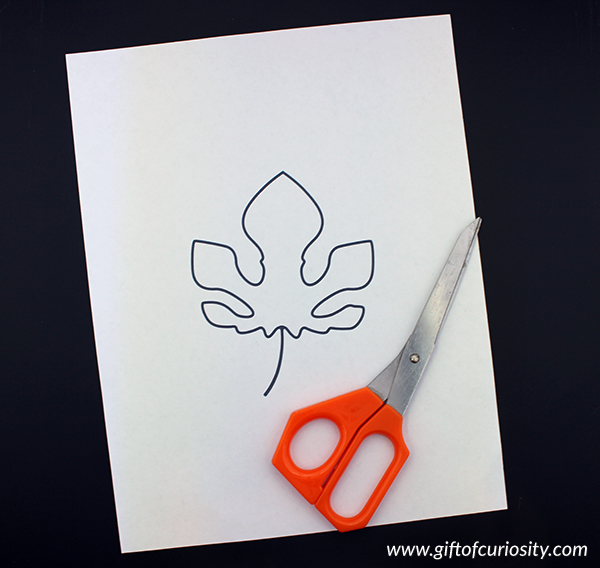
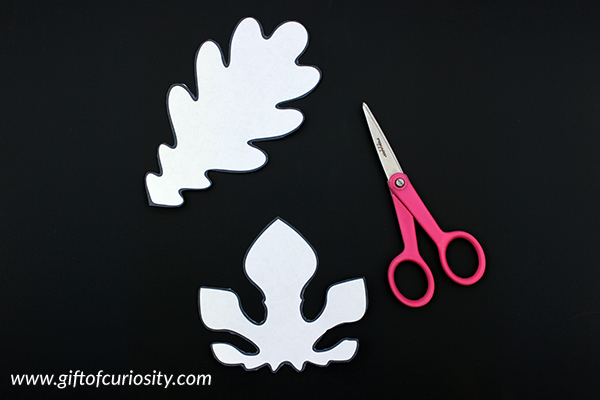
Print the leaf outlines on paper and cut them out. (For younger kids, you may wish to print on cardstock rather than paper to make the leaves sturdier.)
Roll a bit of painter’s tape into a circle and attach it to the back of your leaves.
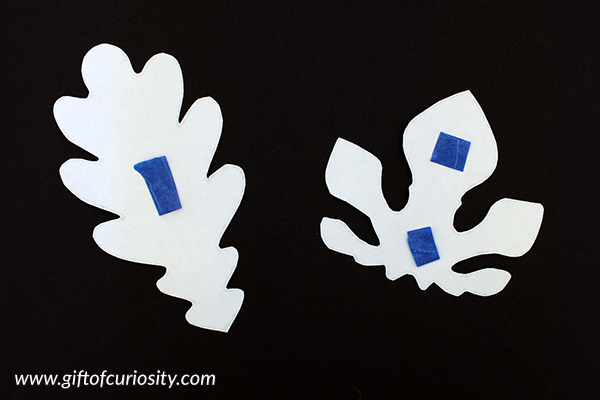
Then place your leaves into position on your black construction paper. Push down on the tape to ensure they remain in position.
Be sure to leave plenty of space around your leaf templates. So make sure your leaves are not too large but fit well within the confines of your black background paper.
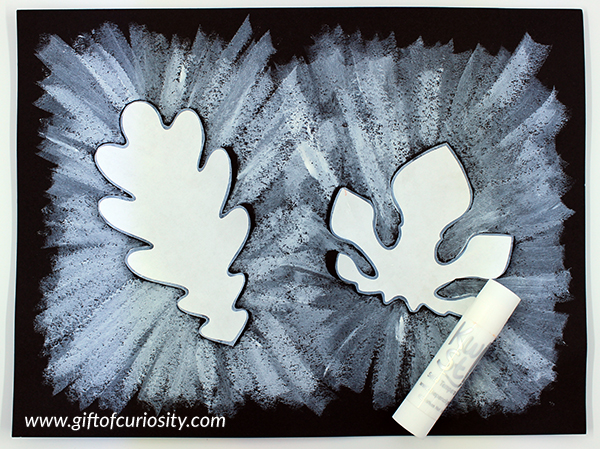
Next, take a white stick of solid tempera paint. (We used our no-mess, quick drying Kwik Stix.) If you don’t have solid tempera paints, oil pastels should also work well.
For best effect, place your white paint on top of the leaves and draw lines radiating outward onto the black paper, as shown below.
I very purposely did not take the white paint all the way to the edge of the paper, but left a black border around the edge for visual effect.
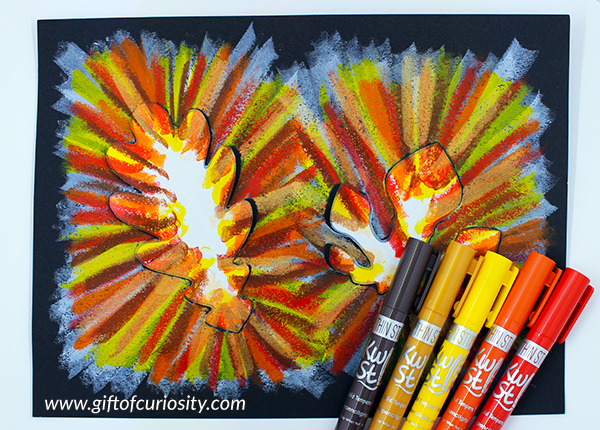
Next, choose a selection of fall colors to layer over the white paint.
I suggest using the same technique of starting with the paint stick on the leaves and making lines that radiate outward onto the black paper.
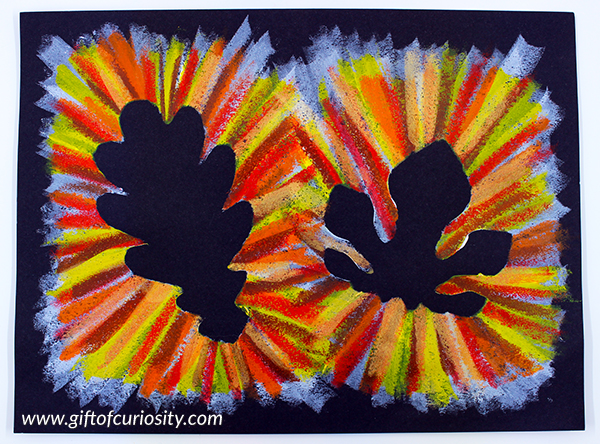
Last but not least, carefully remove your leaf templates to reveal your fall leaves silhouette art!
Want a copy of my Leaf Outlines to make your own silhouette art?
Add this free product to your cart by clicking the button below!
More arts and crafts resources
Popular arts and crafts activities from Gift of Curiosity:
- Black glue and watercolors fall leaf art
- Fall leaves mixed media artwork
- Leaf collages
- Seed medallions
- Watercolor on paper towels
- Blow art monsters
- Flower bouquet made with wet chalk and sandpaper
Note: For more kid-friendly craft projects, see my Arts and Crafts for Kids page and my Arts and Crafts Pinterest board.


