This post may contain affiliate ads at no cost to you. See my disclosures for more information.
Two years ago, my kids and I placed our jack-o-lanterns into the backyard after Halloween to watch them decompose. Last year, we decided to build upon that activity by conducting a pumpkin decomposition experiment.
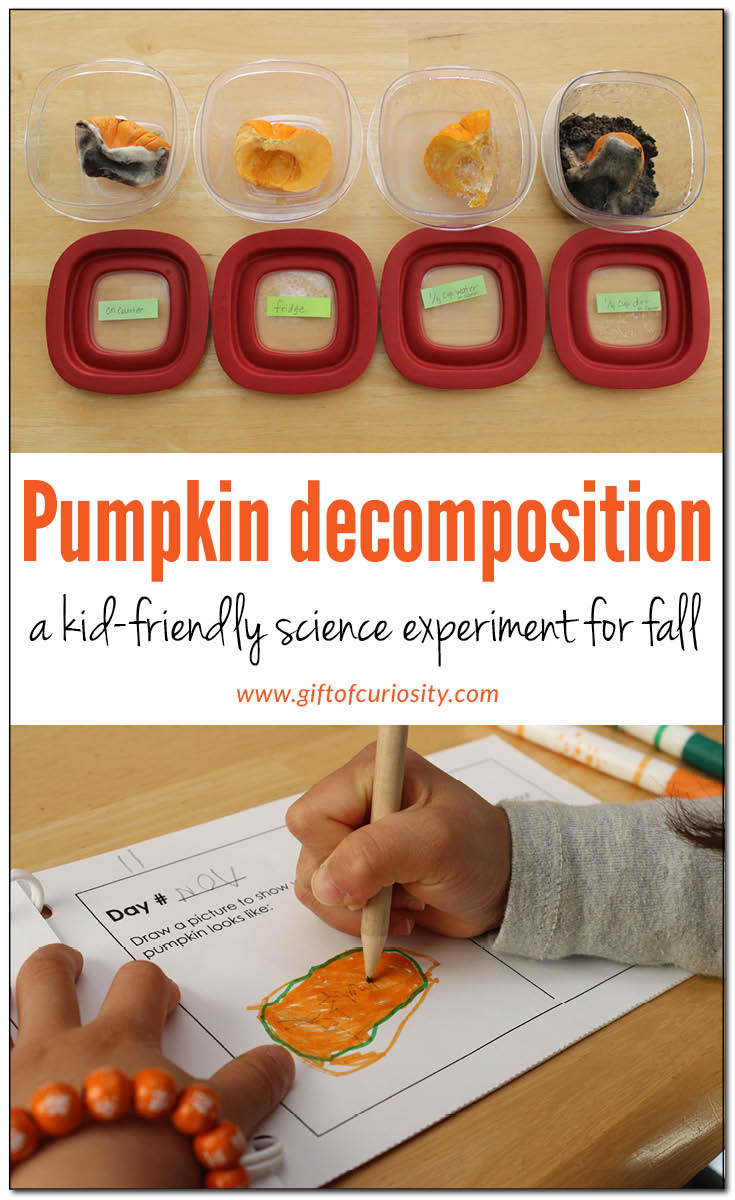
For a science activity to be categorized as an “experiment” rather than a “demonstration,” it is important to vary one or more conditions to test outcomes under a variety of circumstances. We decided to conduct a pumpkin decomposition experiment to see how pumpkins would decompose under four different conditions.
To help my kids get a better understanding of how scientists work, I had them record their observations in a Pumpkin Decomposition journal over the span of several weeks. (You can grab a copy of my Pumpkin Decomposition journal at the end of the post.)
Note: You’ll find more fall learning resources on my Fall Activities for Kids page.
First, we read the book Pumpkin Jack by Will Hubbell. This is a book about a jack-o-lantern that decomposes over the course of several months.

Next, I put together two Pumpkin Decomposition journals – one for each of my kids.

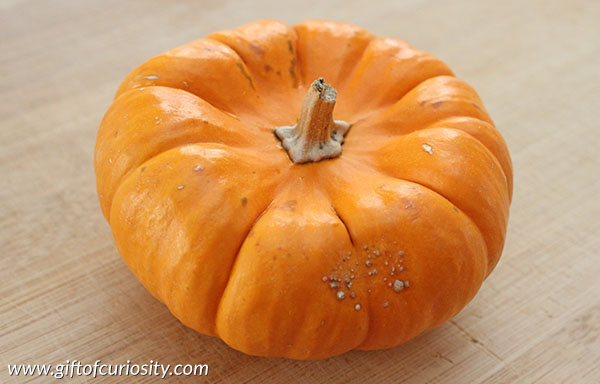
Then we started by exploring a pumpkin, in this case a mini pumpkin.
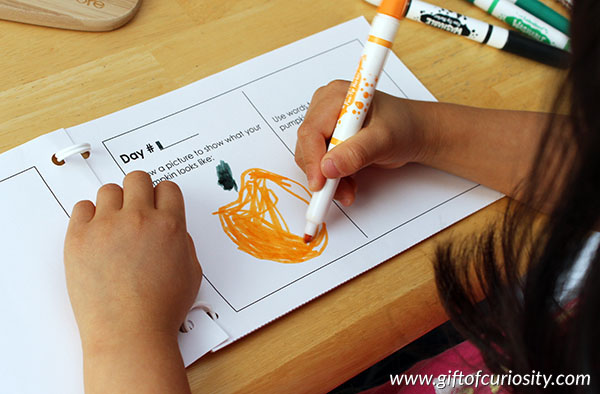
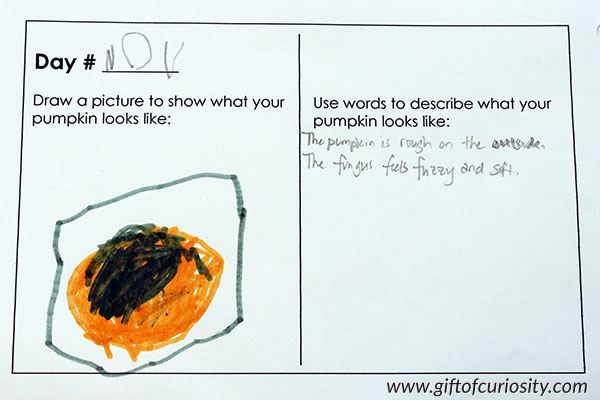
The kids made their first entry in their Pumpkin Decomposition journal. They had to draw a picture of what the pumpkin looked like and then write (or dictate to a grownup) some words to describe the pumpkin.
Next, we cut the pumpkin into quarters. This gave us a good look at the inside of the pumpkin, which the kids enjoyed exploring.
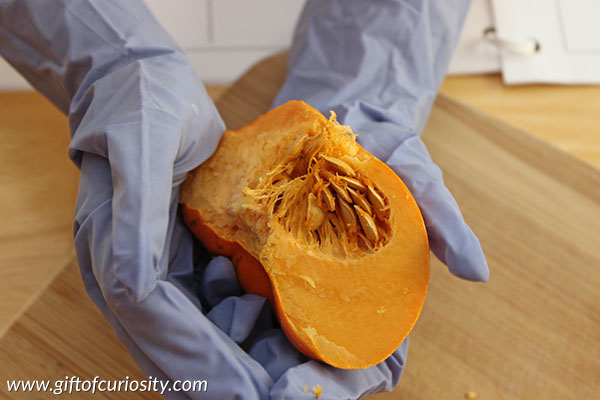
It also gave us four pumpkin quarters for our experiment! We placed each pumpkin quarter into a plastic container and labeled it with the experimental condition the pumpkin was in. We decided that the four conditions of our experiment would be:
- Control pumpkin, simply sitting on the counter
- Fridge pumpkin (which was kept at cool temperatures in the fridge)
- Water pumpkin, which was placed on the counter with 1/4 cup of water in the bottom of the container
- Dirt pumpkin, which was placed on the counter with 1/4 cup of dirt in the bottom of the container
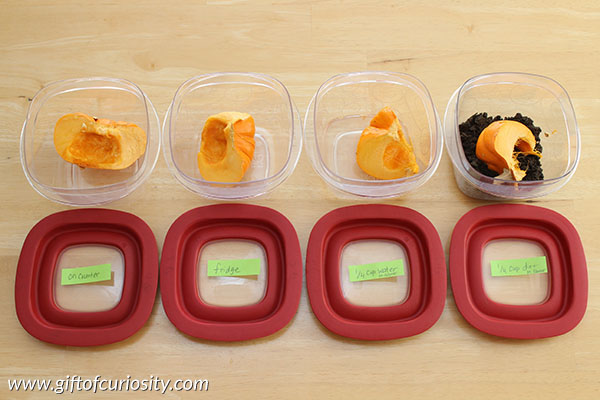
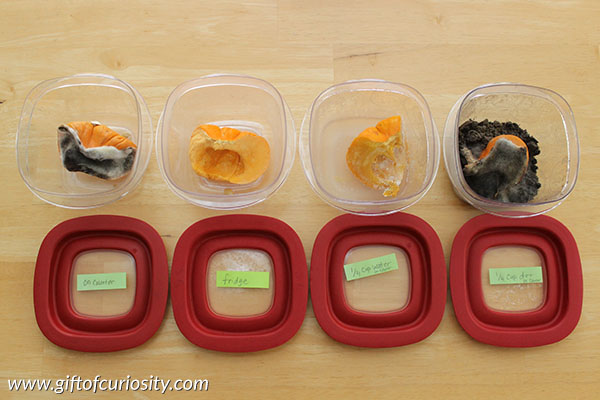
Five days later, we checked on our pumpkins.
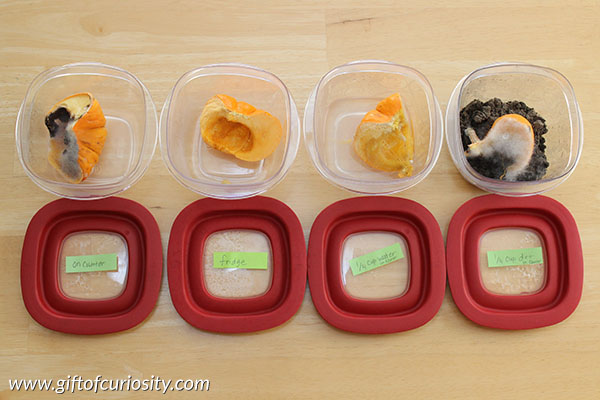
There was already some very visible signs of decomposition on two of the pumpkins – our control pumpkin and the dirt pumpkin. Both had a fair amount of mold/fungus beginning to take over.
The fridge pumpkin was in the best shape, which was not surprising since refrigerators, of course, are designed to keep foods fresh. Somewhat to our surprise, however, the water pumpkin was also in very good shape with very little sign of mold or fungus.
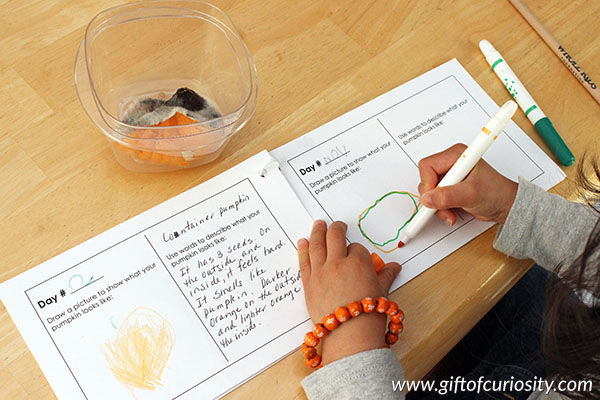
At this time, the kids sat down and recorded the state of decomposition in their Pumpkin Decomposition journals. (We made a decision to focus only on the control pumpkin for our journals.)
After another four days had passed – or nine days in total – we checked on the pumpkins again. There were signs of increasing decomposition, although the fridge pumpkin was still in the best shape.
The kids did another entry in their Pumpkin Decomposition journals. In XGirl’s journal entry below, you will see that she drew a good amount of black mold on her pumpkin.
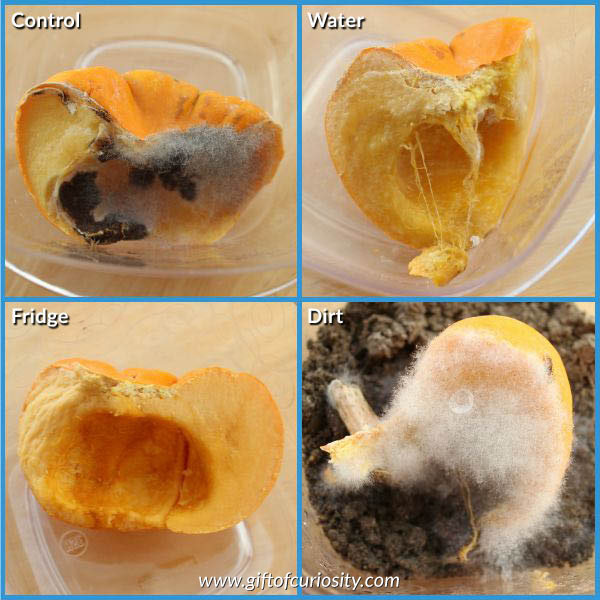
We continued checking on the pumpkins every few days. This last picture was taken 28 days after we first began our experiment.
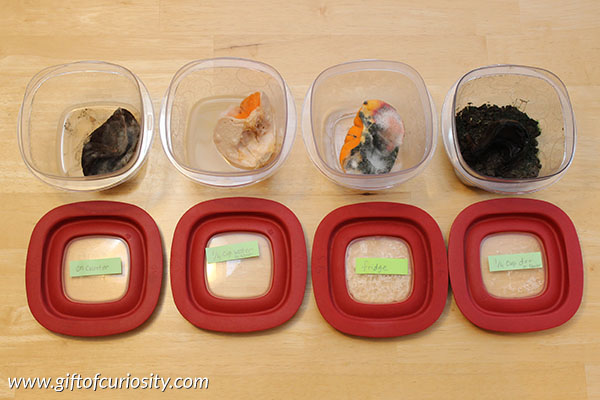
By this point, all four pumpkin conditions were showing significant signs of decomposition.
The control pumpkin had wilted significantly and was covered in a black fuzz.
The water pumpkin was coated in a slimy white film with just a little bit of white fuzz on the back.
The fridge pumpkin had also grown a nice coat of white and black fuzz.
The dirt pumpkin, however, was furthest along in its decomposition. It had lost it moldy fuzz and was just a wilted black object that was starting to get slimy.
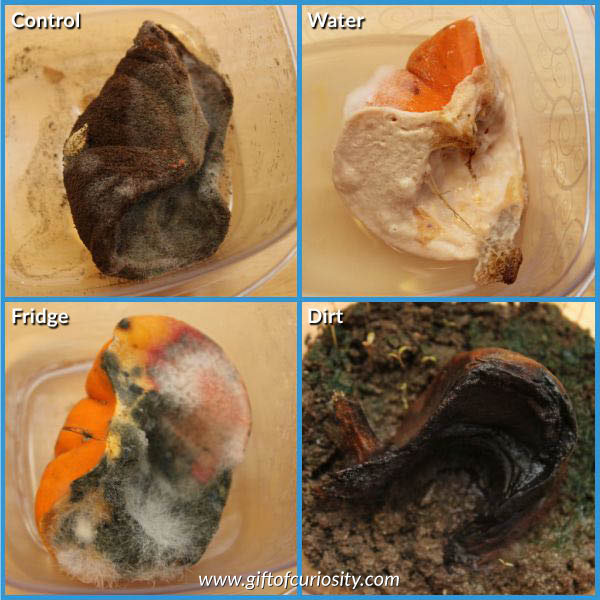
Throughout the process, the kids and I had a lot of conversations about the changes we were seeing and about the differences between the four experimental conditions.
Here is a great Sid the Science Kid video to watch about pumpkin decomposition: https://www.youtube.com/watch?v=XhJTLhMK-Xs
Want a copy of my Pumpkin Decomposition Journal?
Add this free product to your cart by clicking the button below!
More pumpkin resources for kids
More pumpkin posts from Gift of Curiosity:



This is fun pumpkin science! Thanks for linking up at “A Little Bird Told Me” Wednesday link party. You have been featured on Mama’s Happy Hive blog! 🙂
Did you put the lids on your containers when doing this experiment? Thank you!
Yes. The lids were mostly on, but we removed them every time we checked to see how the decomposition was coming along.