


This post may contain affiliate ads at no cost to you. See my disclosures for more information.
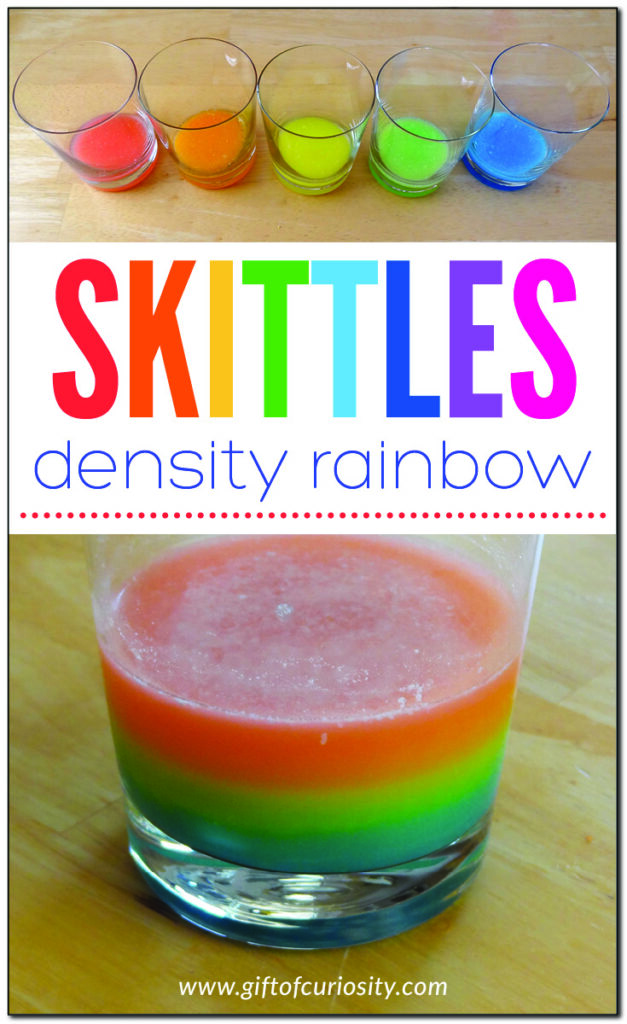
The kids and I recently created a rainbow in our kitchen. How did we do that, you might ask? We made a Skittles density rainbow using a bag of Skittles candy and a bit of science knowledge!
This would make a great St. Patrick’s Day activity for kids. It would also be a great activity at any time of the year to illustrate the scientific property of density. Or to learn about rainbows. Or it can just be a fun way to use up some extra candy. 🙂
I received a copy of the book “Candy Experiments” to review. (See my review here.) I am sharing this Skittles density rainbow activity from the book because I enjoyed the activity so much and believe my readers will too, not because of any obligation I have as a condition of receiving a copy of the book. See my disclosures for more information.
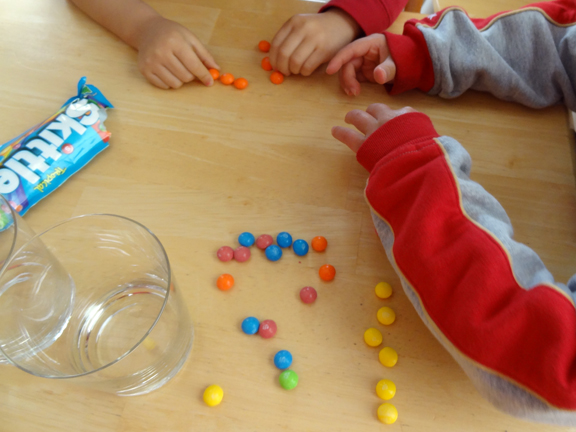
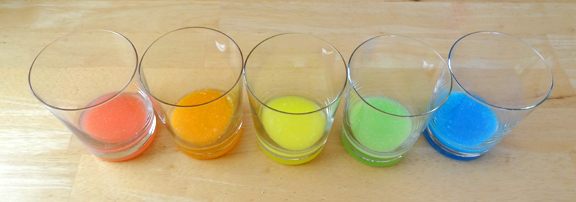
To make your own rainbow, you first need to open a pack of Skittles and sort them by color. We were only able to find the tropical Skittles, but I would recommend the regular Skittles for the most vibrant rainbow effect.

As explained in Candy Experiments by Loralee Leavitt, we placed different numbers of Skittles into glasses as follows:
- 2 red Skittles
- 4 orange Skittles
- 6 yellow Skittles
- 8 green Skittles
- 10 blue Skittles
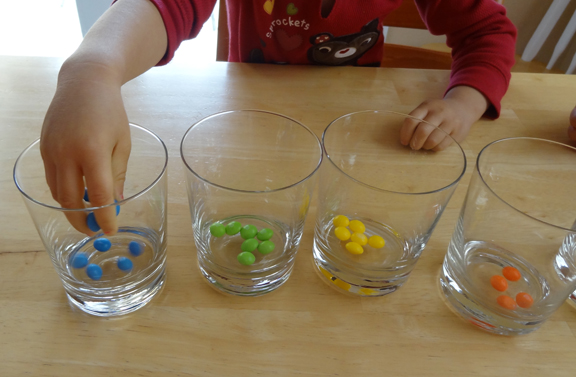
We then added 2 tbsp of water to each glass and let the Skittles dissolve.
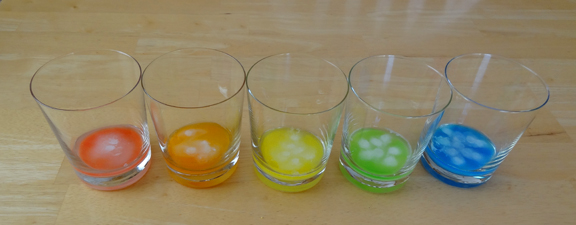
When we returned about an hour later, the Skittles had completely dissolved into the water.

Next was the tricky party. We needed to get each of the liquids into the same container without mixing them together. I didn’t want to just pour one liquid on to the other, because I felt that would result in too much mixing. So I opted to use one of our plastic pipettes to gently add each liquid. I suctioned up the liquid from its glass and then gently squirted it along the side of the rainbow glass so each color would come to rest gently on top of the previous one.
Please excuse the quality of this photo showing me doing adding the colors to the glass – I let my four year old take the picture for me. 🙂
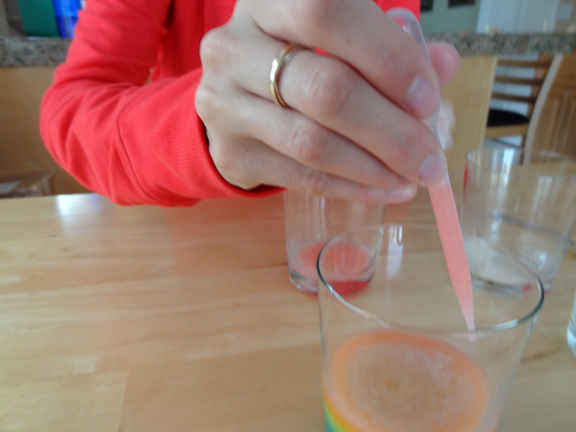
I added the colors in reverse rainbow order – blue, green, yellow, orange, and then red.
And after all this work, we ended up with quite a beautiful rainbow in our glass!
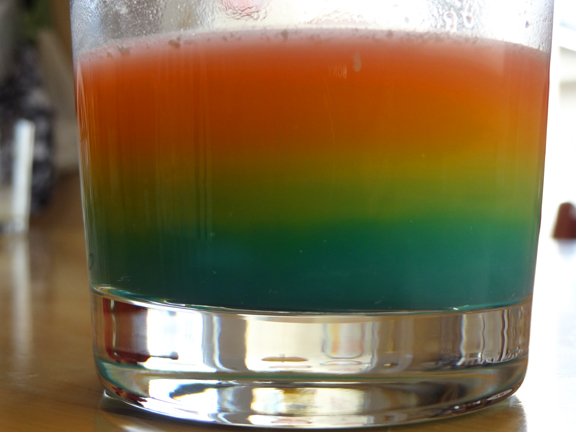
This and many more candy activities can be found in the book Candy Experiments by Loralee Leavitt.
More science activities for kids
More science activities from Gift of Curiosity:
- Dancing raisins
- Candy experiments
- Jumping colors science activity
- Make your own glycerin soap
- Crystallized snowflakes
- Dissecting an apple
- What do ants like to eat?
- Make your own telescope
- The great baking soda and vinegar experiment
- Magic inflating balloons
Find more great science activities on my Science Activities for Kids page and my Science Activities Pinterest board.
Fun! We have pipettes, I should totally try this with my kids! Pinning!
Awesome! I suppose the density is somewhat different because of the amount of skittles per the same volume of water. I have to do it one day. Adding to my St Patrick’s feature for After School Link Up.
Yes, that’s exactly right! After enough time the colors will mix together. But when we added them initially they were of different densities and that allowed them to form a rainbow.
We have that book! We need to give this experiment a try.
This is a colorful and cool idea! Thank you for stopping by the Thoughtful Spot Weekly Blog Hop this week. We hope to see you drop by our neck of the woods next week!
This is so pretty! I’m glad you thought of the pipettes idea – I would have just poured them together and likely ended up with a muddy-colored mess! lol!
🙂
This looks like a fun science experiment! Definitely going to try it with my girls. Sometimes it’s hard to find fun experiments involving food because of my daughters food allergies, but we can definitely do this one 🙂 Thank you for sharing at the Thoughtful Spot Weekly Blog Hop, you were featured as one of my favorites this week 🙂
From one food allergy mom to another, I know what you mean about it being difficult to do activities with food! Thanks so much for the feature this week!
This is such a great idea. I didn’t know you could do this with Skittles. I am so delighted you shared this post with Mom’s Library at Pounds4Pennies this week.
This looks so much fun and goes perfectly with our chemistry studies! Thanks for the seasonal inspiration!
Man now I really want to try this activity because it would be so much fun….. But then I can’t eat the Skittles…
Ha ha! True, but maybe you’d enjoy drinking the sugar water? 🙂
For whatever reason, when we tried this, as I added, the colors mixed immediately. Any ideas of what I might have done wrong?
Oh, what a bummer! Did you use a pipette? And did you add the colors really, really slowly using the pipette? Ours mixed a little, but only a little. But it did take quite a while to get all the colors together because I was adding them so slowly.
You could also try pouring it slowly down the back of a spoon resting against the edge of the glass 🙂
The same happened with us! I used a pipette, slowly down the side, and we just ended up with a gross purple.
so pretty, love it!
If using original and wild berry skittles:
2 red skittles
4 orange skittles
6 yellow skittles
8 green skittles
10 blue skittles
12 purple skittles
Thanks for the tip!
thank u for the tip 🙂